
How to Rent Japan's Best Portable WiFi - Ninja WiFi
/This post contains affiliate links, which means that at no additional cost to you if you click on one of the product links, we may earn a commission.
*Last updated on February 22, 2026.
Staying connected to the internet is always at the top of our list when traveling. If you are familiar with a mobile WiFi router or if this is your first time considering one for Japan, we highly recommend renting a pocket WiFi device from Ninja WiFi.
On our previous visits to Japan, we brought the Skyroam Solis with us, which worked great. However, on our recent trips to Japan, we found that renting a pocket WiFi from Ninja WiFi was far cheaper than buying more data from Skyroam or using our cell phone provider’s international plans.
Here is our step-by-step guide to renting Japan’s Ninja WiFi:
Reserve Your Ninja Wi-Fi Online
Reserving your Ninja Wi-Fi online is super easy and is a painless process. You’ll input your pick-up date, return date, select your plan, and your pick-up and return method. You’ll also have an option to purchase insurance or other miscellaneous items like a charger.

Ninja Wifi online reservation
Pick-up Method and Date
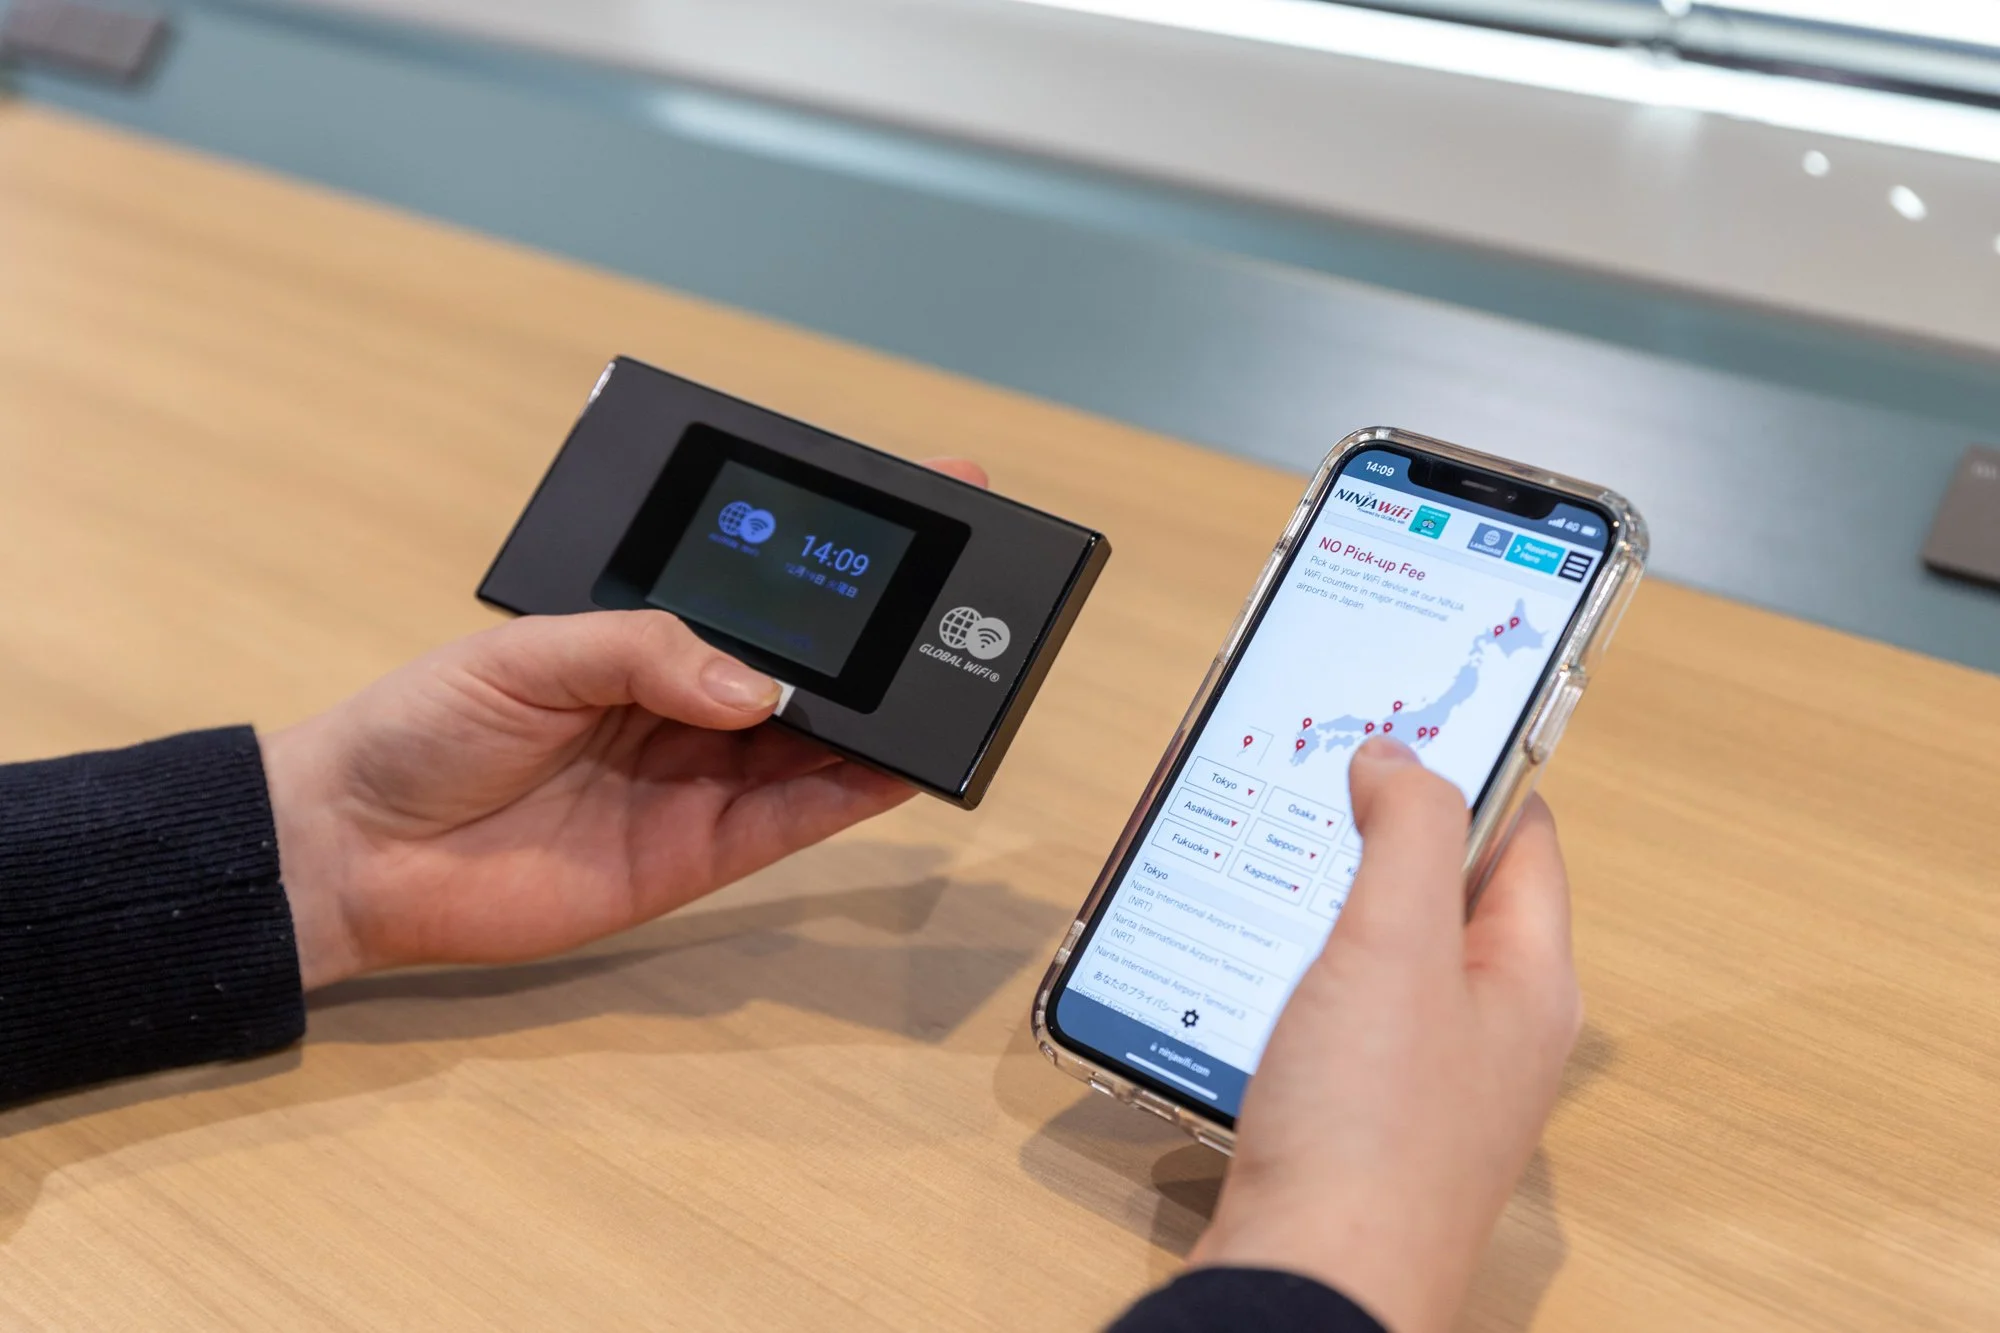
Option 1 - Airport Counters
You can choose to pick up your device at several airports including the two main ones in Japan, Narita and Haneda International Airport. We usually arrive at Narita Airport, so we always choose to pick up our device at this location.
On our most recent trip to Japan, we landed at Narita International Airport Terminal 2 and after passing through customs and immigration, we easily spotted the Ninja WiFi counter. A small crowd had already gathered in line, mostly composed of visitors who hadn't made reservations in advance.
Since we took care of everything in advance online, we bypassed the queue and presented our email reservation to a Ninja WiFi representative. The service was impressively swift, and within moments, we were equipped with our device. After ensuring the device was functioning properly, we left the airport, ready to embark on our adventures.

Picking up our Ninja WiFi rental at the airport counter
Option 2 - Delivery Service
Another option is to have your device delivered to a location such as a hotel, office, or residential address. The Wifi device can be delivered to your designated location in Japan on your designated date and time.
We had our second WiFi device delivered to the hotel we were staying at in Shibuya. Once we checked in, we inquired about a package and they had the package ready for us. It's worth noting that the hotel agent's role didn't encompass inspecting the contents—it was our responsibility to unpack and ensure all was well (and it was).
The pick-up process was just as hassle-free as our experience at the airport. The only difference was the additional shipping cost of 500 yen.

Our Ninja Wifi Package
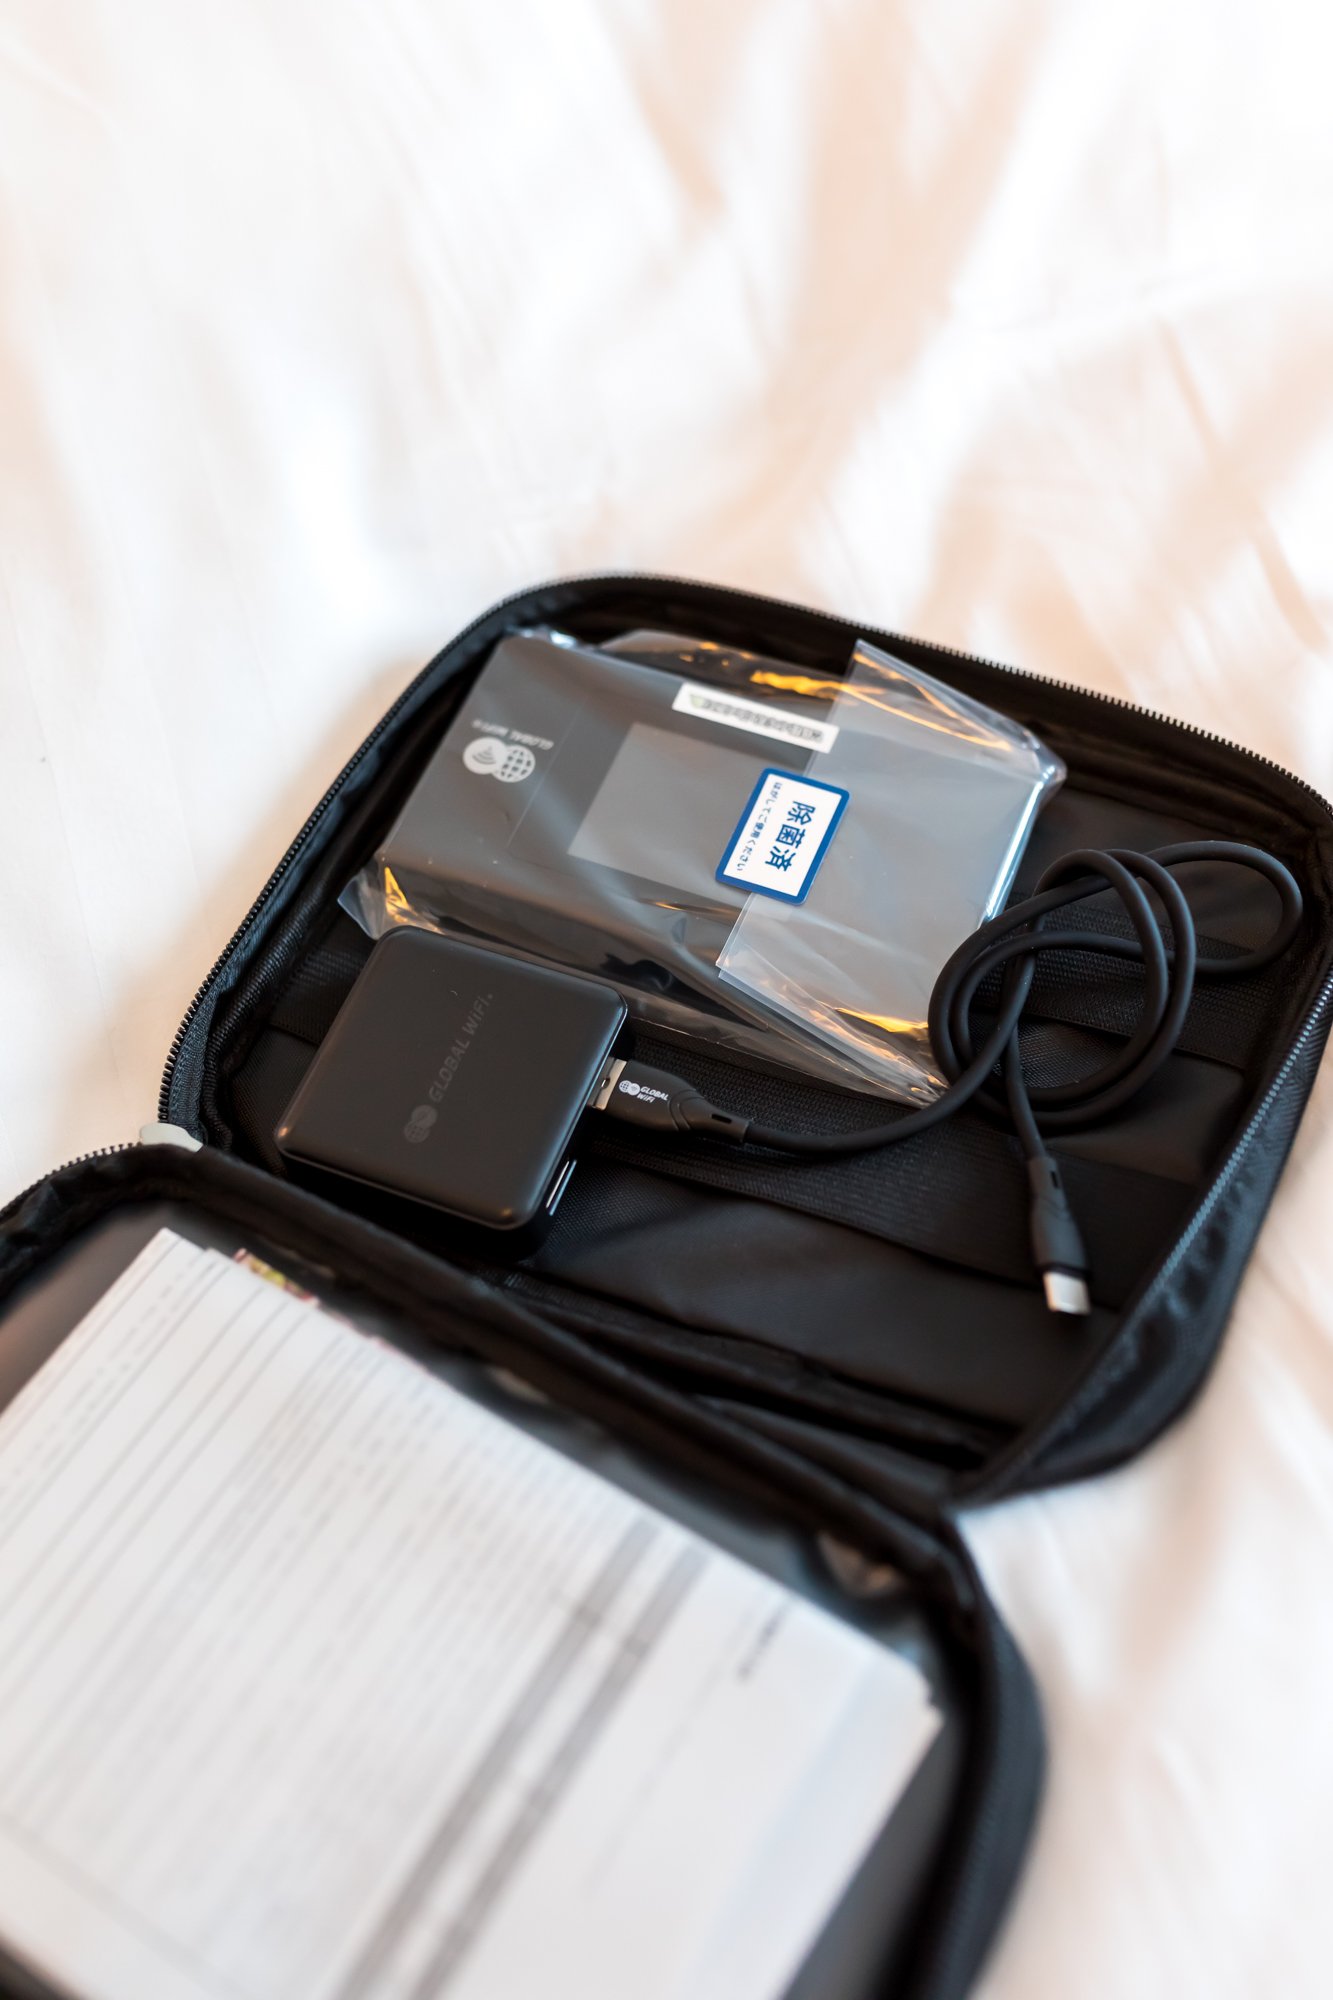
WIFi device and Charger
Other Options - Shinjuku Counter
If you happen to be staying in Shinjuku, you can also pick up the device at the Shinjuku Counter located in the center of Kabukicho.

Data Plans
Currently, there are several plans you can choose from and we usually go with the Unlimited Plan that has 3-5GB of high speed internet per day. If you plan on watching or streaming video on your phone or laptop using the WiFi hotspot, we suggest getting the Unlimited Plan that has 10GB of high speed internet per day.
Insurance Options
This option really varies for everyone but for our purposes, we did not select any insurance options. Options include coverage in case of loss or damage to the device, a mobile battery, and medical insurance.
We already purchased travel insurance through World Nomads, which covers medical so that is why we did not need this service in particular. We took our chances with damage or loss of the device since we’re both pretty responsible and rarely misplace important things.
Other Options
If you need a power bank, cellphone for domestic phone calls, a translating device, or an AC adapter, you can add these devices to your plan as well.
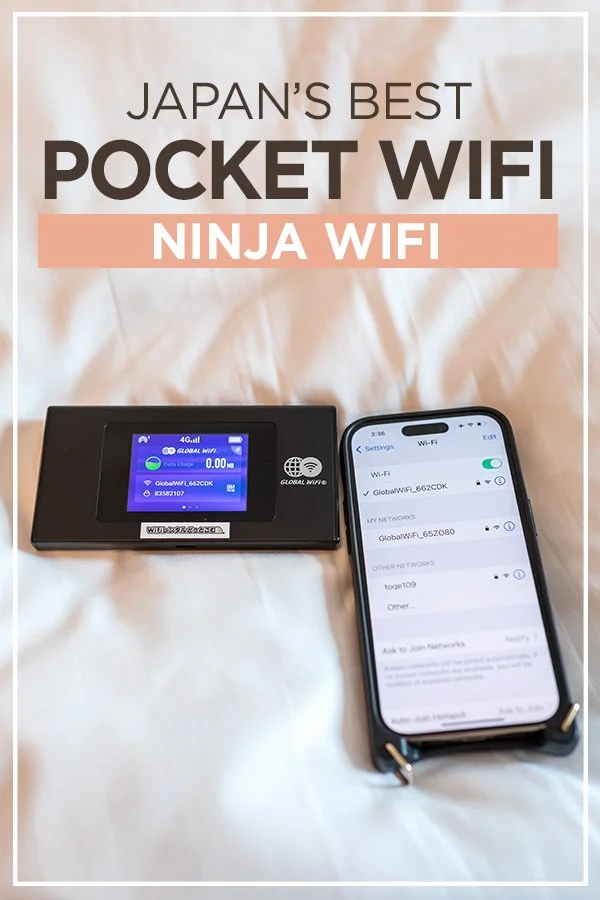
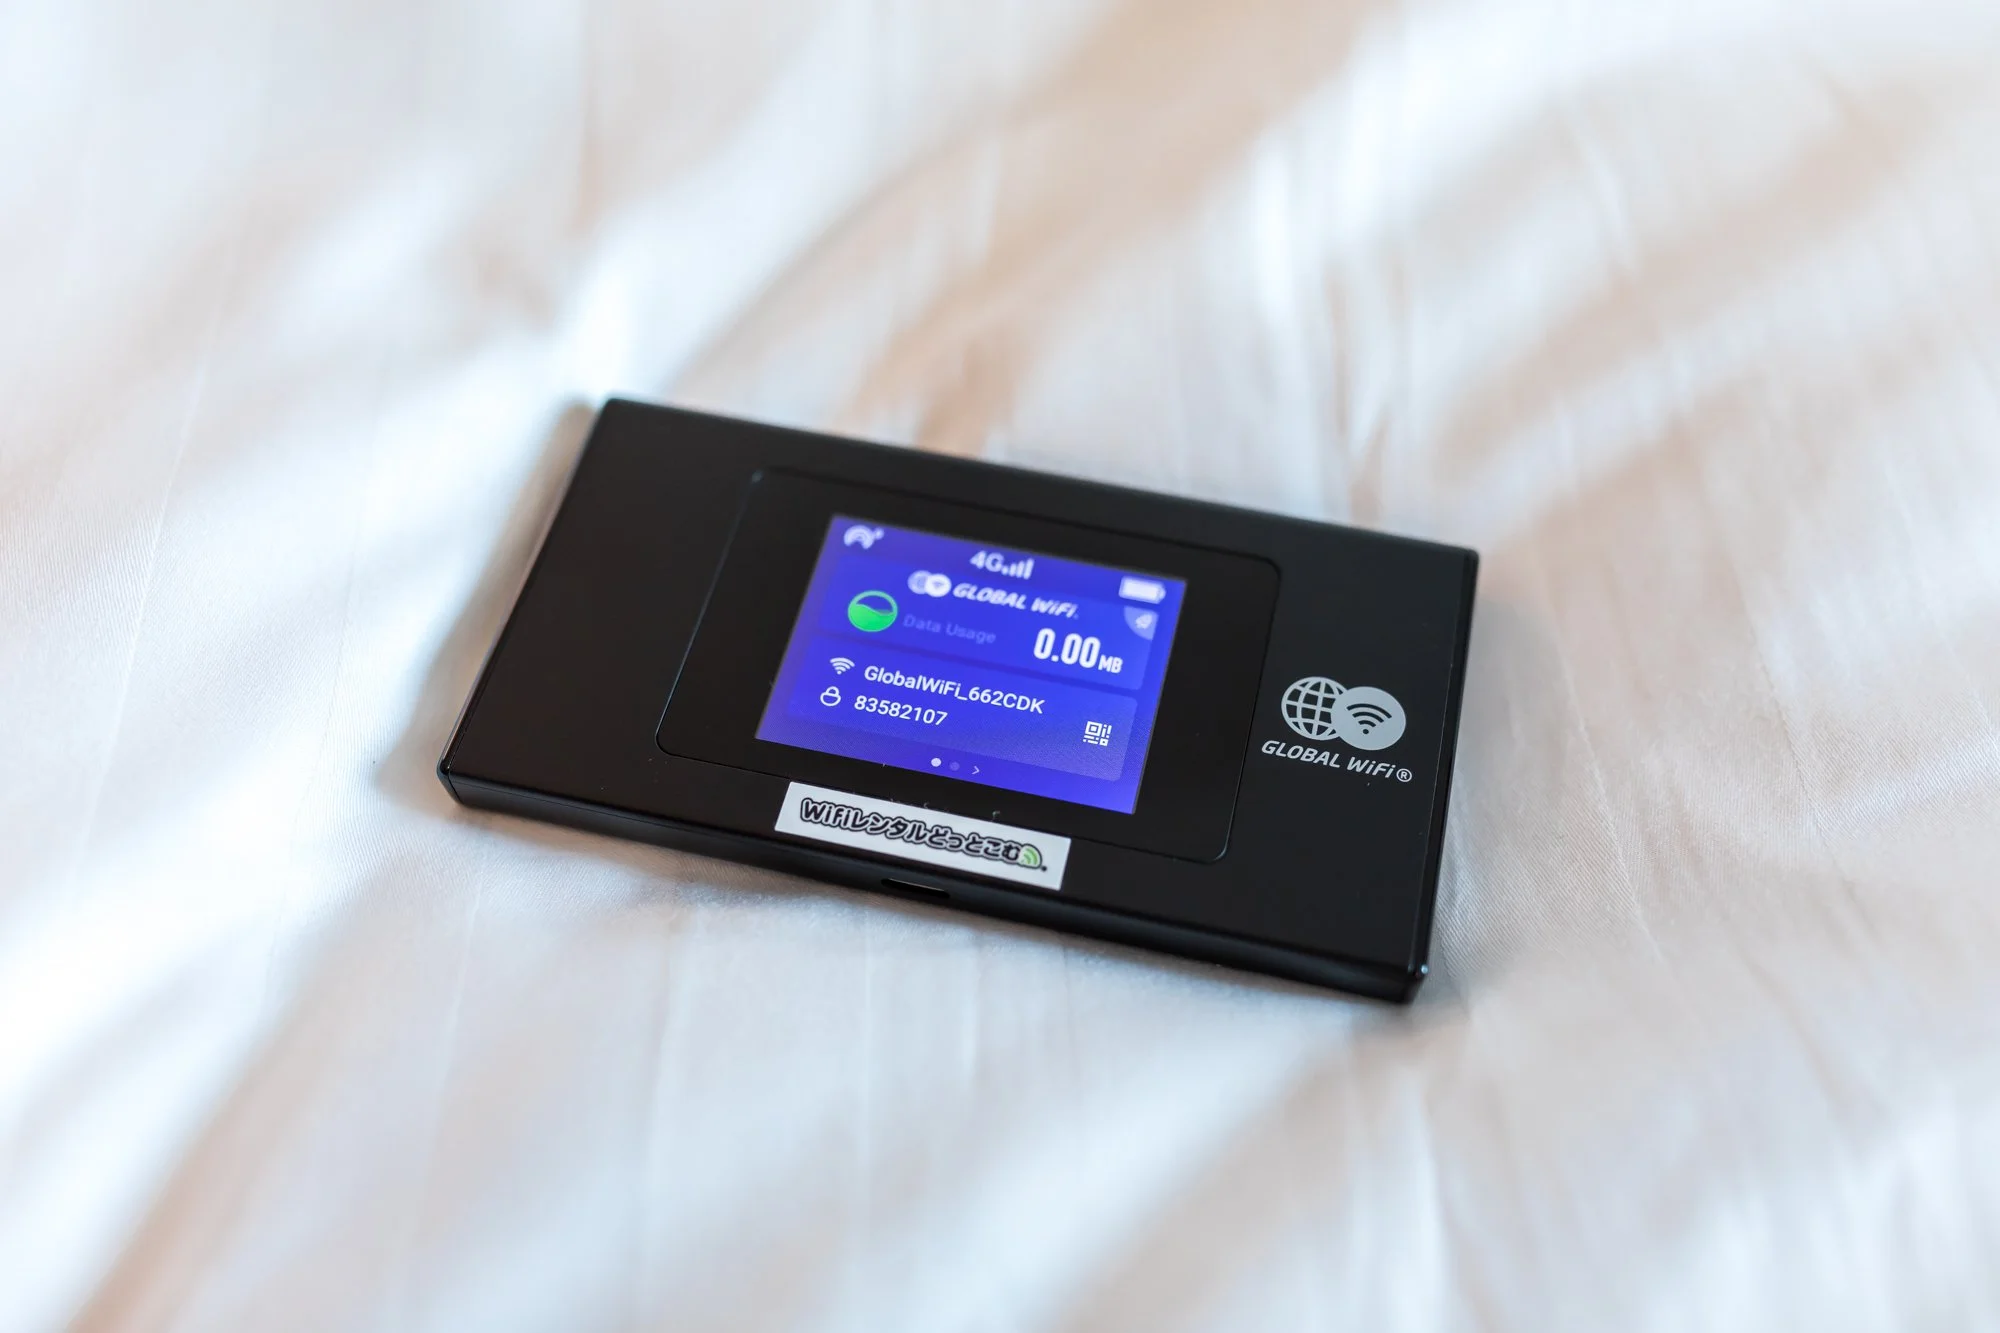
How To Connect
Connecting the WiFi to your phone or laptop is very easy. Simply turn on the WiFi device and the network name and password will appear on the screen. Then open the network options on your phone or laptop and find the WiFi network. Once you select the network, you’ll be prompted to enter the password. That’s it!

Return Method and Date
Similar to the pick-up process, you have several options for your return method. We simply returned both our devices at the airport. There is a very noticeable dropbox with signage in English.
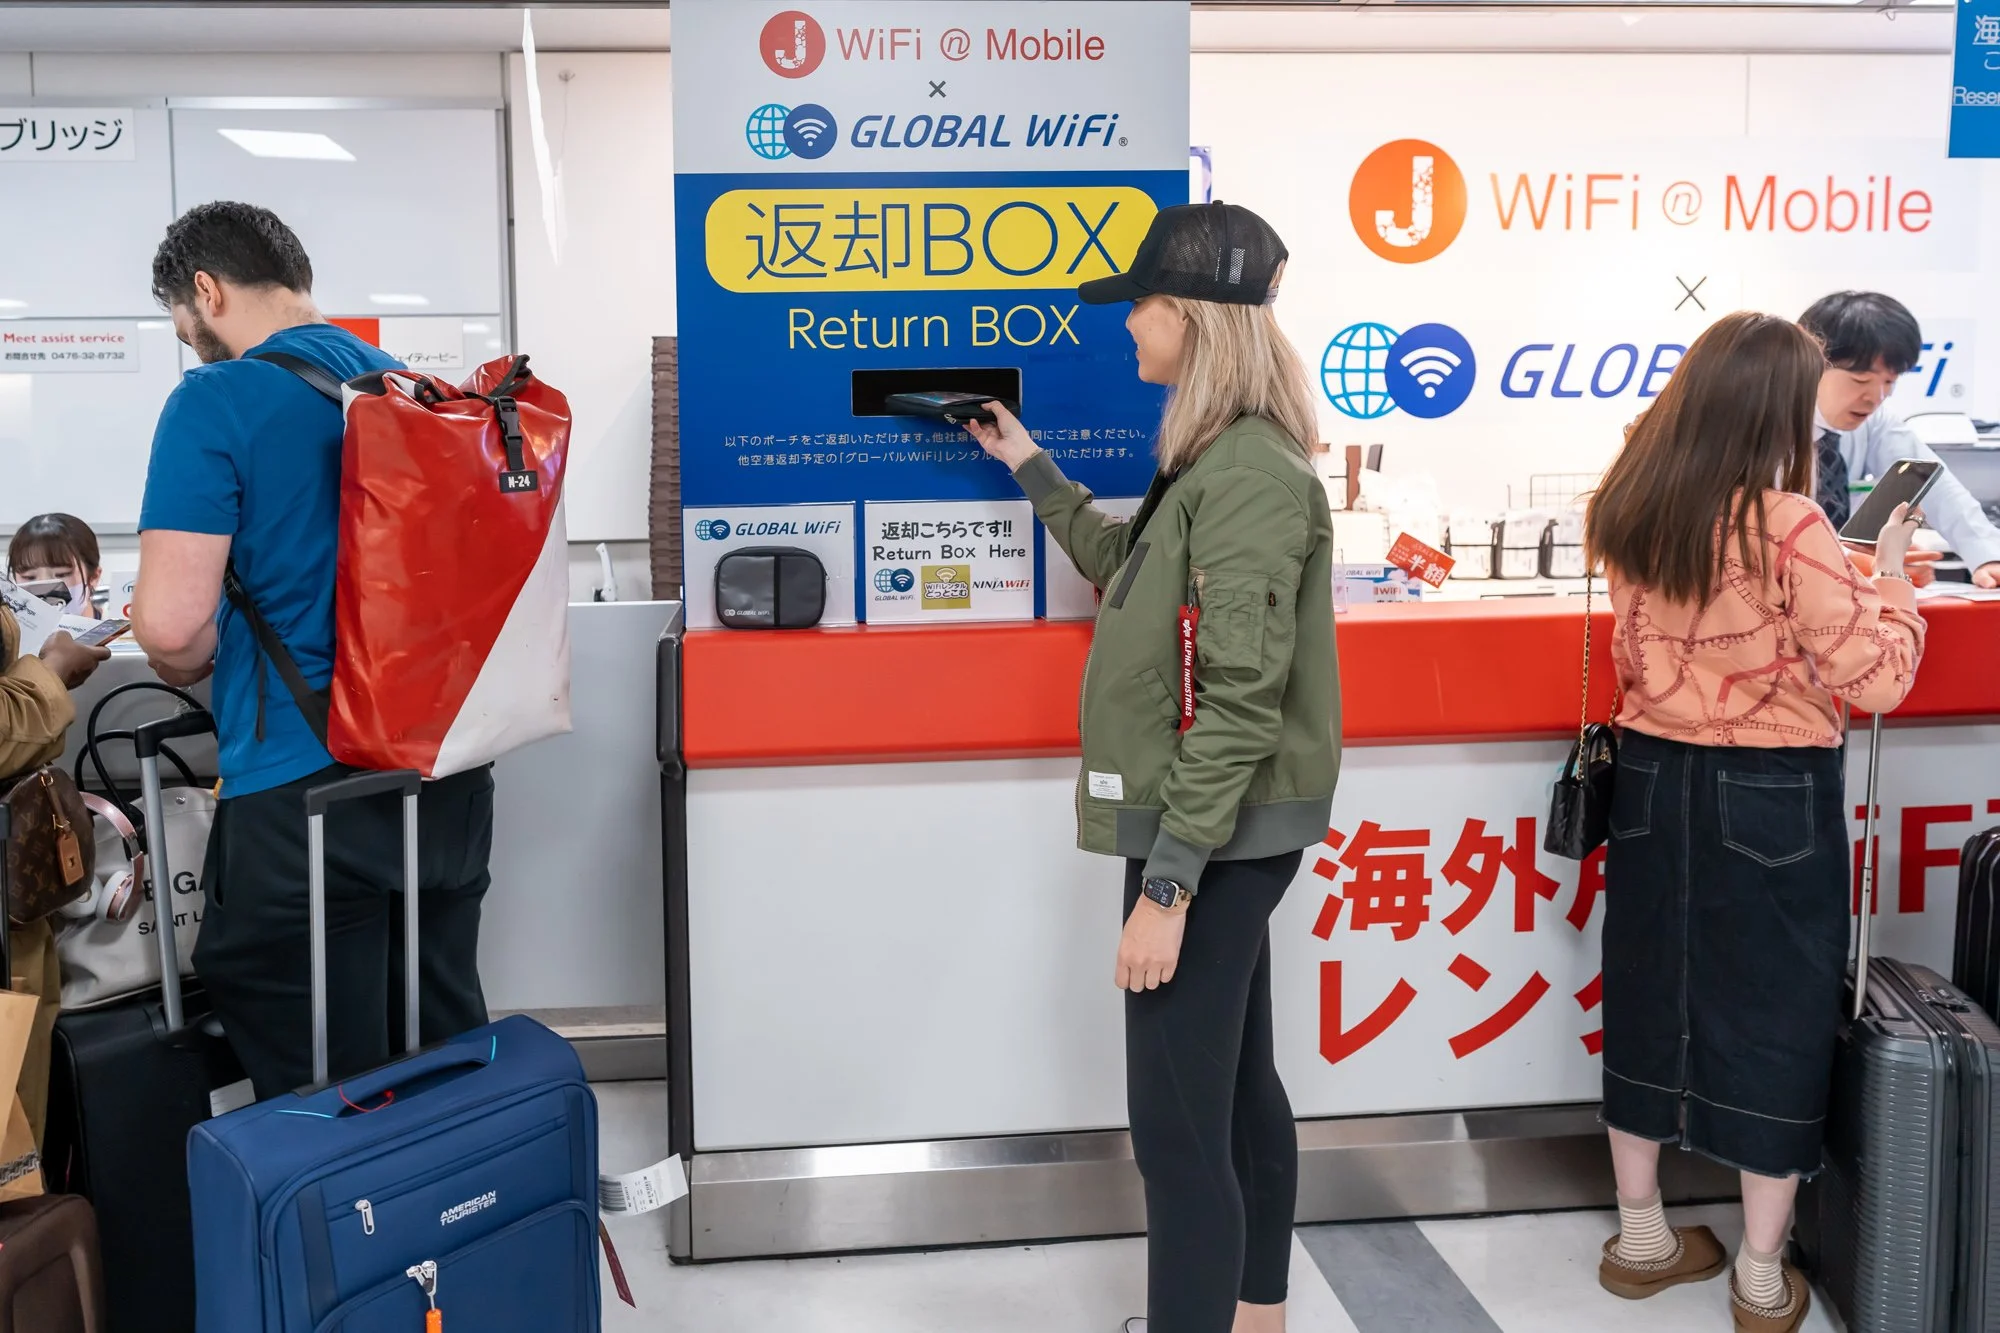
Crystal dropping her device in the return box
Final Thoughts
We have used Ninja WiFi on several trips to Japan and each time, we have been very satisfied with their service and internet coverage.
TIP: Make sure to charge your WiFi device at the end of the night so you have a full charge in the morning. The battery lasts about 6-8 hours on average.
Click on this affiliate link to activate a 10% off discount: https://ninjawifi.com/en/esimapplication/order?pr_vmaf=T496xixaxc

The 10% off discount & Free Power Bank will appear like this