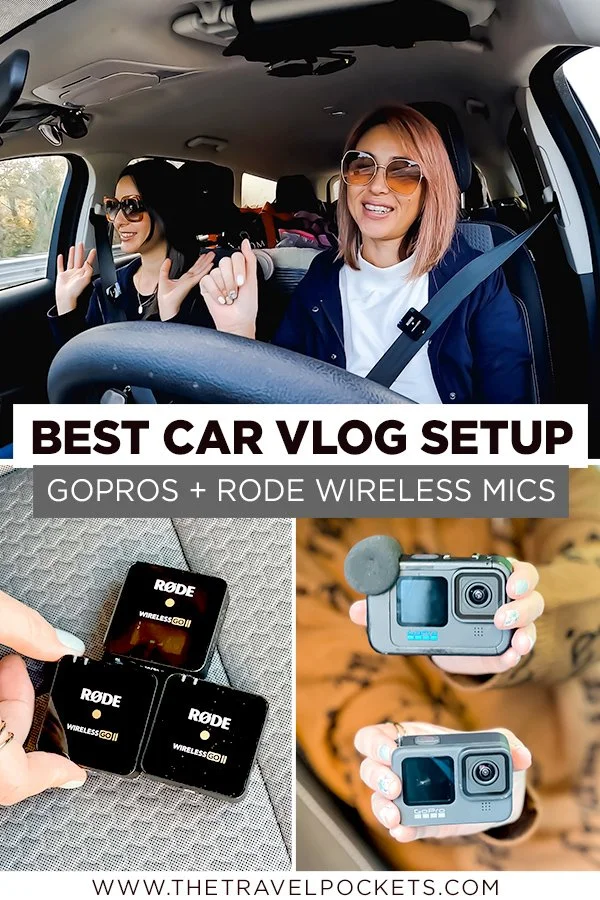

The Best Road Trip Vlog Setup Using GoPro HERO 10 and RODE Wireless GO II Mics
/This post contains affiliate links, which means that at no additional cost to you if you click on one of the product links, we may earn a commission. As Amazon Associates, we earn from qualifying purchases.
I did a post last year on the best car vlog setup for road trips and received lots of interest, so I decided to do another post on the latest equipment I have been using for my road trips.
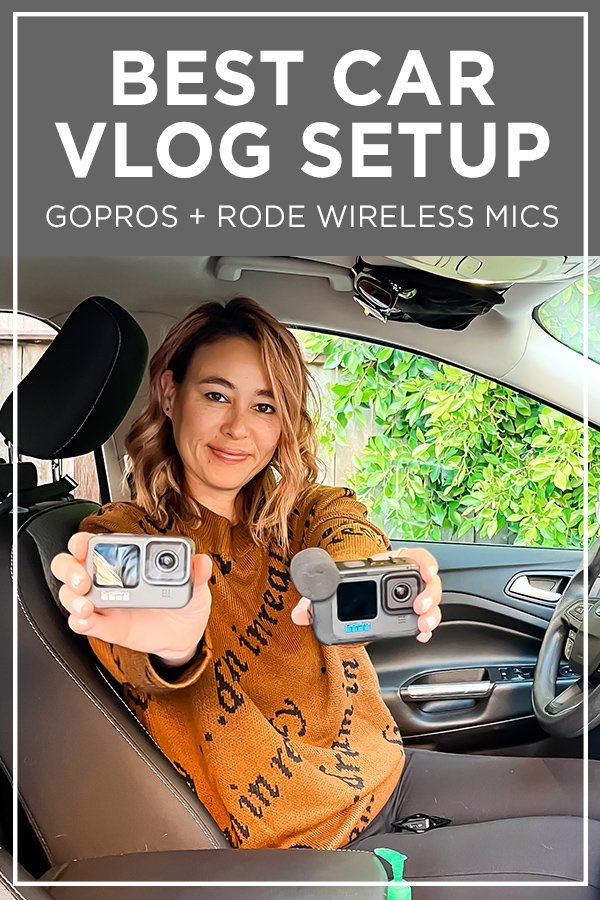
Since the last road trip that Candy and I did together, I purchased a couple of new items for my new setup - the GoPro HERO10 Black and the RODE Wireless GO II Mics. I love these two new additions and my camera setup has gotten a little outrageous, but it’s a lot of fun to edit afterward with all the camera angles.
VIDEO CAMERAS
My initial setup had 3 GoPros for the driver (and passenger), the road, and the backseat for my dog, but with my new GoPro, I now had 4 cameras I could use, so I added another camera for the passenger.
I use GoPros for all of my cameras in the car and they can be any version of the GoPro, but the more recent version you have, the better quality you’ll get. I have four different GoPros and use all of them on my road trips now.

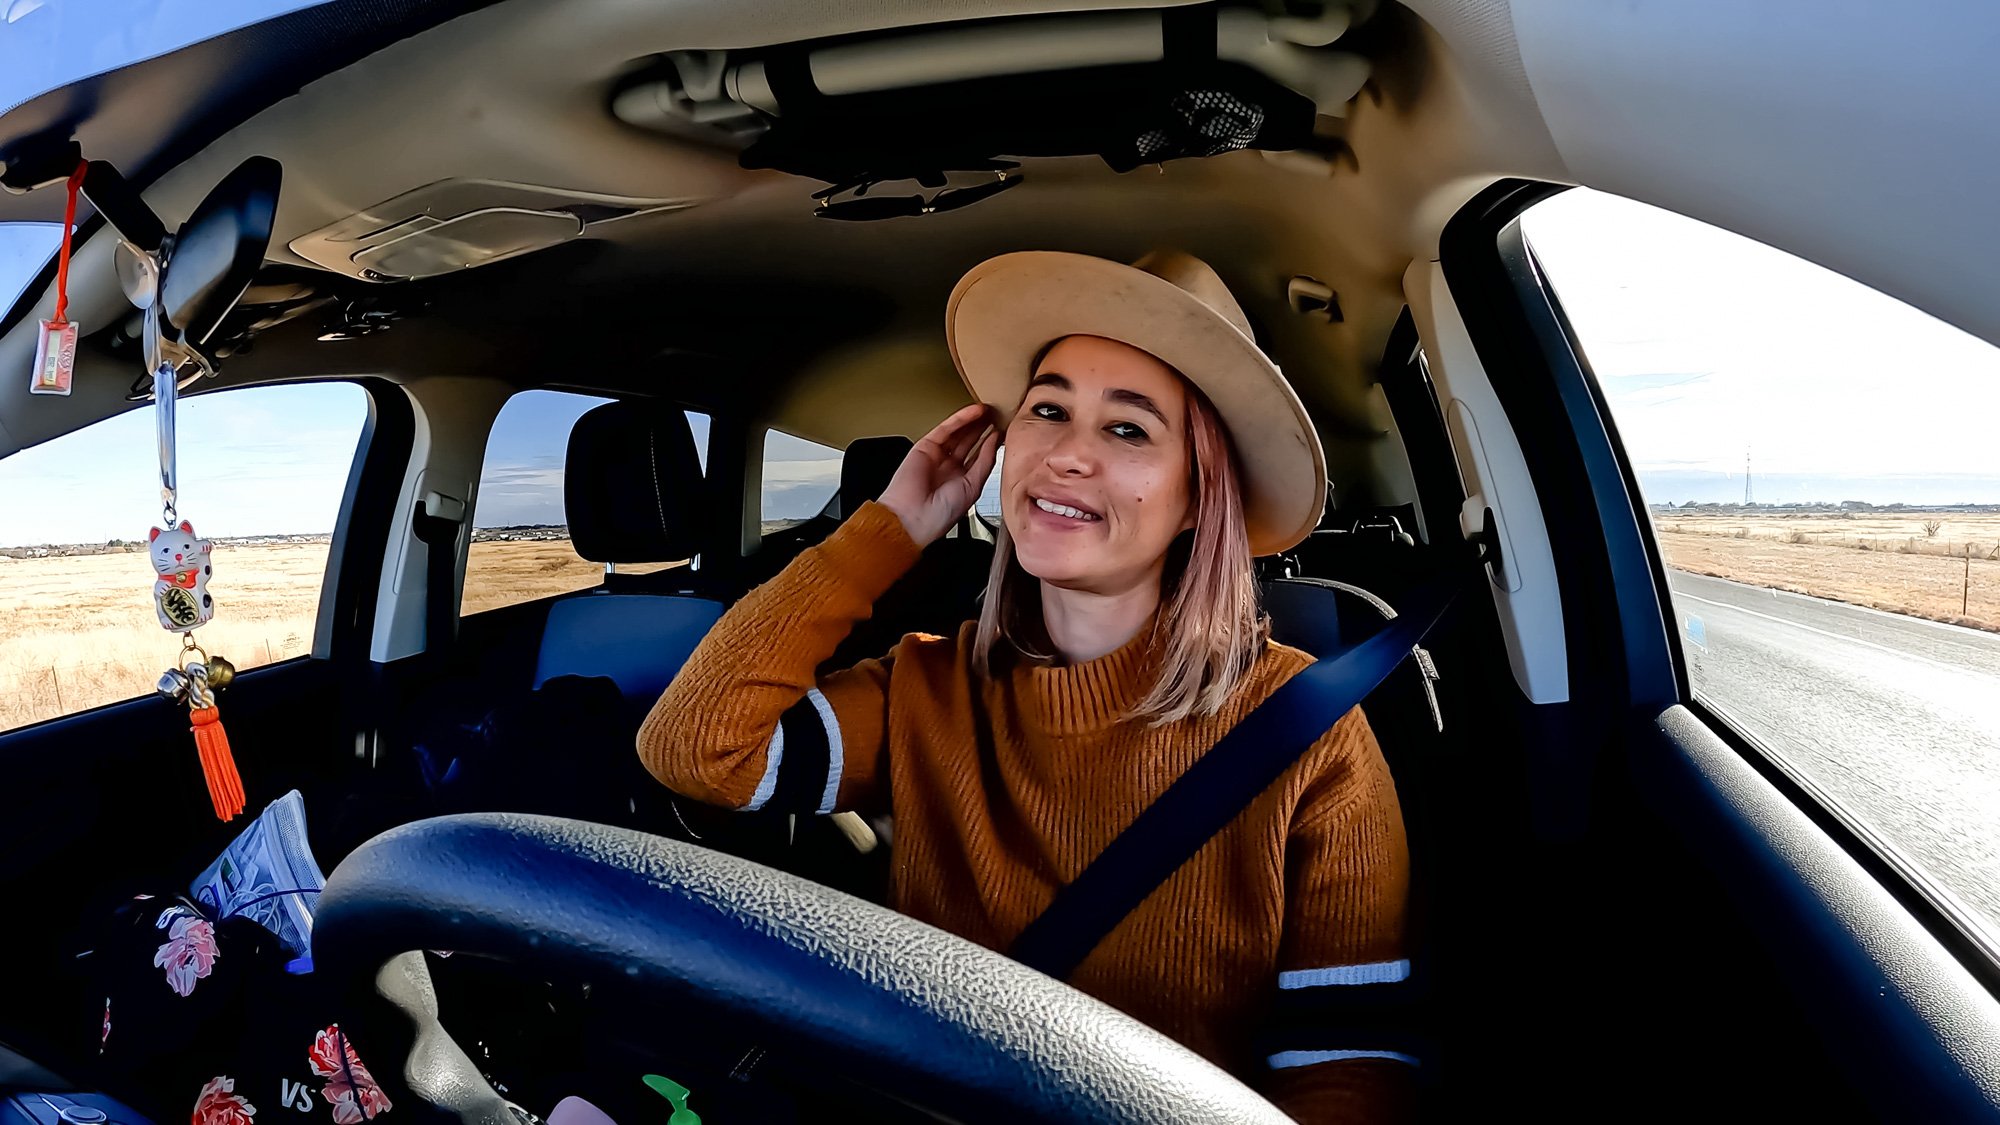
GoPro setup in my 2018 Ford Escape
CAMERA 1 - GoPro HERO10 Black - Driver Cam
As I mentioned, the GoPro HERO10 Black was one of my newest additions to the setup and I use this as my Driver Cam. It’s pretty much the same as the GoPro HERO9, but the main difference is the GP2 processor that makes the camera much more responsive.
This results in faster boot-ups, a more responsive touch interface, and quicker captures. I have definitely noticed the improvement in the touch interface.
GoPro HERO10 with Media Mod and RODE Wireless Mic
I use this camera to record myself while I’m driving and usually shoot at 4K, 30fps. I used to shoot at 2.7K, 60fps to save some space on my drive, but I hated having those extra frames I didn’t need.
For some reason, GoPro HERO9 and HERO10 don’t give you the option to shoot at 2.7K, 30fps. In any case, I decided to shoot everything at 4K and it’s been working out great.
Every once in a while, I will record myself at 5K to get some high-resolution screen captures of myself. I often use these for Youtube thumbnails or pictures for blog posts.
5K still capture from GoPro HERO10
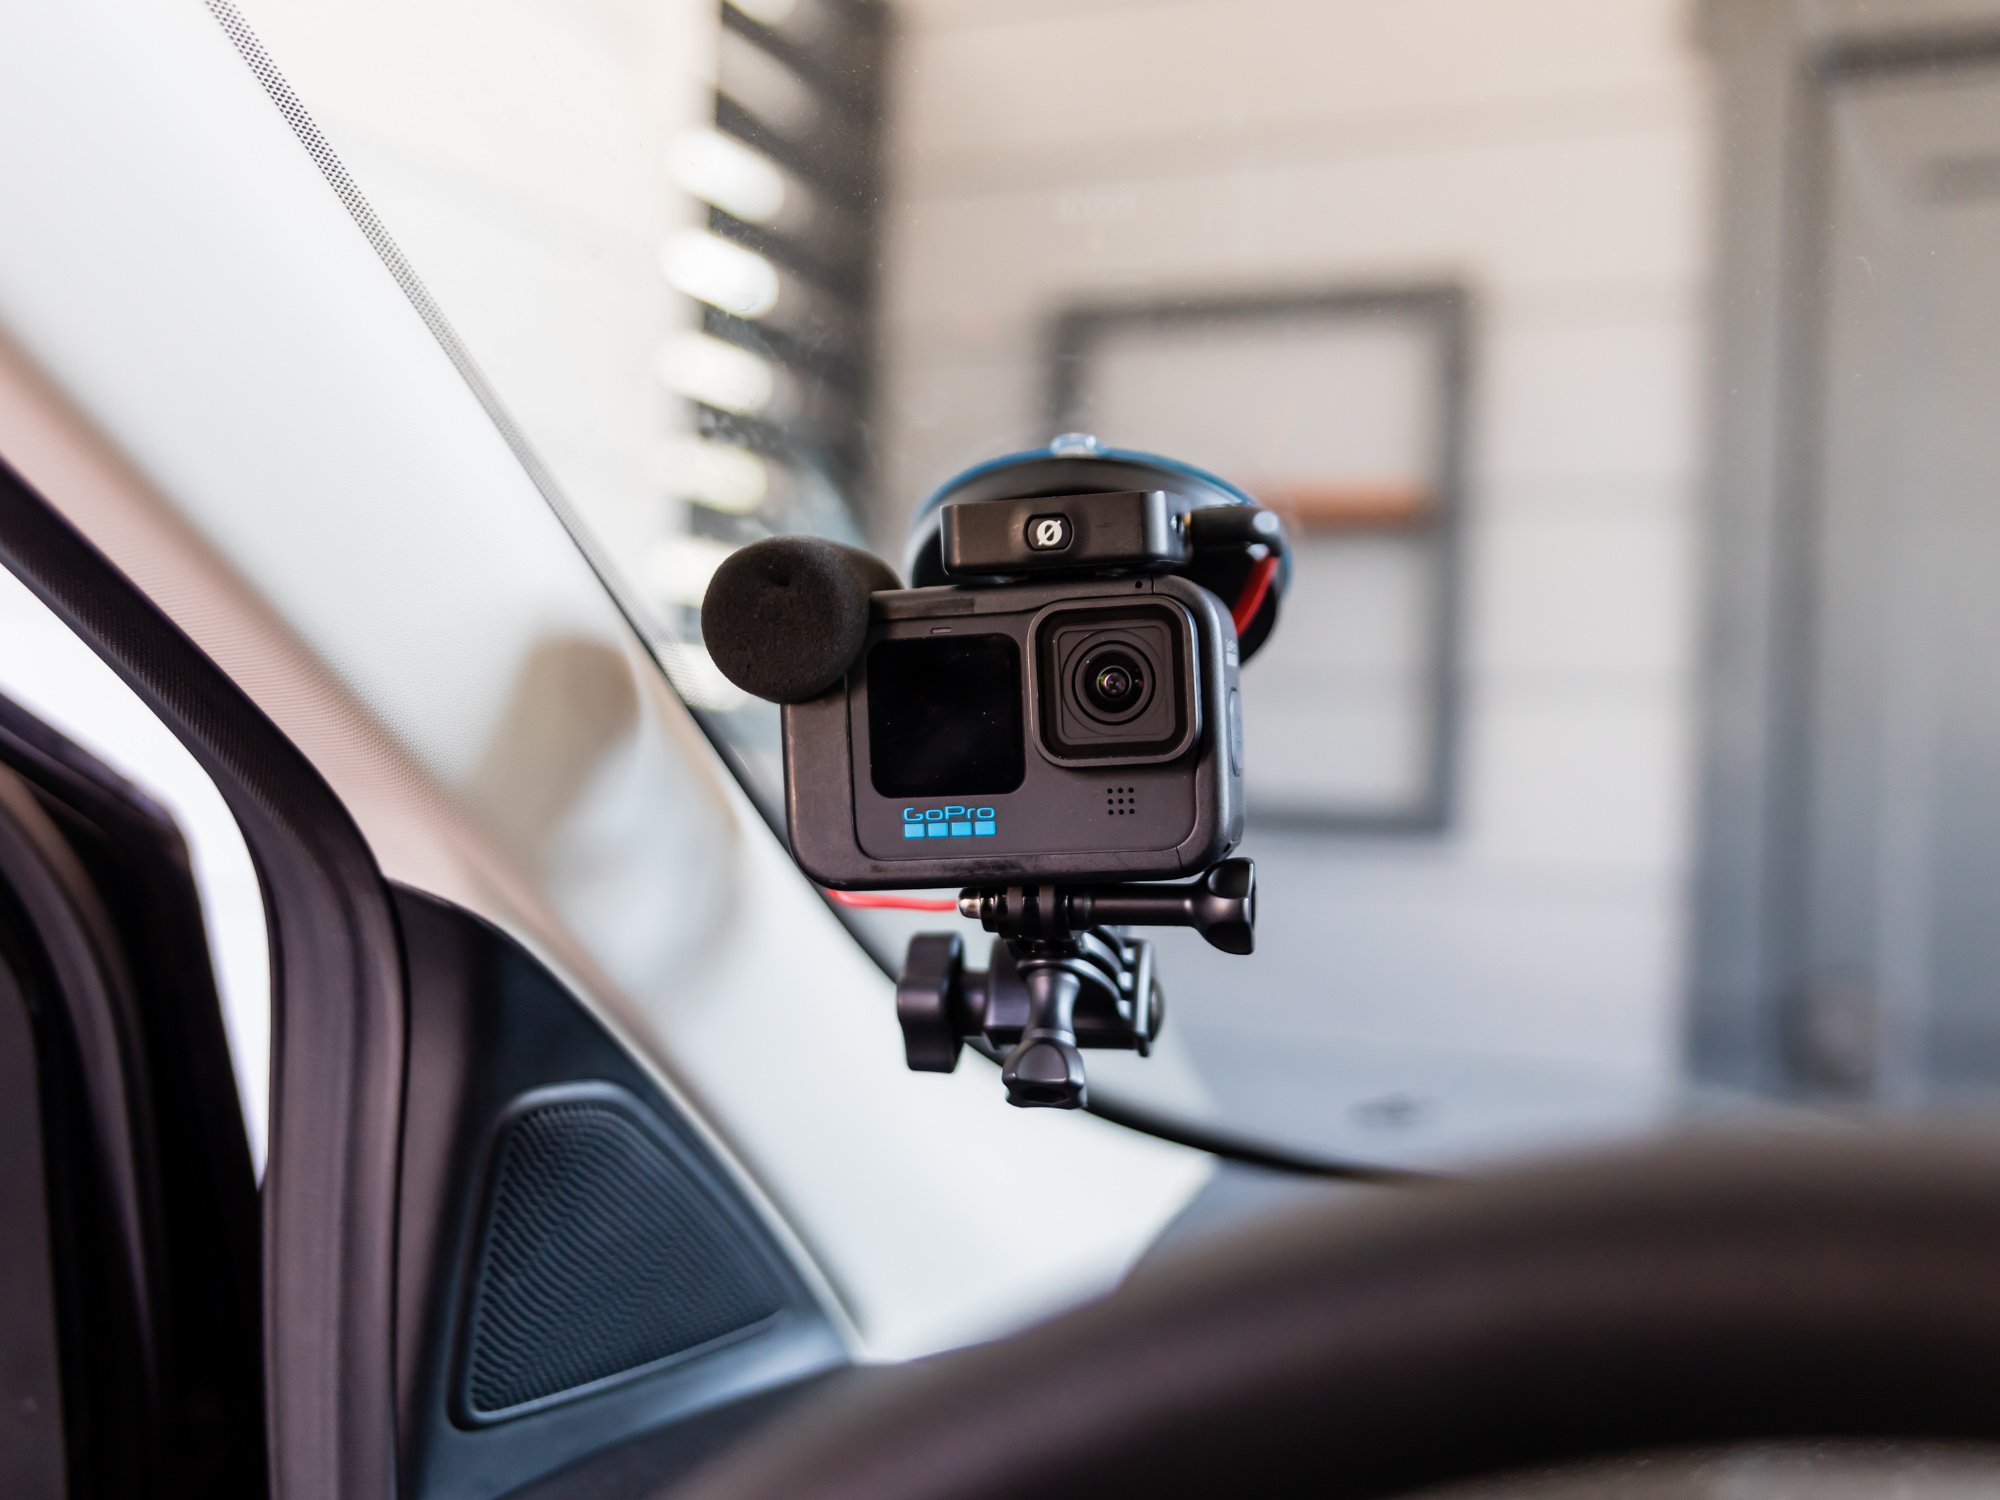
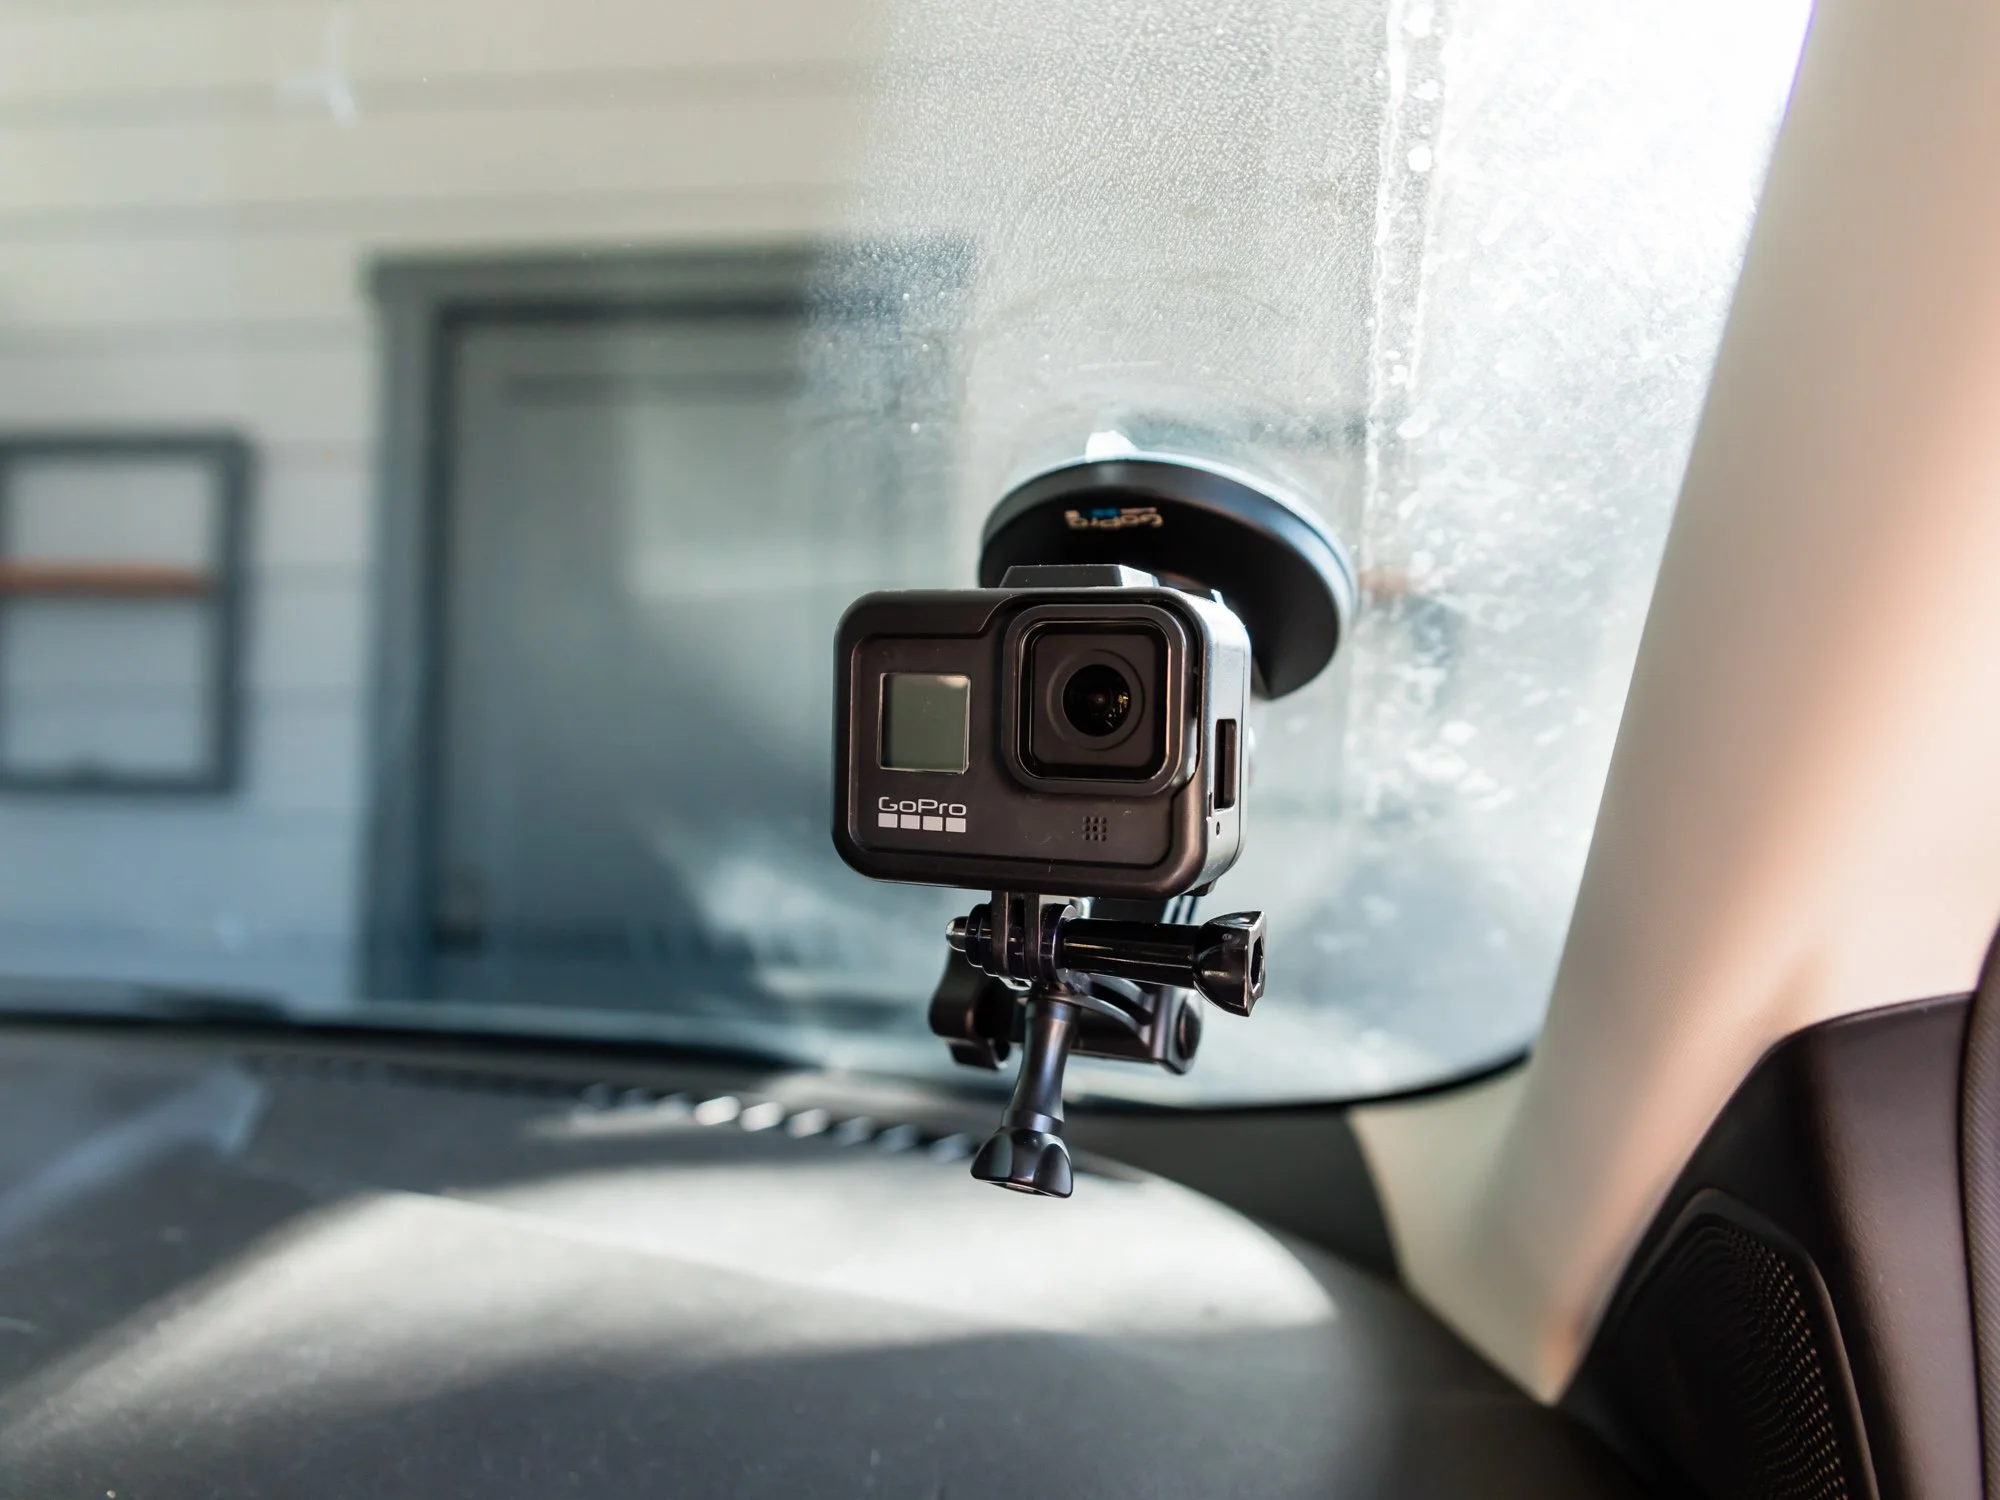
I have to use the GoPro Media Mod with this camera so that I can attach the RODE Wireless GO II Mics to it. This becomes a little tricky taking the GoPro on and off, but after you do it a few times, you get used to it and you eventually become a pro at assembling and disassembling this setup.
I mount the GoPro HERO10 onto the windshield with GoPro’s suction cup mount and it works perfectly. Once you lock it in, it does not move and stays put until you take it off.
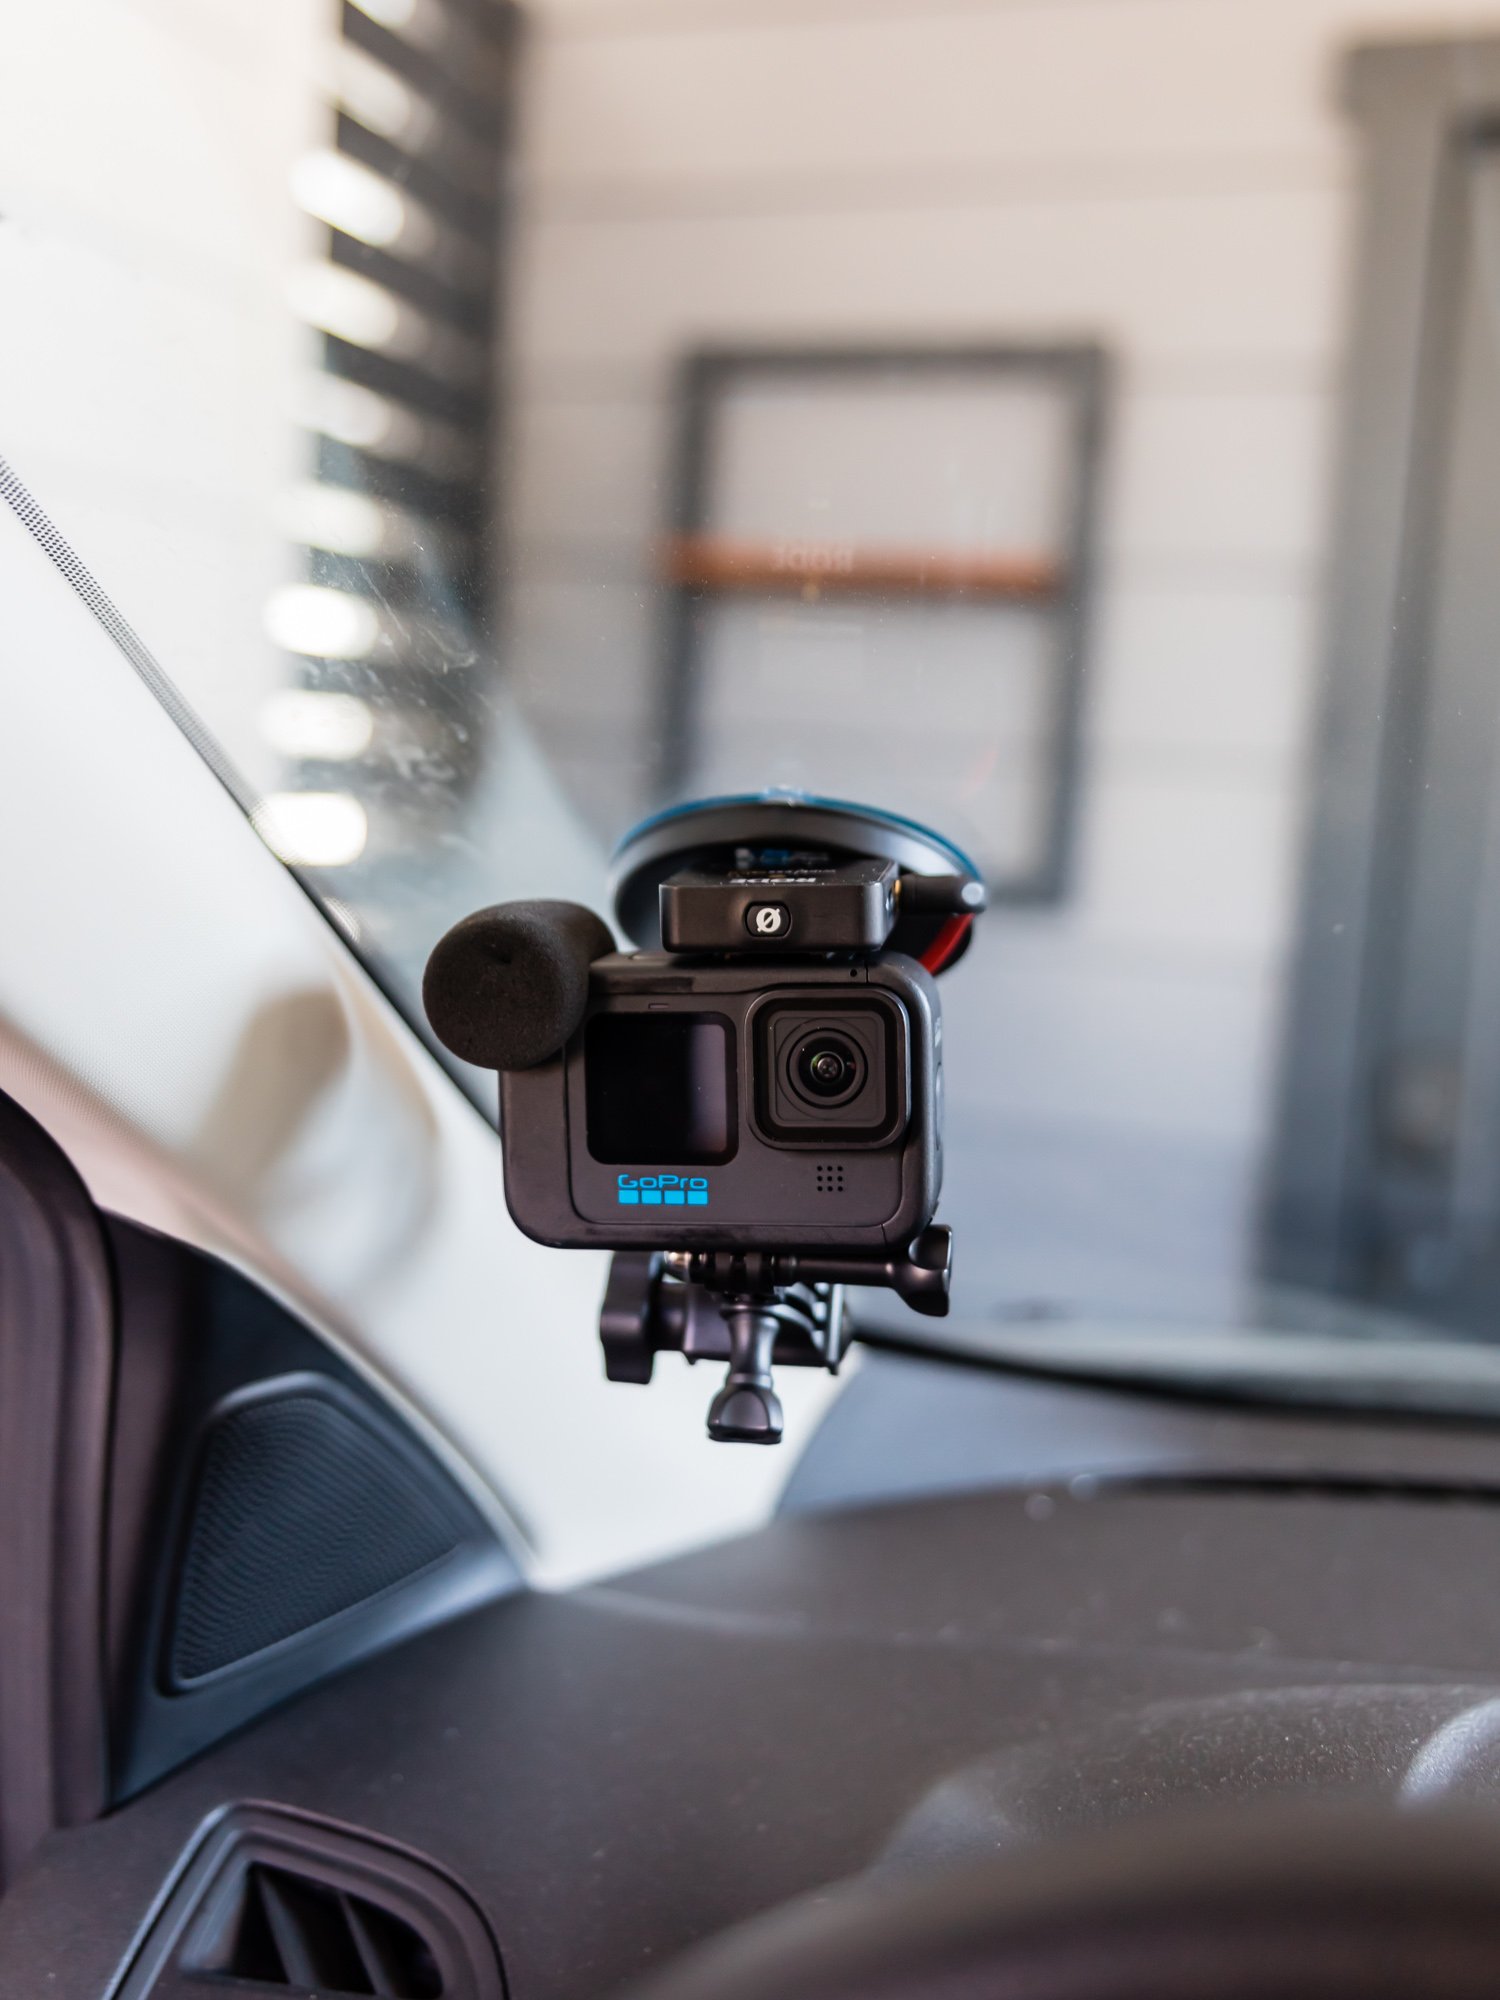
GoPro HERO10 mounted onto windshield
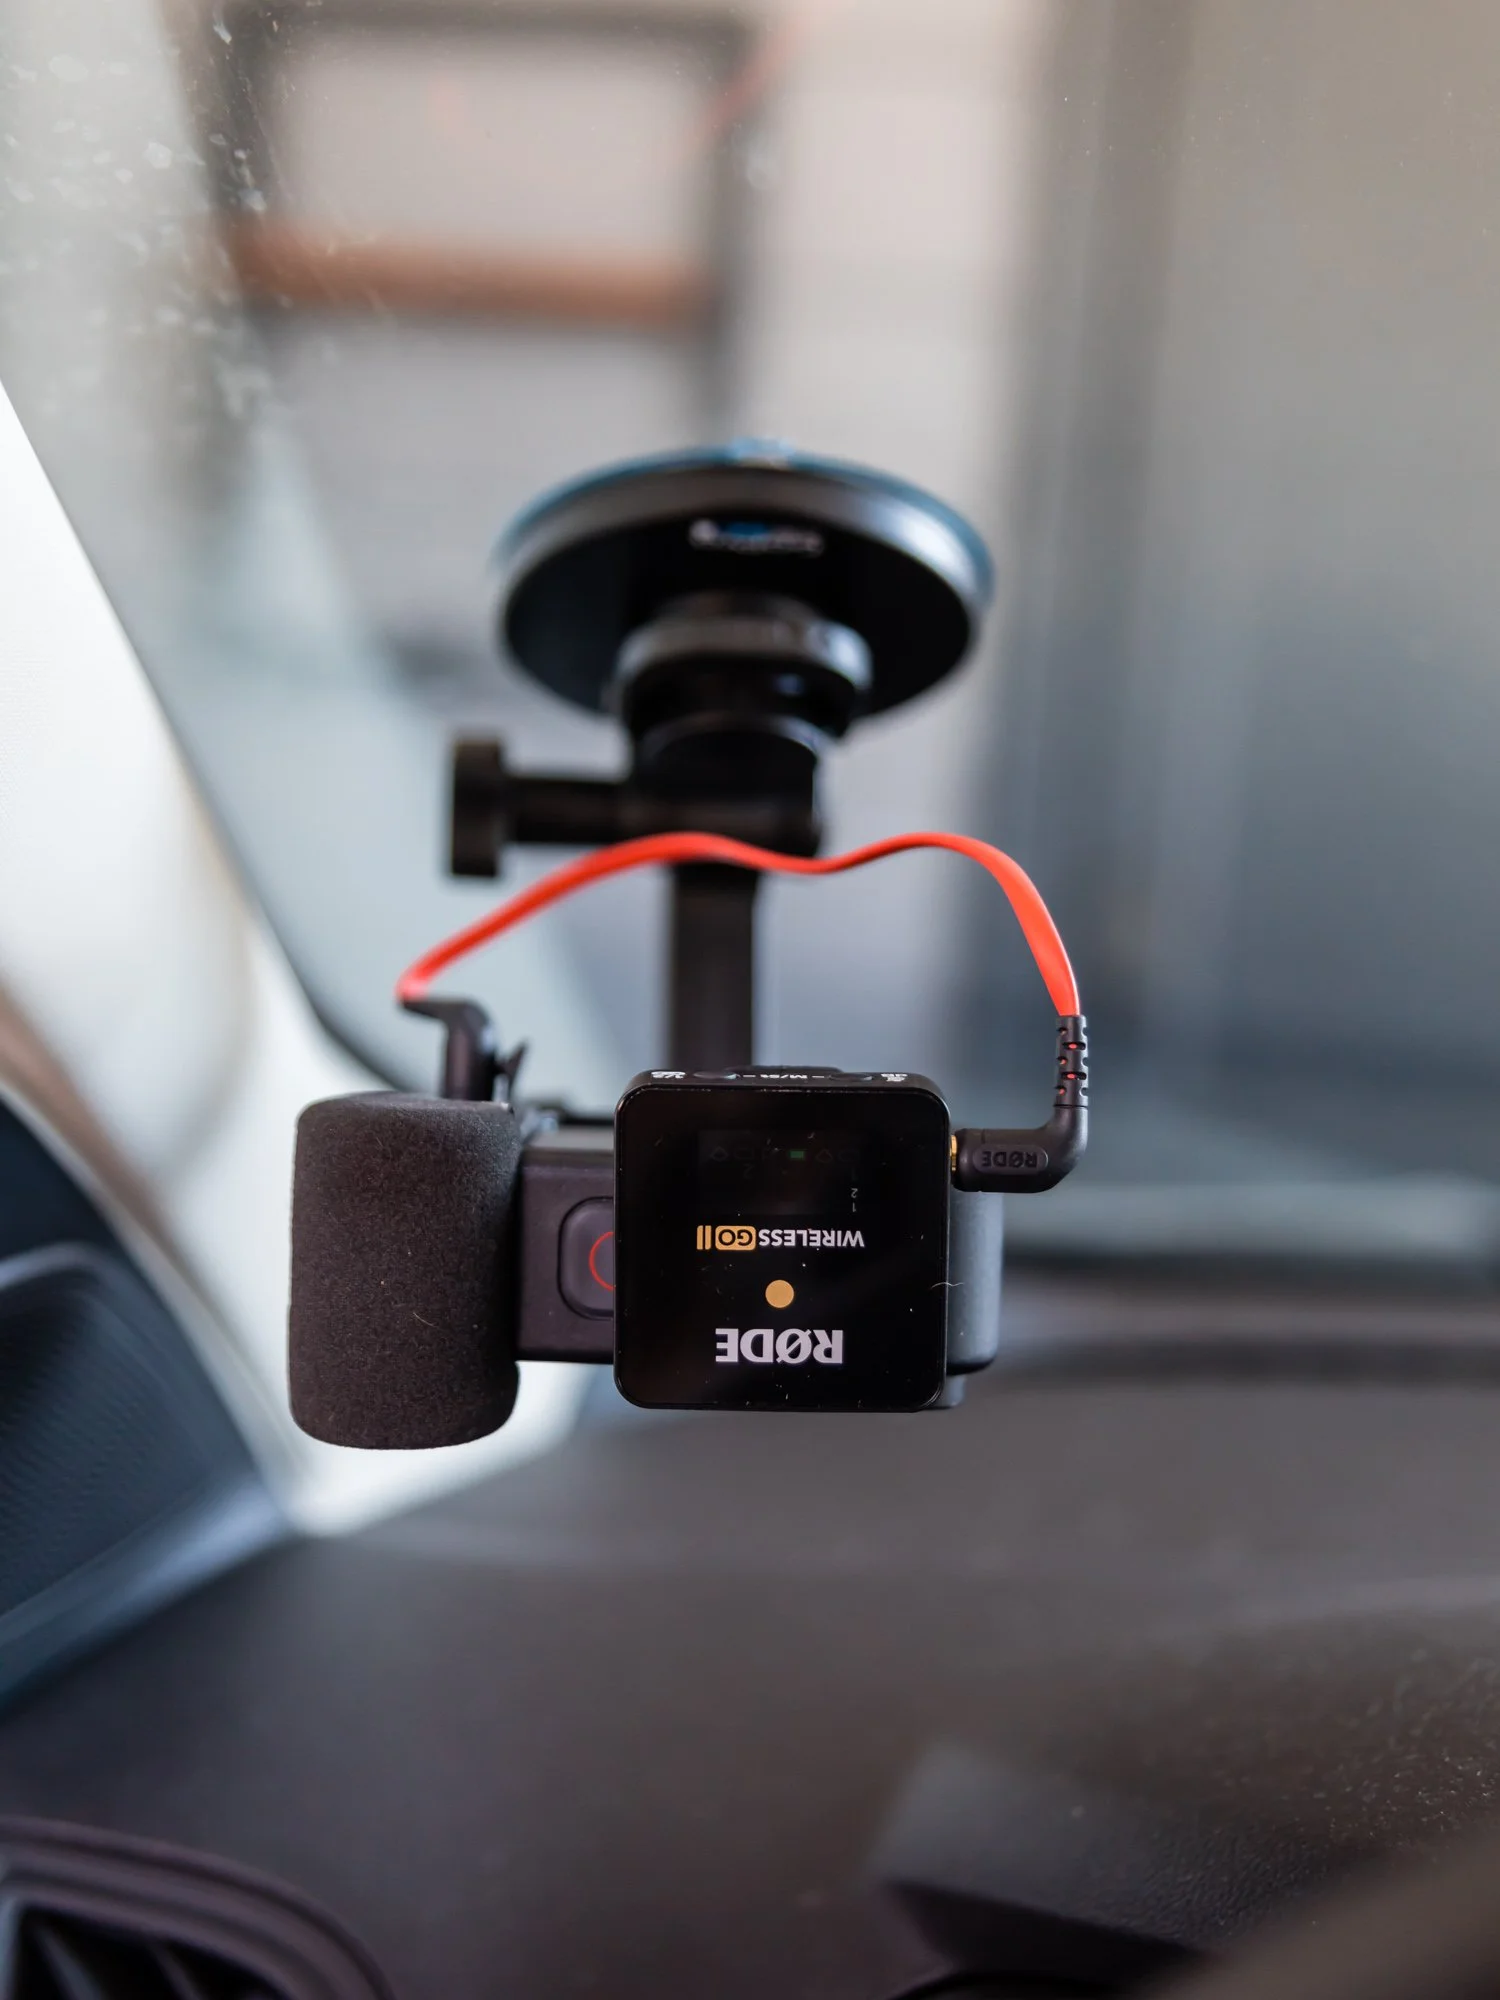
RODE Wireless GO II connected to GoPro Media Mod
Couple of things to note about the GoPro HERO10:
The camera overheats and stops recording after about 20 minutes. I thought it was because I had the RODE mics attached to it but someone else confirmed that their GoPro HERO10 overheats around 20 minutes as well.
The camera shuts down at around 30% battery life. I heard about this problem before I went on the road trip and thought that the updates fixed this, but I still had the same issues. I’m hoping their additional updates will eventually solve this problem.
CAMERA 2 - GoPro HERO9 Black - Dash Cam
The GoPro HERO9 Black shoots awesome road footage in just about any setting and I like to shoot everything in 4K. I mostly record timelapses and when I want to talk about an area, I switch to “real time”.
I love this feature on the newer GoPros where you can switch from Timelapse to Real Time easily with a click of a button on the touchscreen.
GoPro HERO9 used as a dash cam
I use the standard GoPro Adhesive Mount to hold the camera and put the camera in a housing frame case so that I can effortlessly pull out the GoPro and change the batteries when I need to. I particularly like this aluminum alloy case because it’s heavy-duty and it has a convenient magnetic closure.
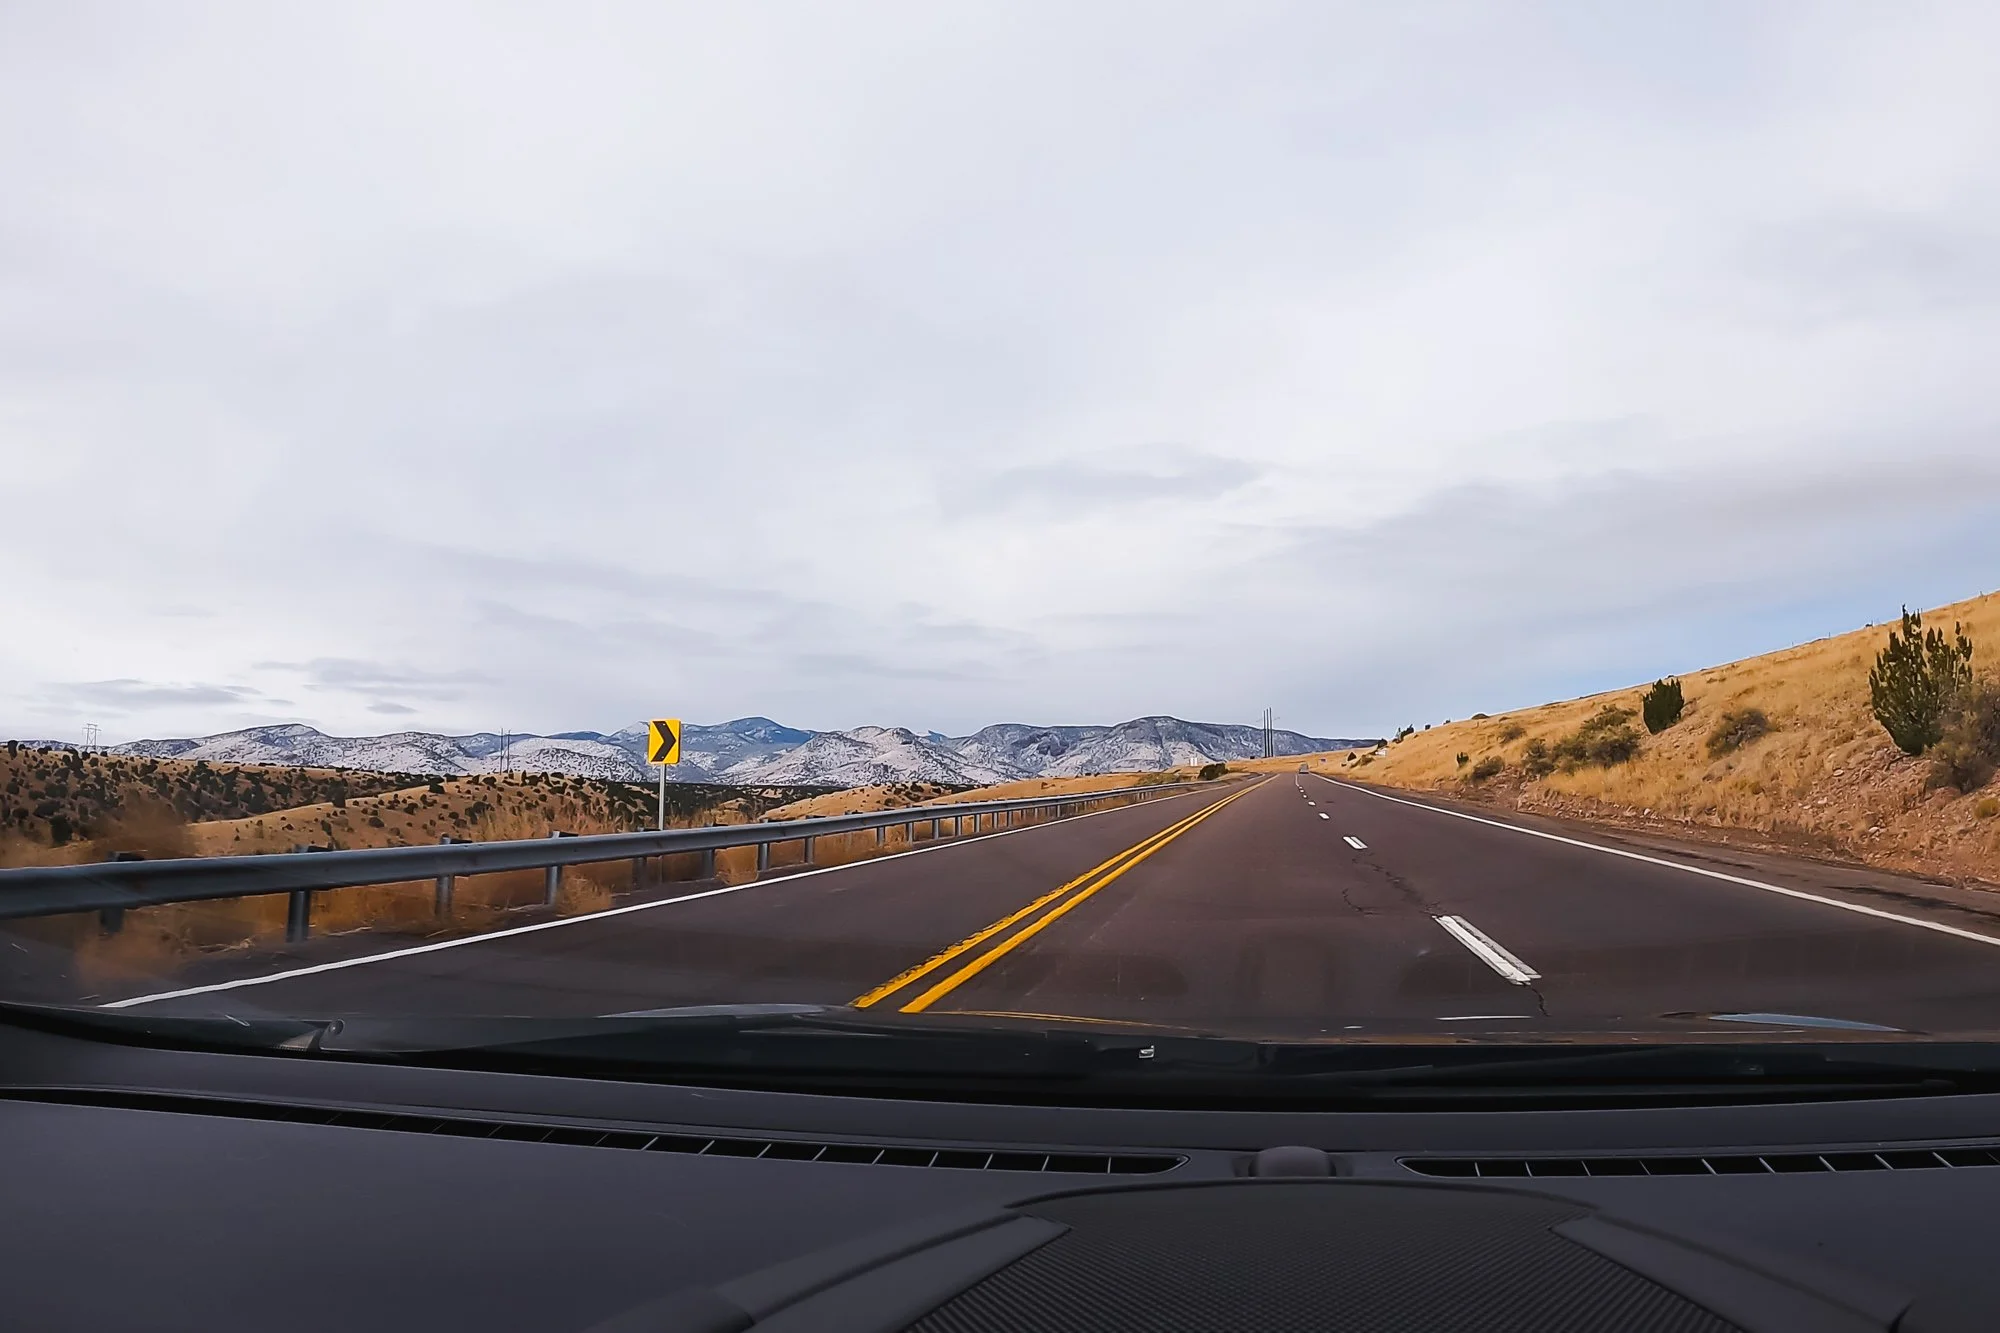
4K Footage from GoPro HERO9
Many of you have asked why I do not use a cable to charge continuously with the charging cable and the reason is that it overheats the GoPro. I tried several times charging it this way on my first road trip and it kept on doing funky things like recording footage upside down.
I’m not sure if I have a defective camera, but I don’t mind switching out the batteries.
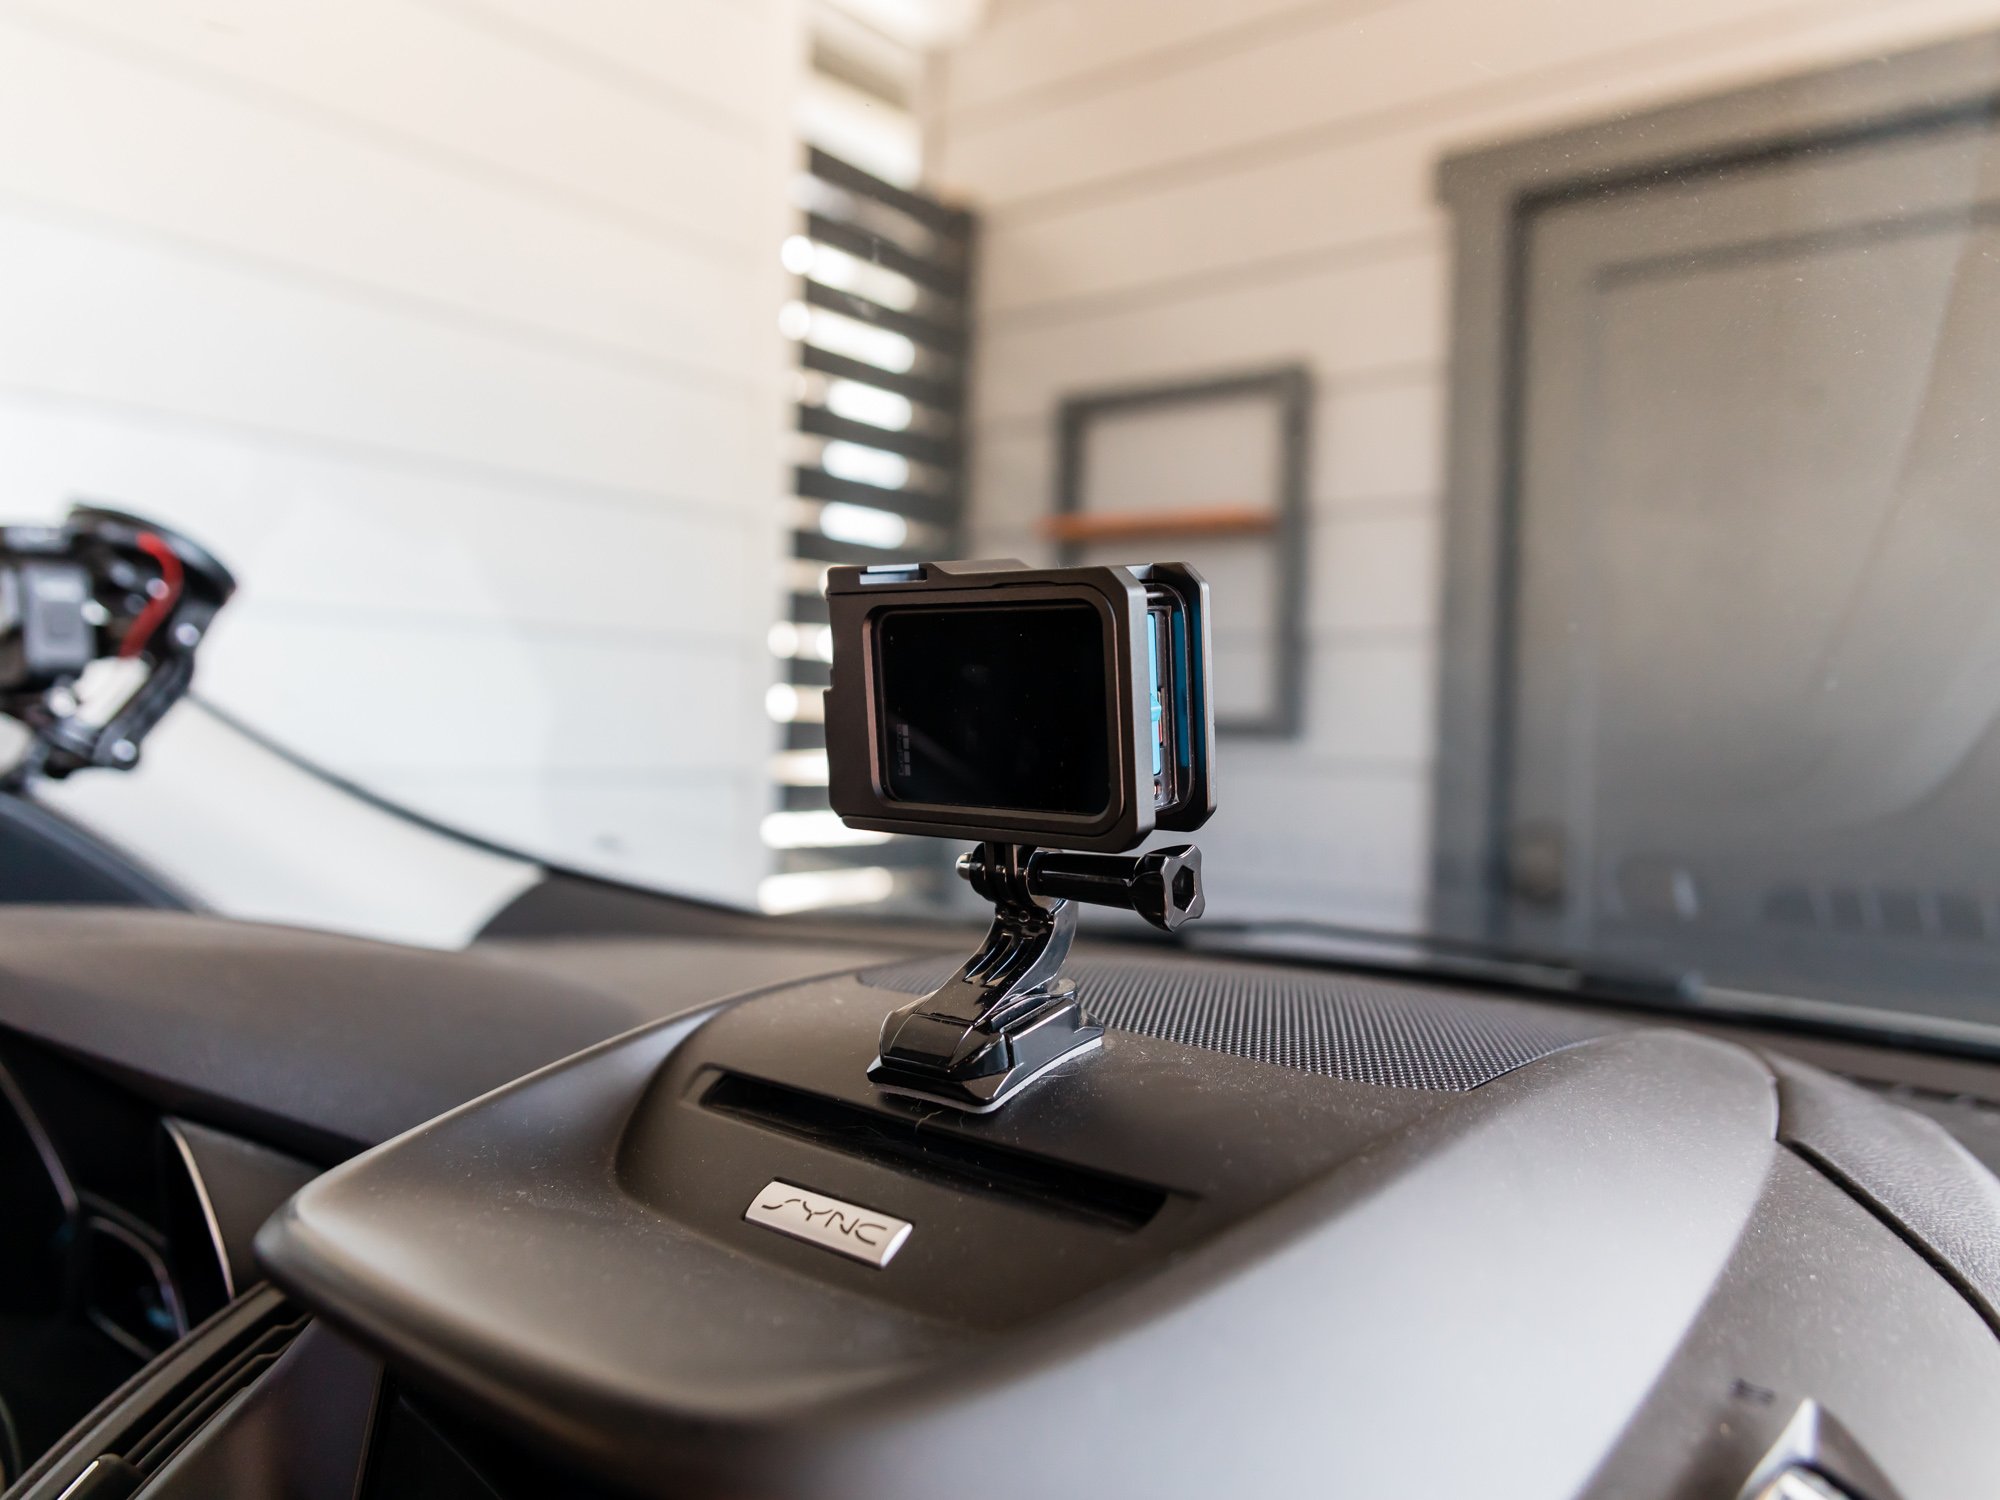
CAMERA 3 - GoPro HERO8 Black - Passenger Cam
This is the new angle I added to the road trip so that the passenger could have their own camera as well. I used my GoPro HERO8 Black. I used the same GoPro suction cup mount as the GoPro HERO10 to place onto the windshield.
I place this camera into a housing case as well so that I can switch out the batteries swiftly. I’m not able to find a metal case, but the plastic one works just fine.
GoPro HERO 8 mounted on windshield with the GoPro suction cup mount
Having this extra angle was great to make the road trip video more dynamic, but we kept on getting confused about which camera to look at. There were times when the driver was talking to the Driver Cam while the passenger was looking into the Passenger Cam, so it looked odd.
We finally figured out that when the driver is talking, we both need to look at the Driver's Cam and when the passenger is talking, they can look at the Passenger's Cam while the driver is looking at the road.
4K Footage from GoPro HERO8
When I drove back solo, I used this camera as an extra camera angle in the back seat for Kuma. I used my GoPro 3-Way Grip Tripod to place the camera in the back seat to record Kuma while she was waiting in the car for me or to grab footage of me taking Kuma out of the car.
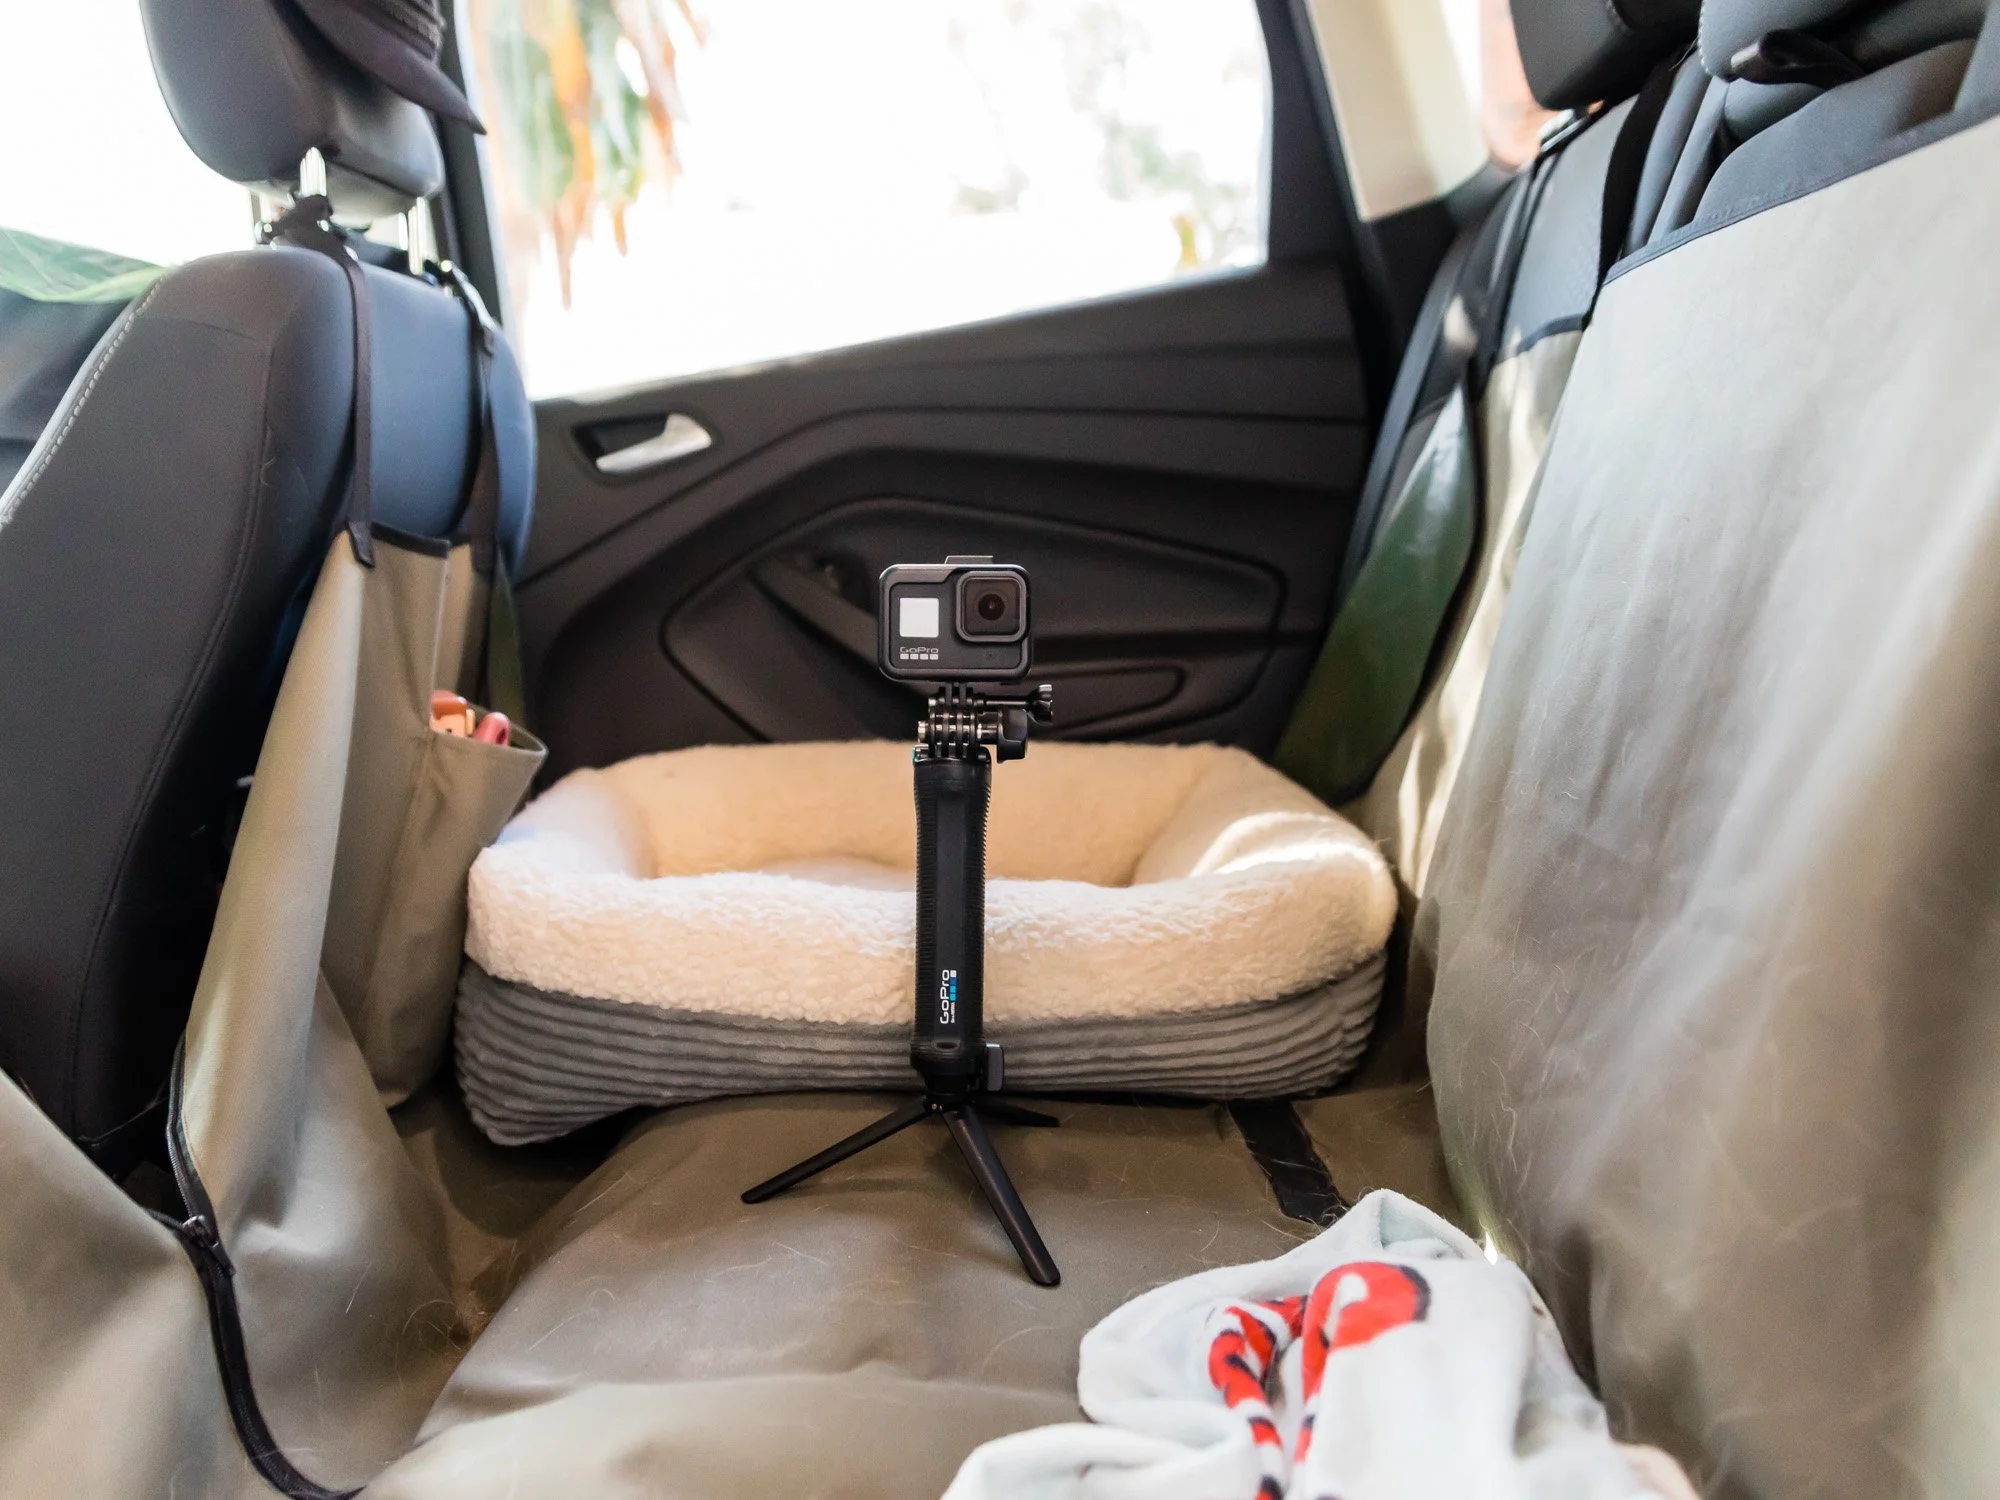
The GoPro 3-Way Grip Tripod is super handy
CAMERA 4 - GoPro HERO 6 - Back Seat Cam
Kuma always goes on road trips with me, so I also have a GoPro set up for the back seat so that I can record her as well. I usually shoot 4K Time Lapse because she’s mostly sleeping.
Plus, it doesn’t use up as much battery or space when you record a time lapse.

GoPro Hero 6 on the Magnetic Swivel Clip
You can place the GoPro on one of the windows using a suction cup mount, which I did for my first road trip, but that didn’t really work out for me because I couldn’t maneuver the camera while driving if I needed to.
The best solution I found was the GoPro Magnetic Swivel Clip. I clip this on the back of my seat or the passenger seat and it captures the perfect angle of the back seat. Plus, I’m able to move the camera if I need to.

Kuma in the back seat shot on the GoPro Hero6 at 4K
AUDIO RECORDING DEVICE
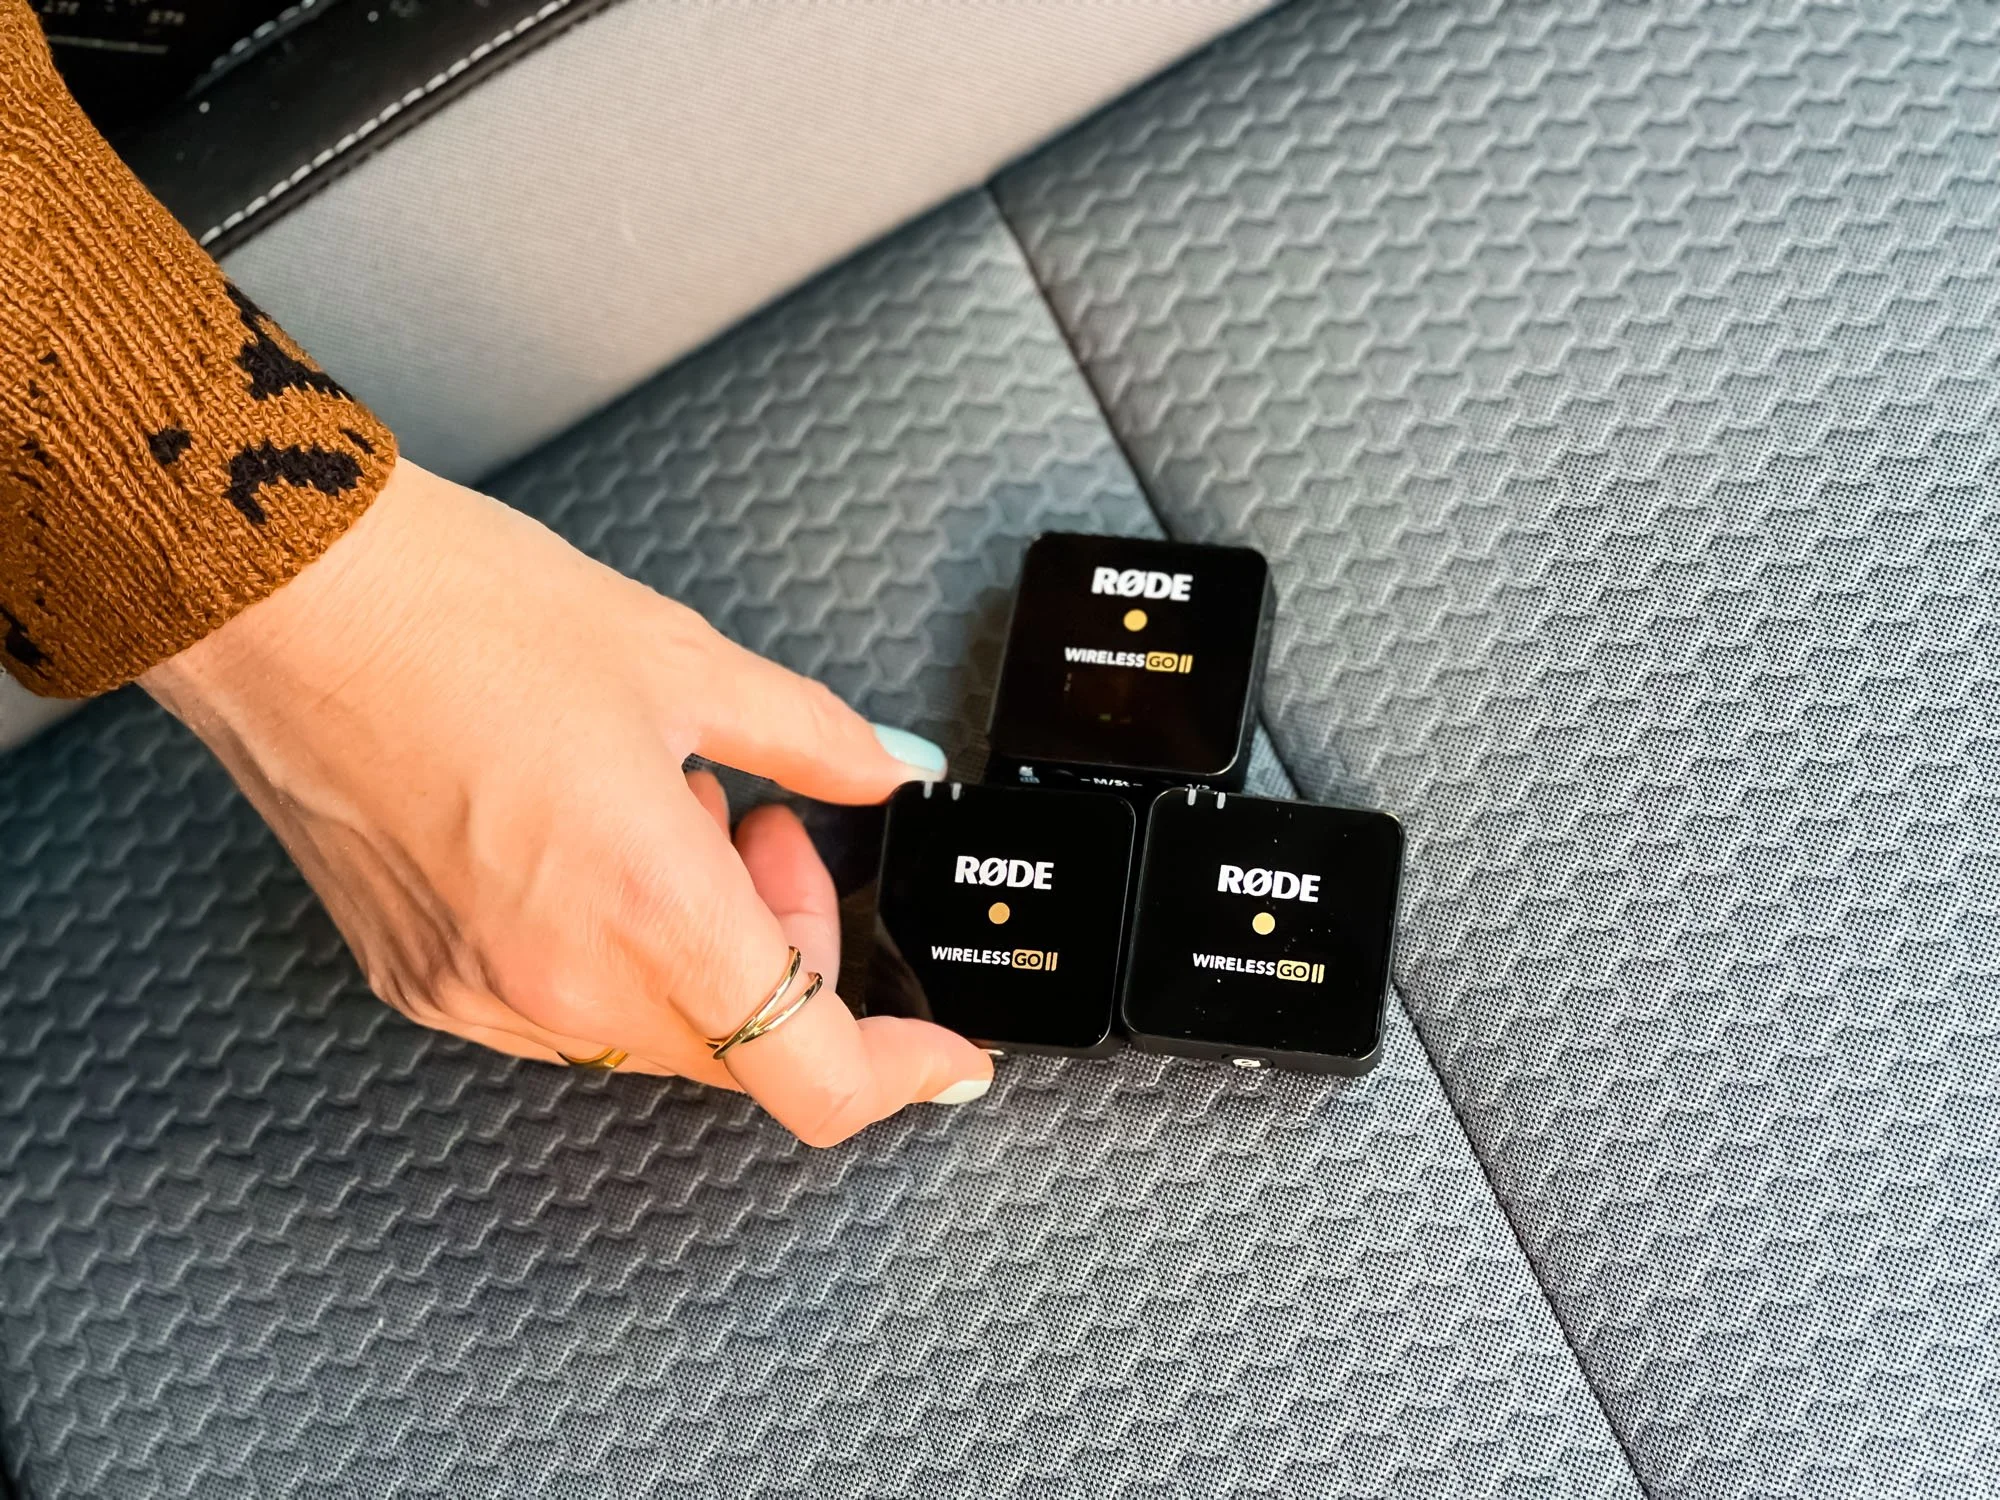
This was another new big purchase I made for this road trip and I am so glad I invested in these mics. The audio quality is excellent and it is so convenient to use. I can see why a lot of people use these mics.
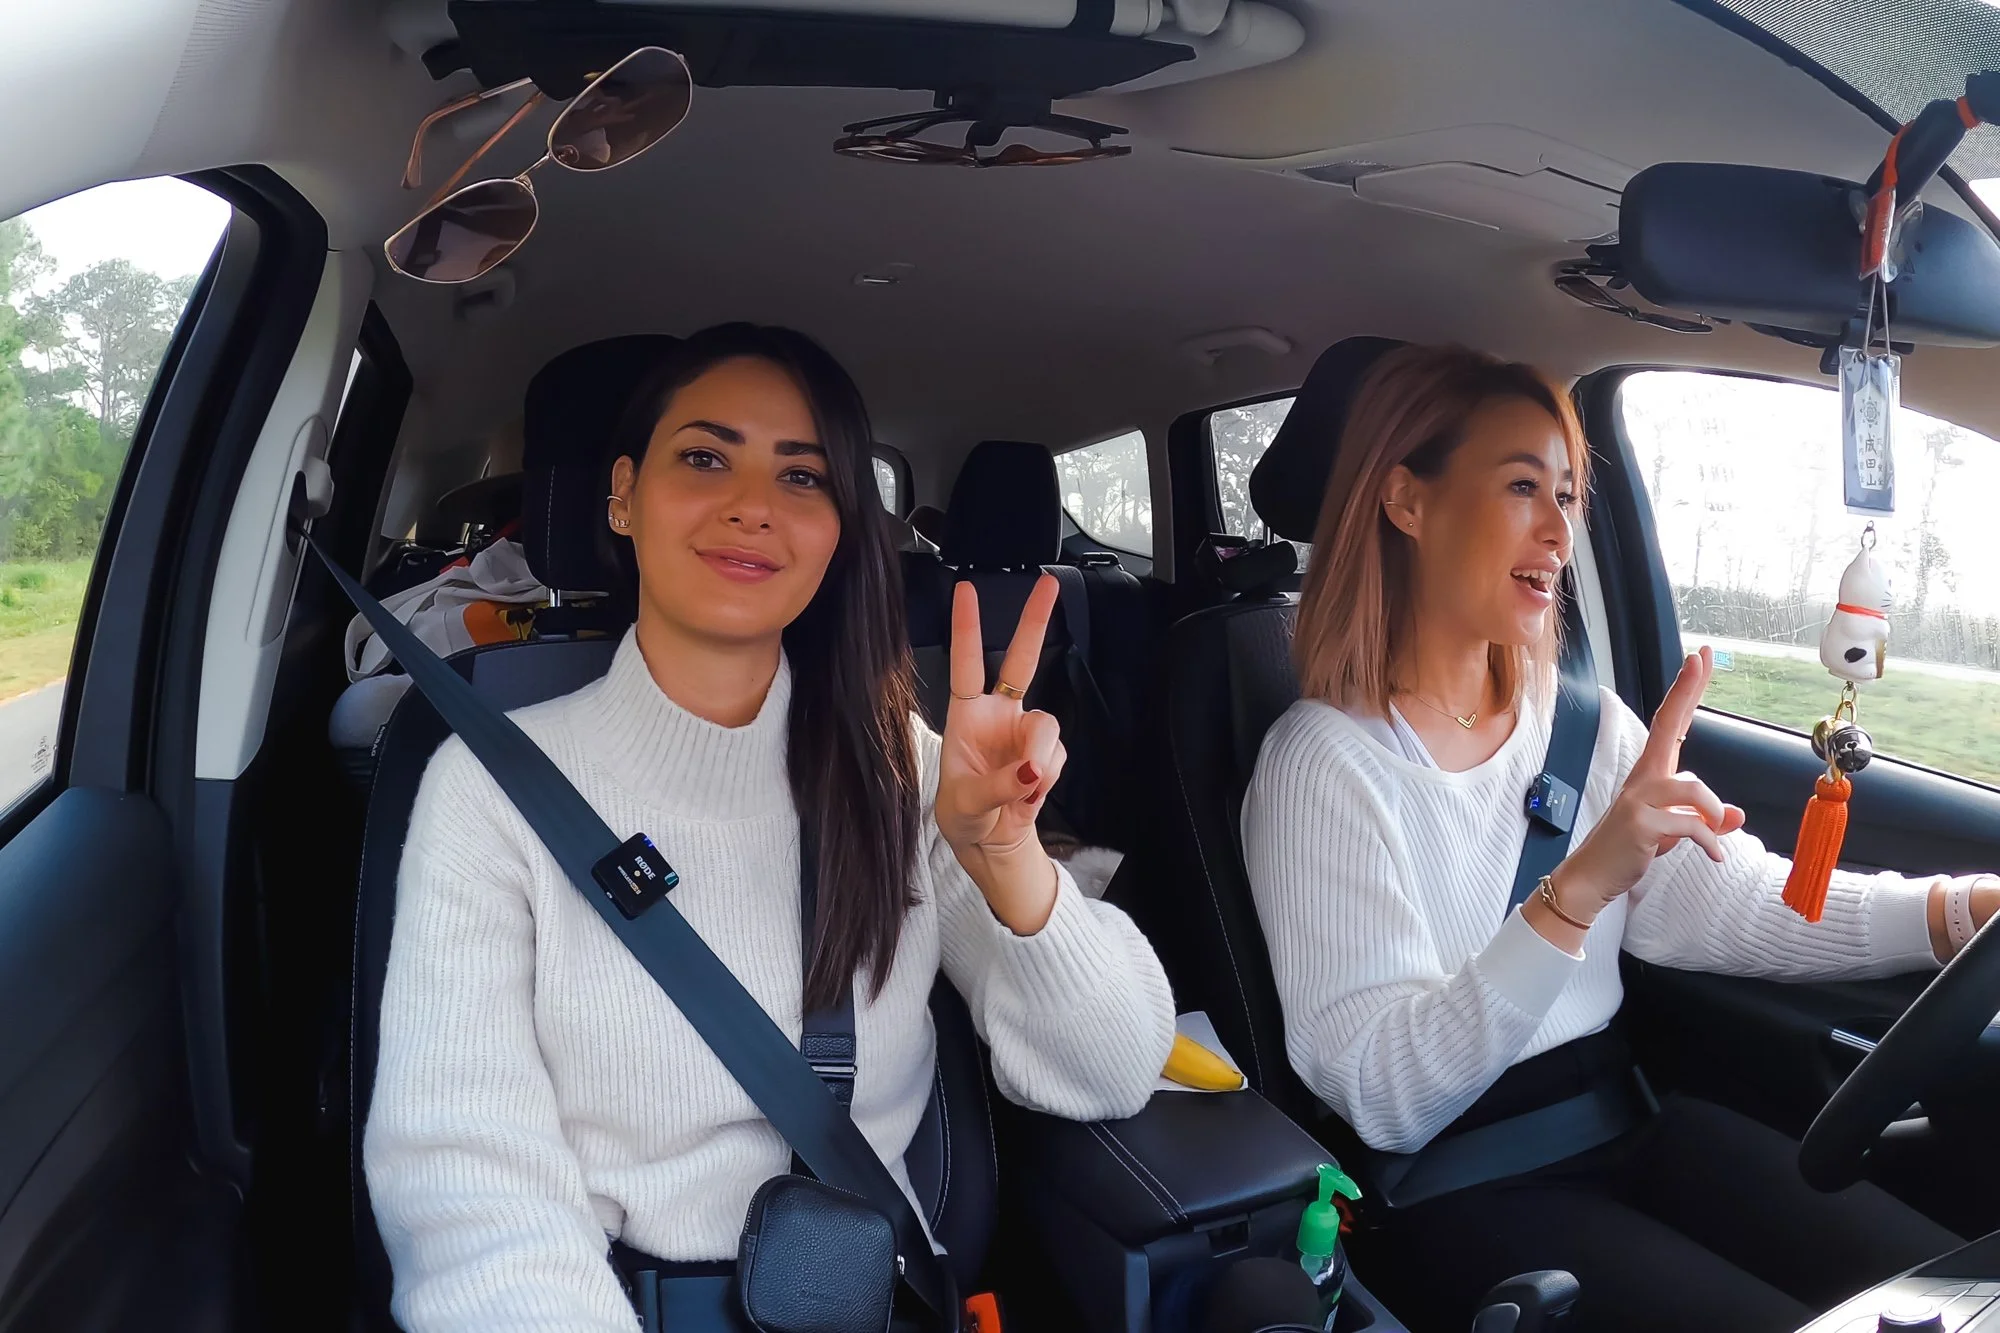
I simply attached the receiver to the GoPro with the Media Mod and we clipped the transmitters onto our seatbelts. Everything is recorded and synced with the camera, so you don’t have to worry about syncing audio later in post-production.
You will still hear some wind noise in the car, but I did not have to add any audio effects in post to get rid of extra noise like I previously had to. These mics are wonderful.
When we were out of the car, we used these mics as well and attached the transmitters to our Bandolier phone straps. You can also attach it to your purse, backpack, jacket sleeve, etc. I even did tests where I hid the mic underneath my shirt and the audio quality was still great.
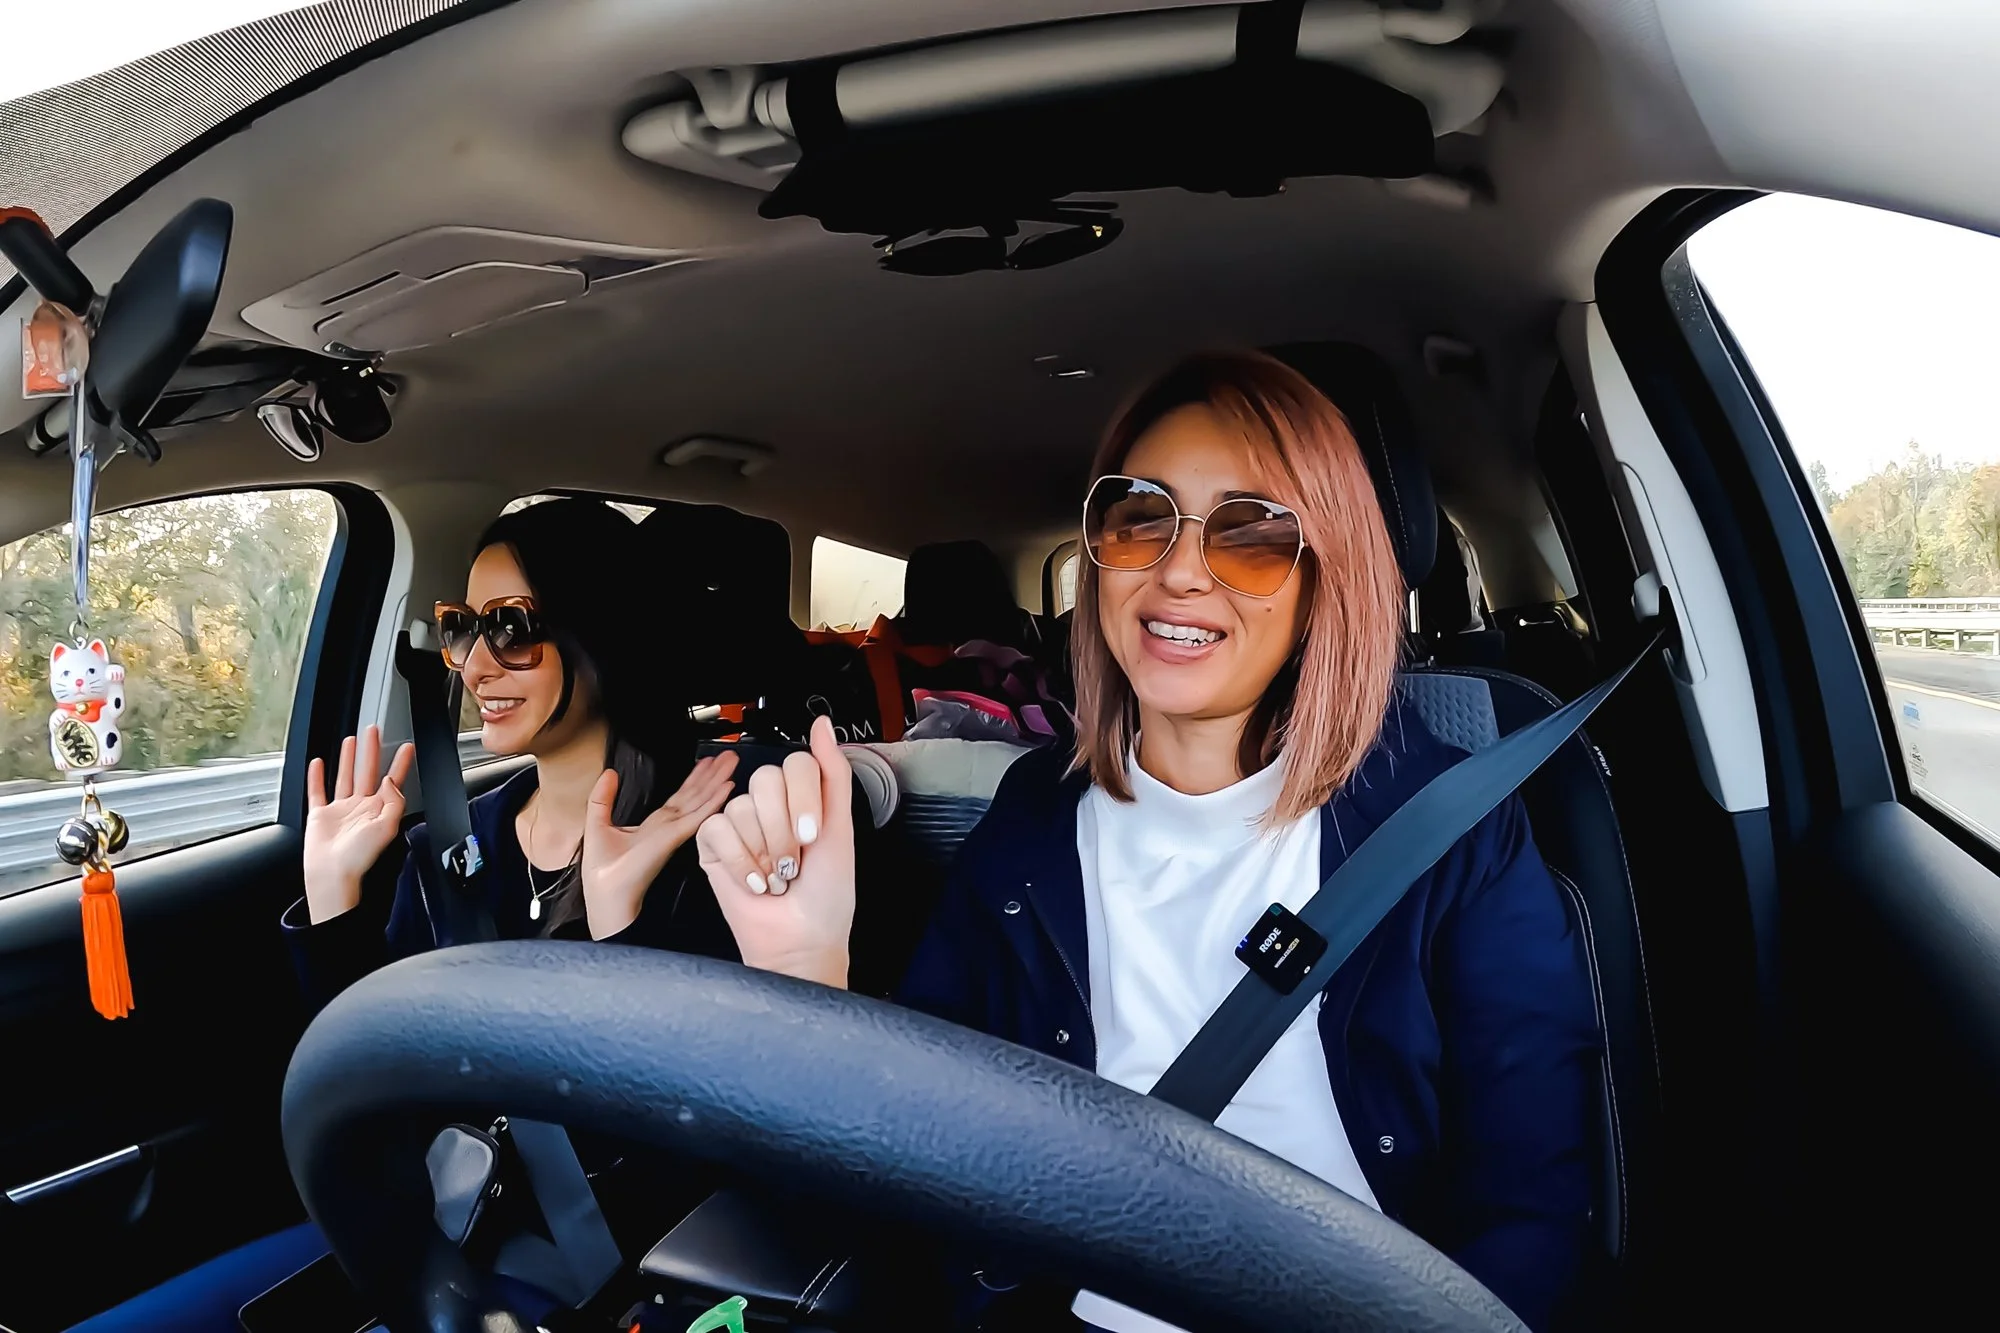
RODE Wireless GO II mics attached to our seatbelts
One thing to note is to make sure EVERYTHING is turned on and plugged in. There was one instance (during my tests) where I accidentally didn’t have the cable plugged in all the way to the GoPro, so I had no audio with the footage; which basically made the footage useless.
I used to use this device as my main audio recorder, but now I use it as my backup. As I mentioned, there can be times when you accidentally forget to turn on the RODE mics or a cable might become loose, so I always like to have a backup audio source just in case.
If you end up using the audio from the Zoom H1n Recorder, you will have to sync the audio manually in post. It’s not as complicated as it sounds; it’s actually pretty easy and doesn’t take much practice to get the hang of it.
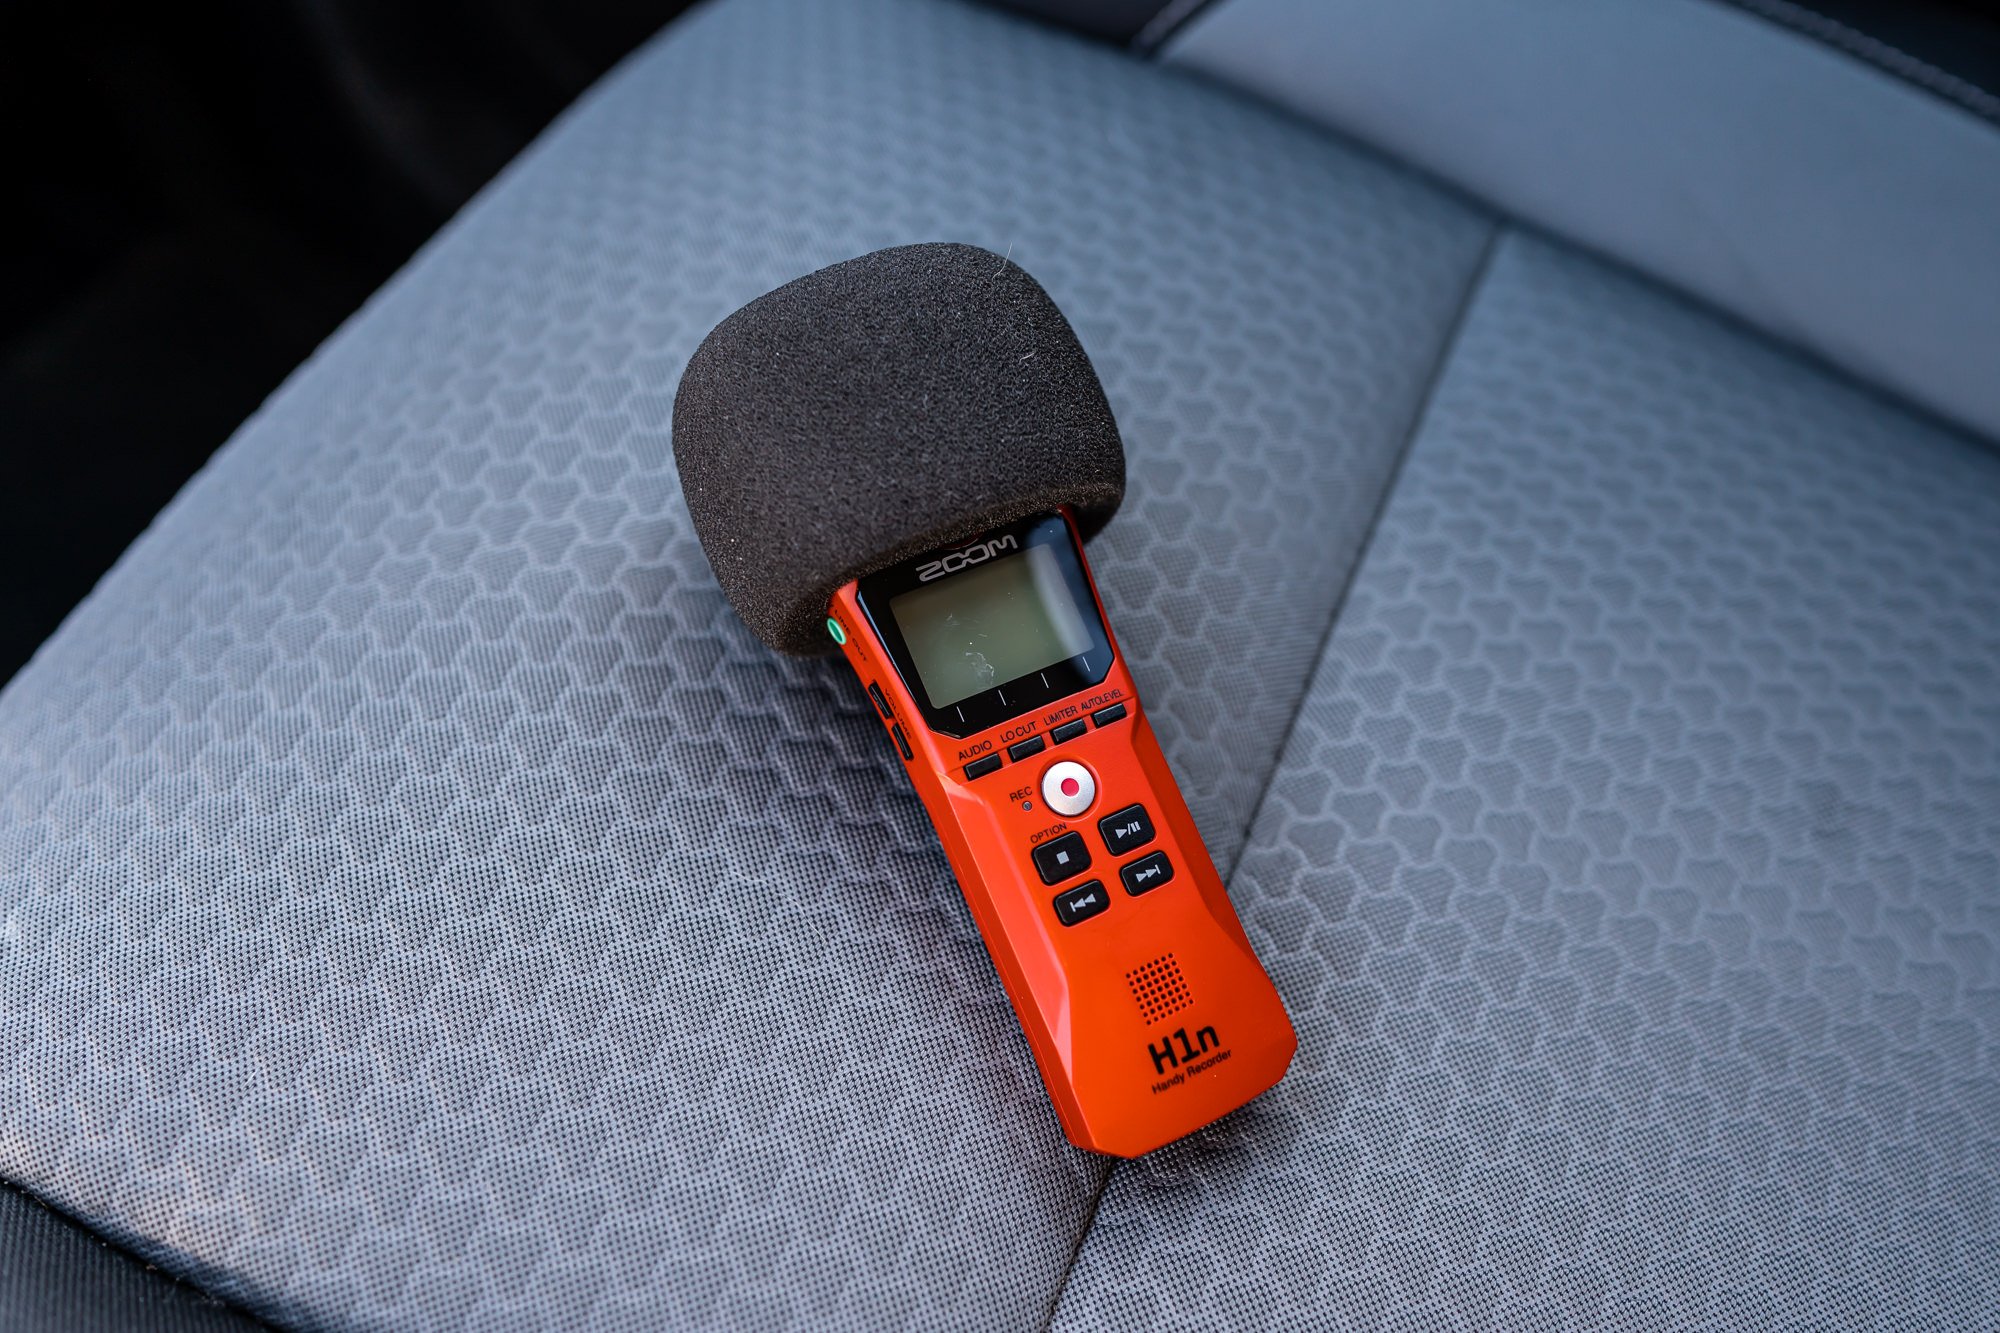
Zoom H1N Digital Recorder as a backup audio recorder
I place the digital recorder in the center console where the armrest is between the driver and passenger and have some sort of cushioning around it so that it stays put.
CHARGING CASES
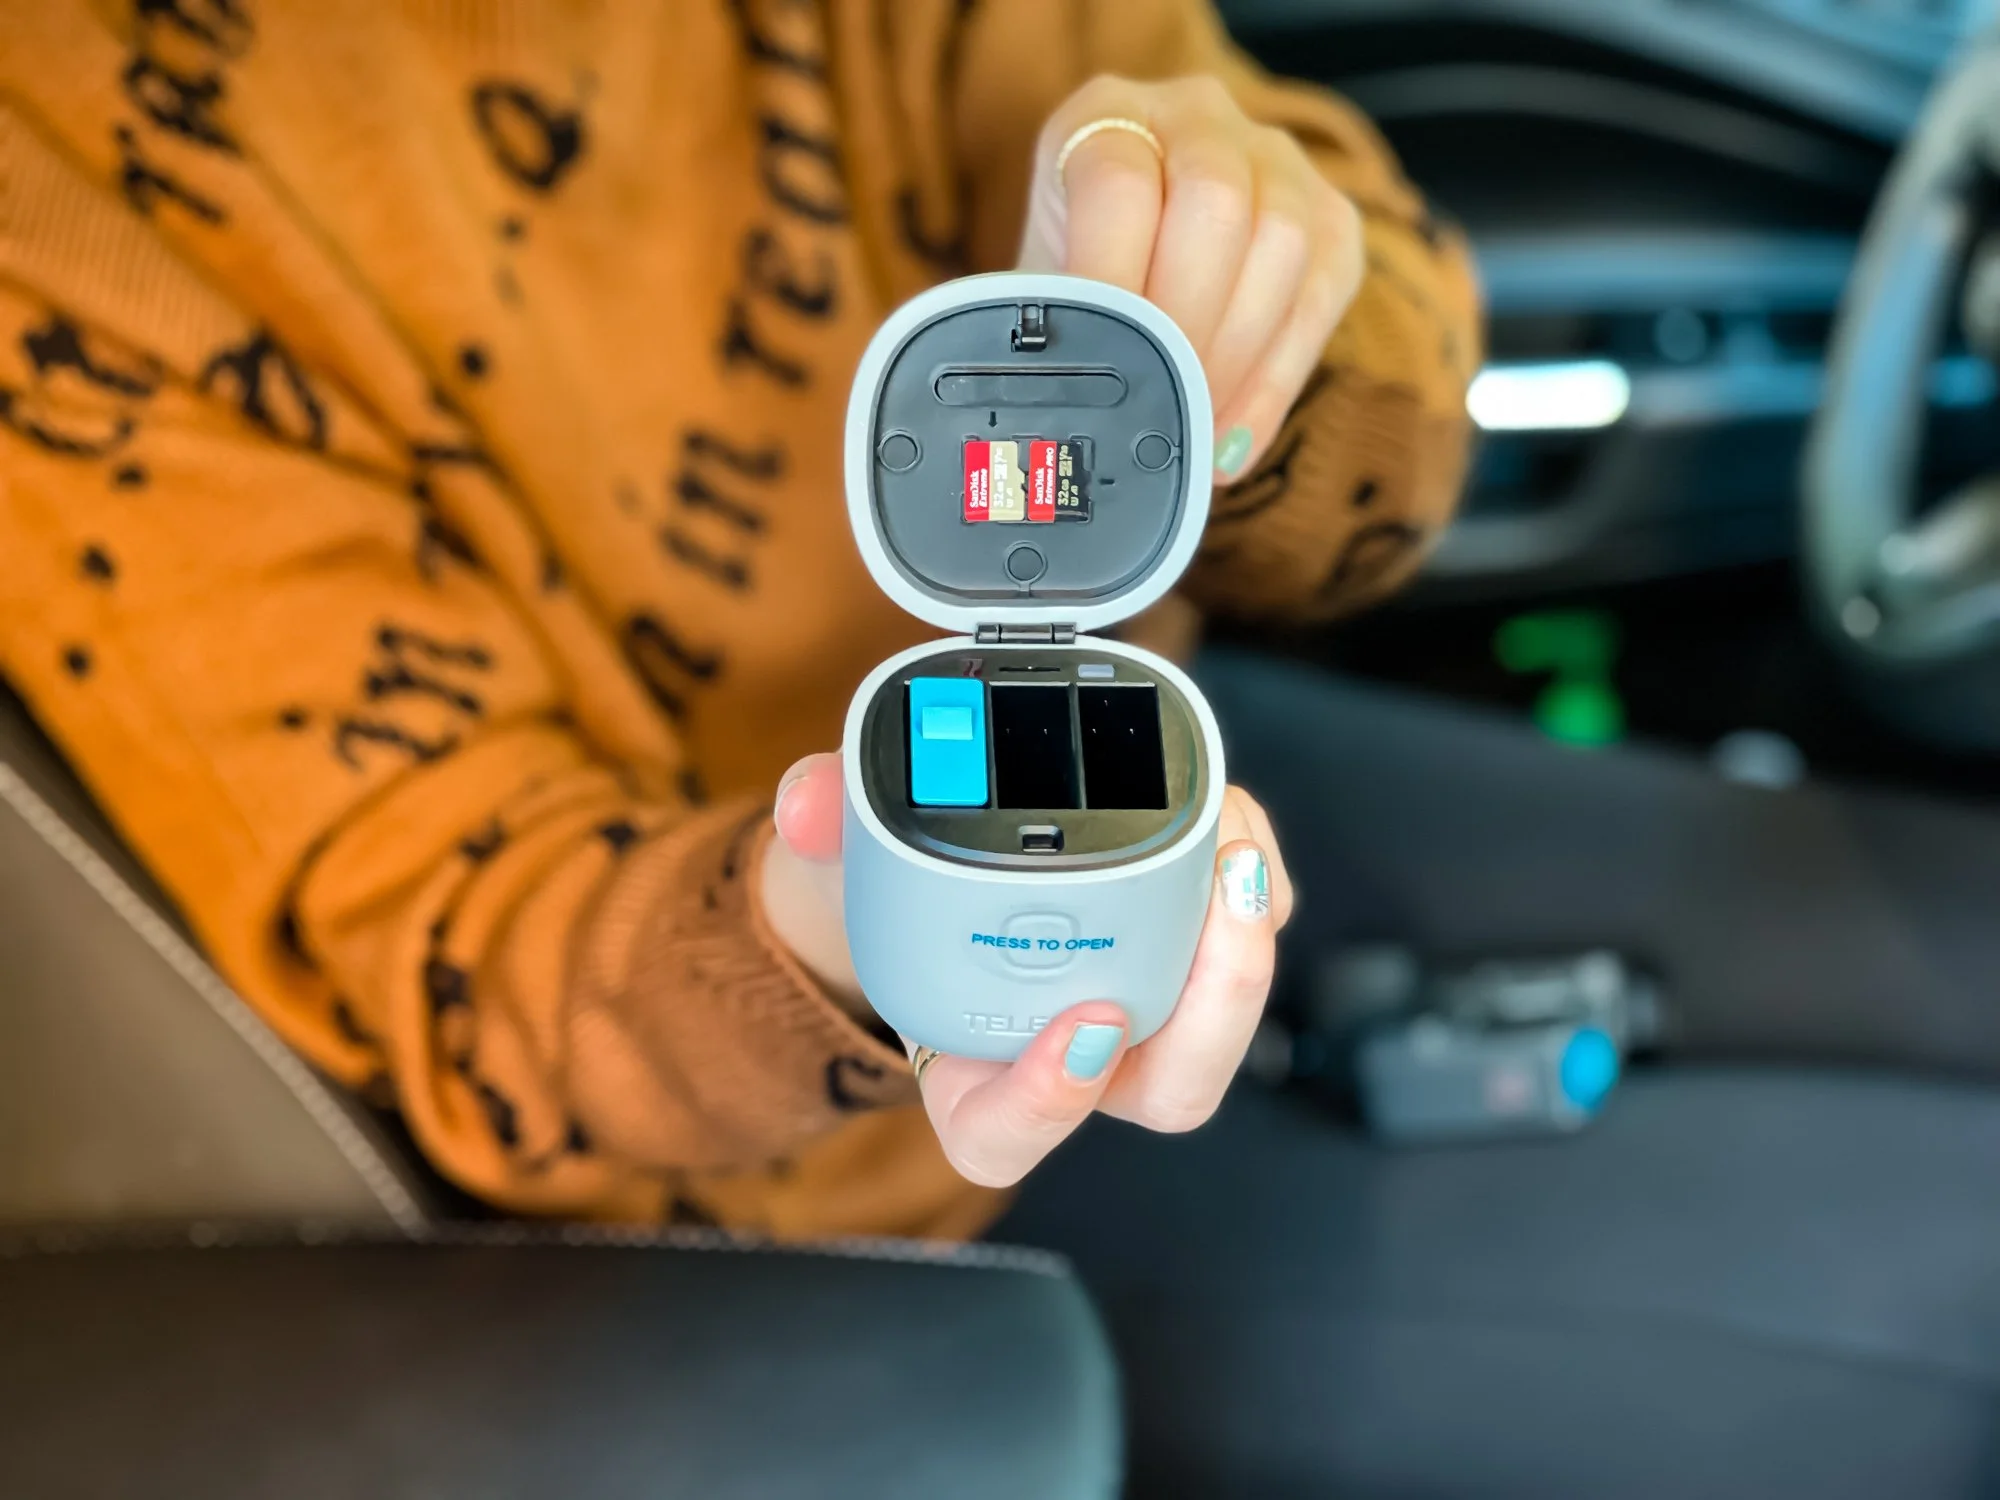
Telesin Allin Box GoPro Battery Charger
Having a charging case on the road for your GoPro batteries is super useful so that you’ll always have fully charged batteries on hand. I particularly love this charging box because it can do multiple things: it charges three batteries at once, it stores two microSD cards, and it acts as an SD card reader.
I place the charging box to the side with a cable that’s hooked up to the USB car charger adapter.
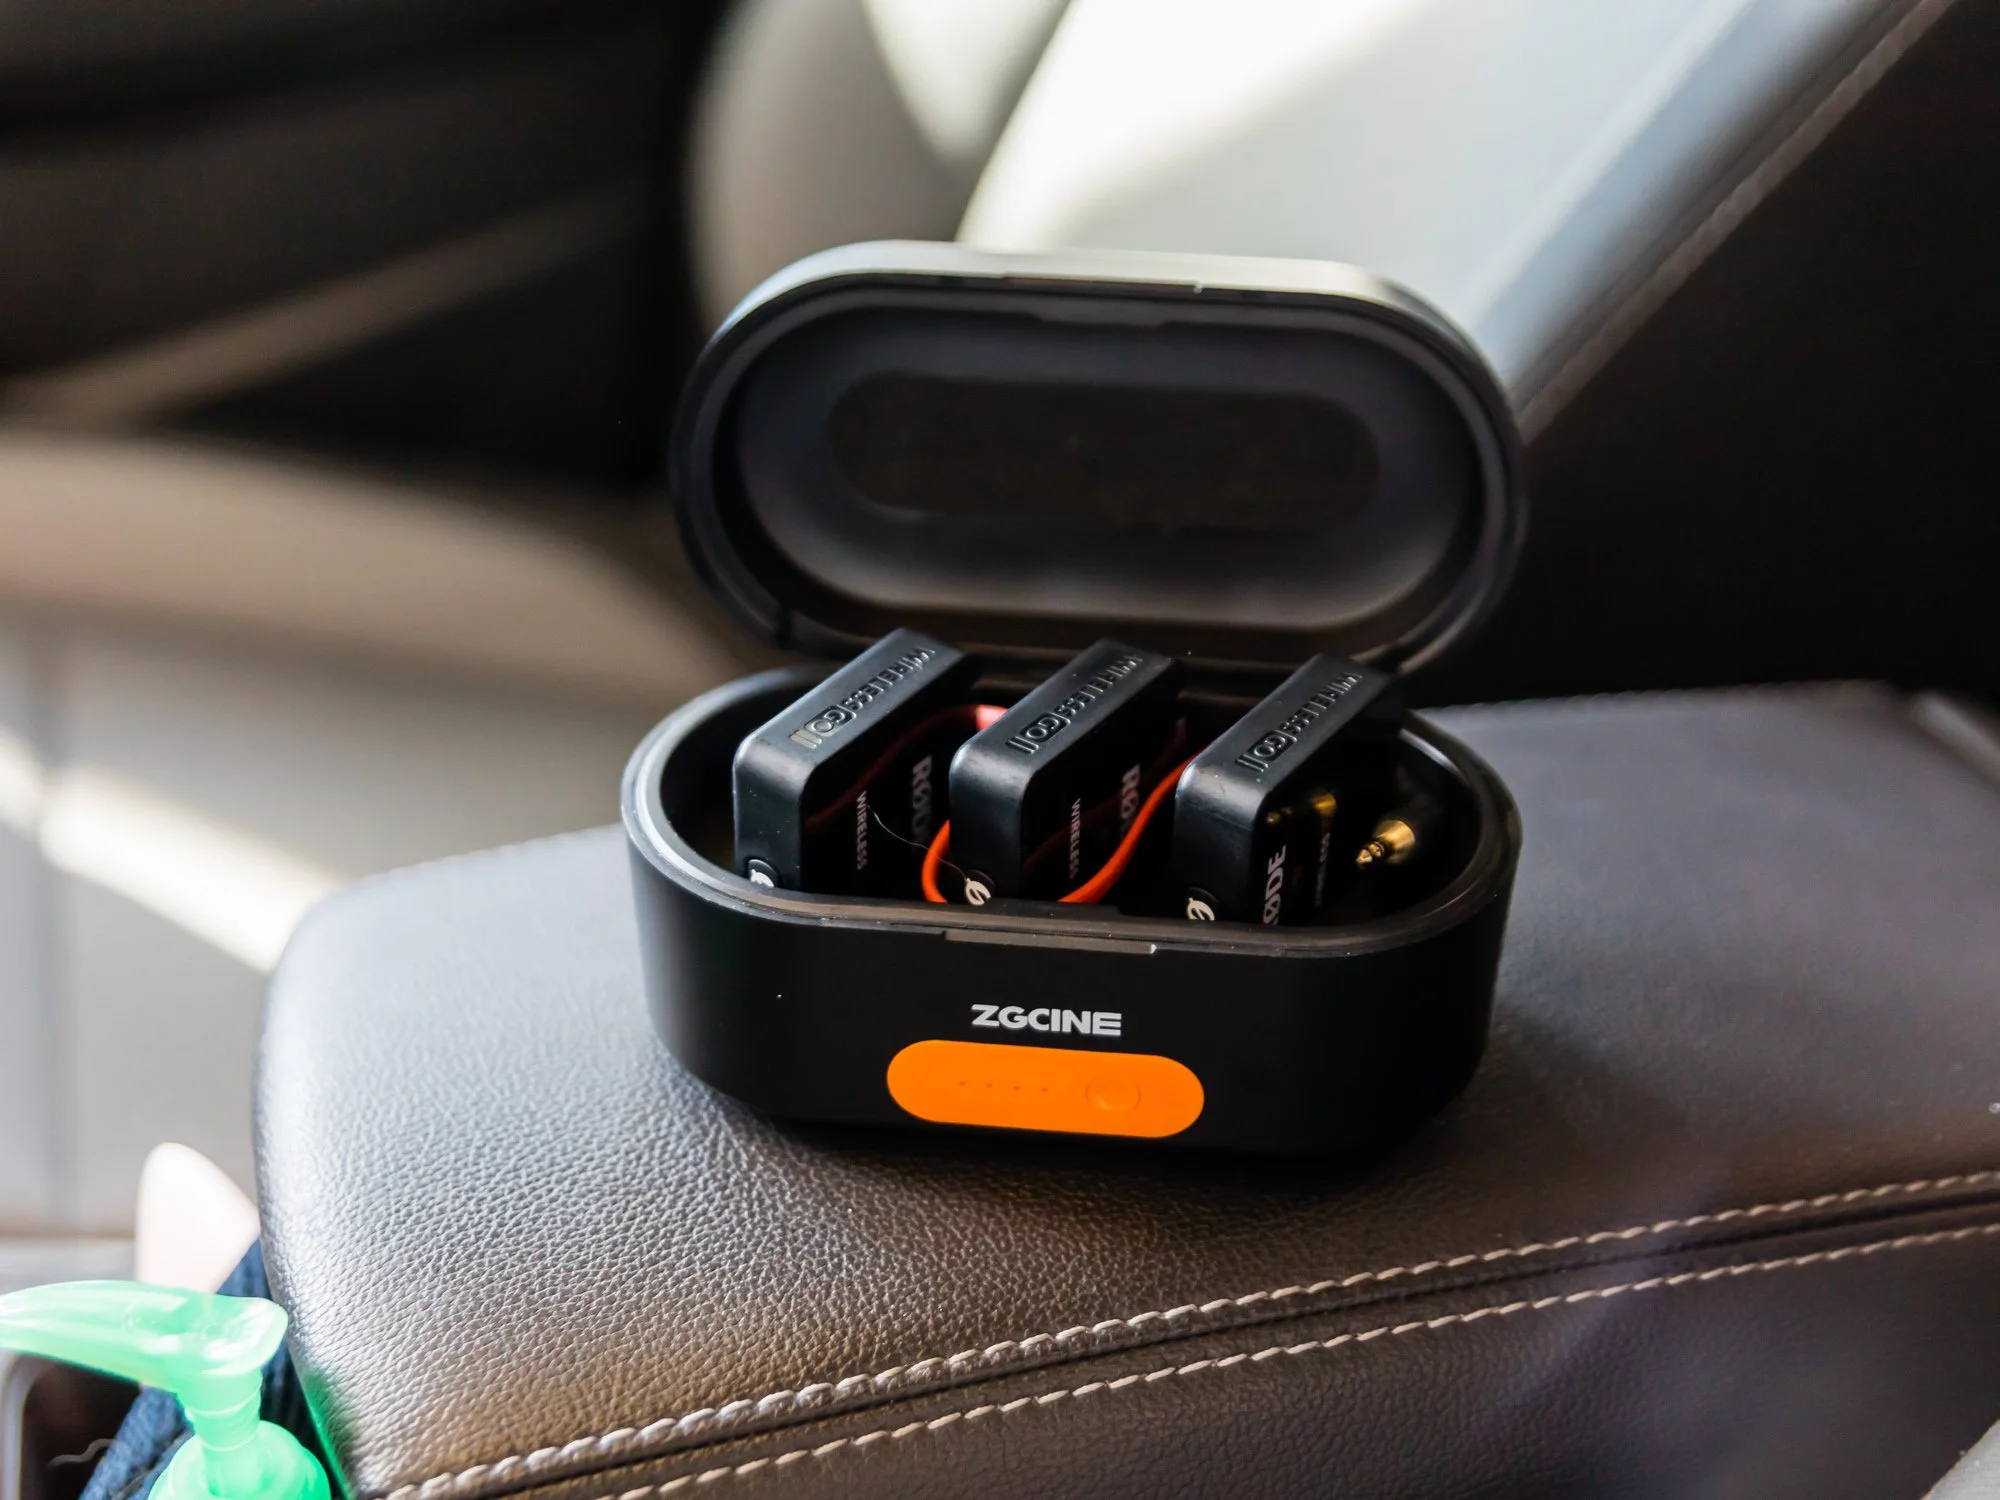
ZGCINE ZG-R30 RODE Mics Charging Case
This is another useful charging case to have because the RODE Mics come with multiple separate charging cables which makes everything so messy. This charging box keeps everything organized and keeps everything in one place.
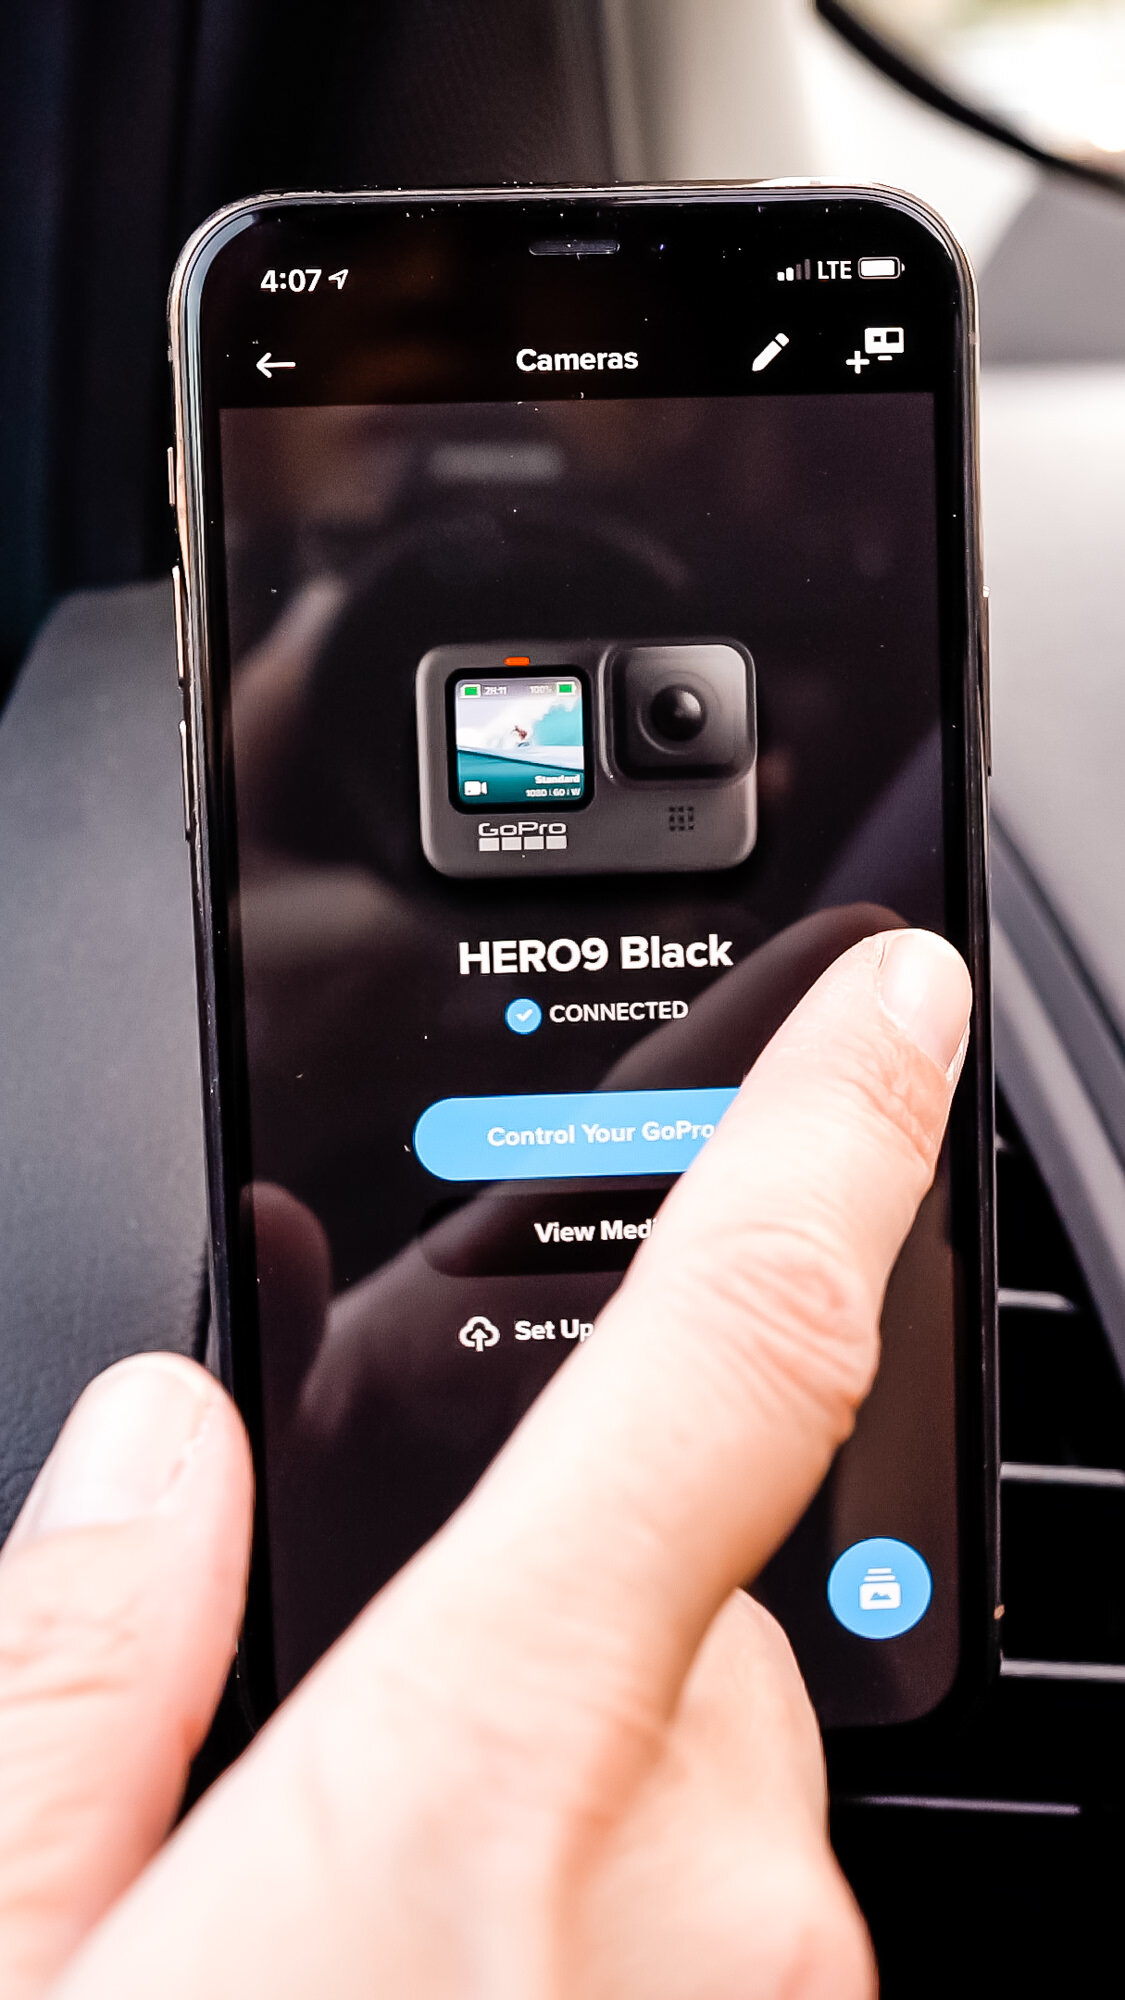
THE GOPRO APP
One of the reasons why I love using GoPros so much on road trips is because they have an excellent app that can control all your GoPros while you are driving.
Of course, you’ll still need to drive with caution, but using the app is safer than trying to reach over to one of your GoPros to adjust the settings.
Switching between GoPros on the app
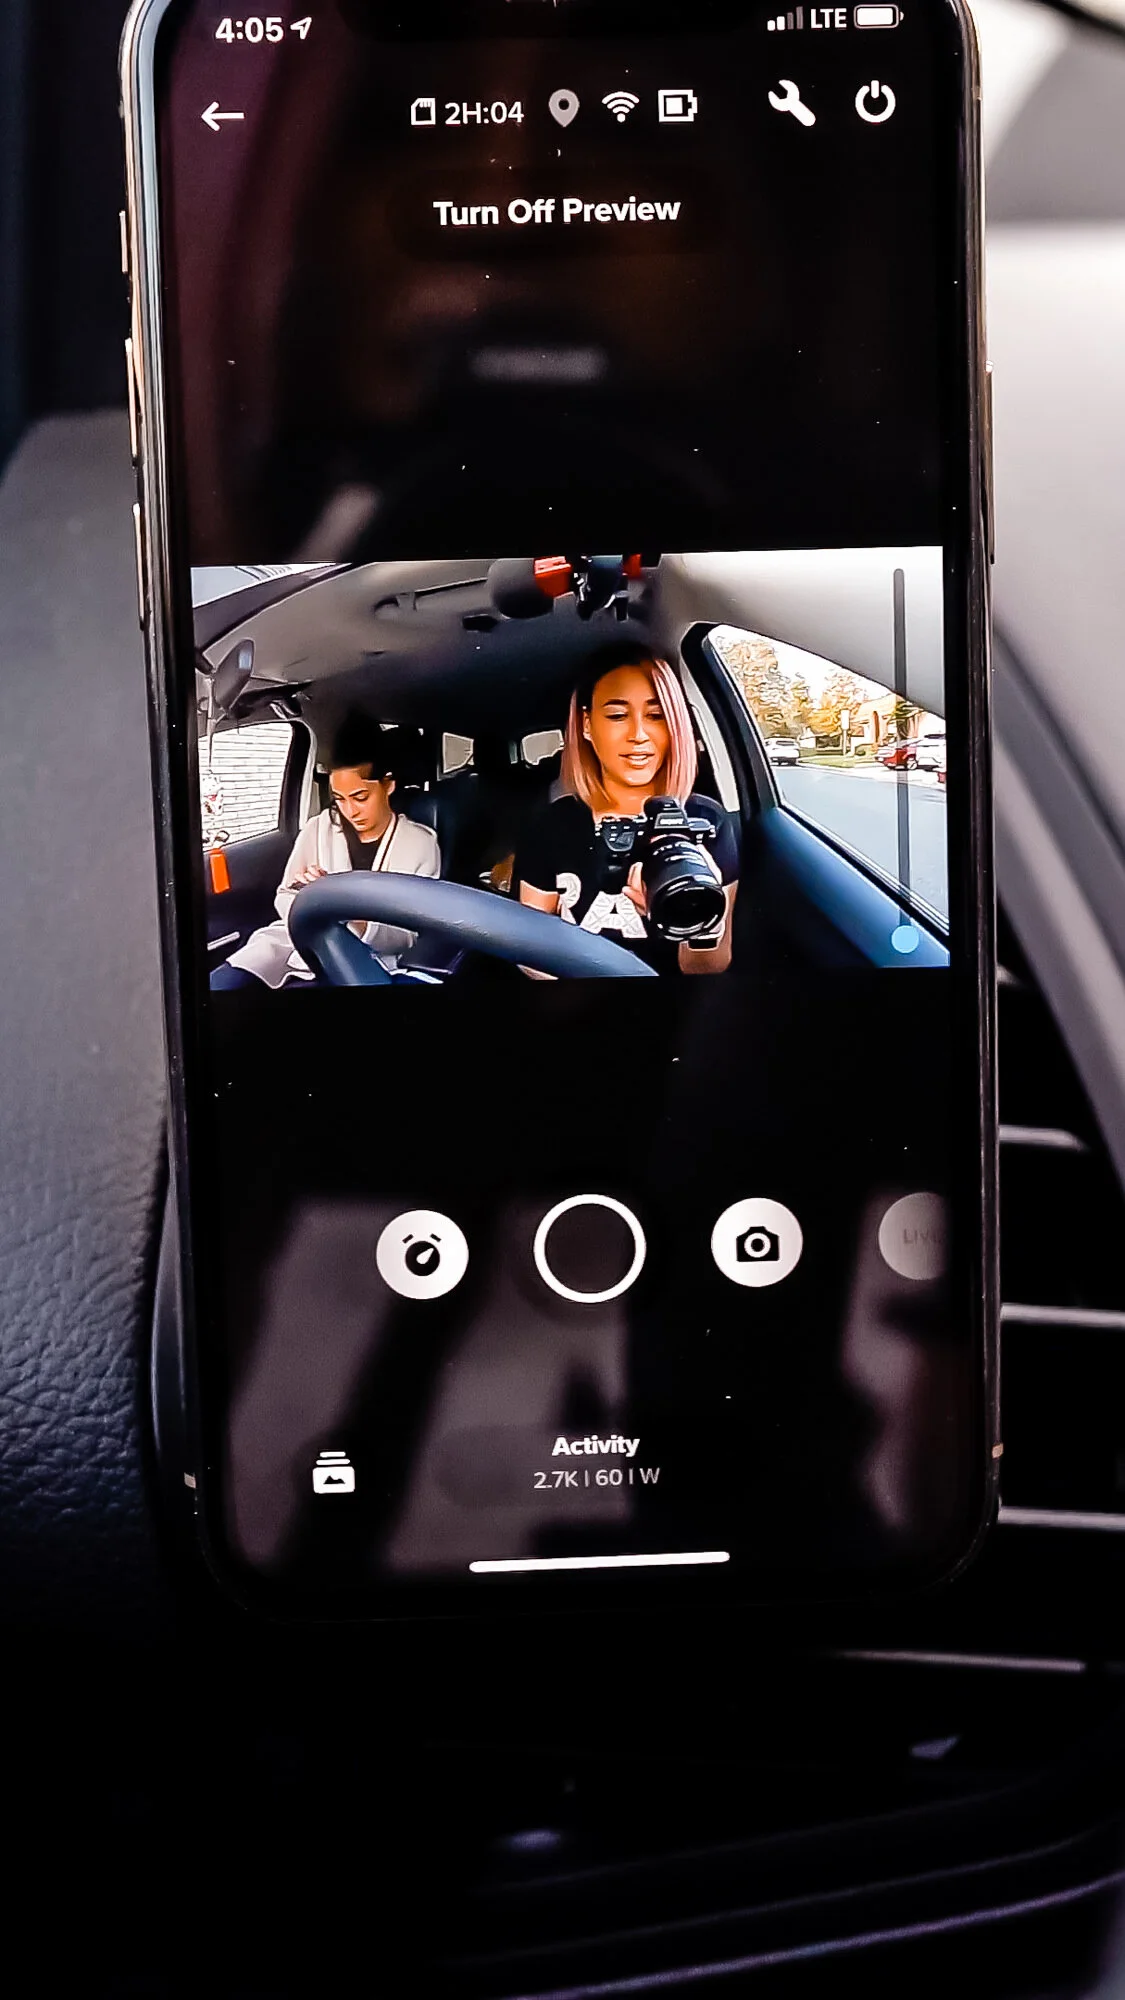
Get a preview of what you’re shooting

Change settings in the app
In the app, I can get a preview of what the frame looks like, change the resolution and/or frame rate, change the shooting mode, start recording, stop recording, turn the camera off, and more. I can easily switch between all three cameras as well just by swiping left or right.
It’s a great app and I use it often to make sure everything is within the frame and also to check up on my fur baby in the back seat (sort of like a baby cam).
EDITING SOFTWARE
Many of you have asked what type of software I use to edit my videos and I use Adobe Premiere Pro. I have been using it for years and it’s a solid editing tool. It’s pretty easy to learn and there are a ton of helpful video tutorials out there if you are a beginner.

Adobe Premiere Pro Editing Sequence
I currently edit all of my videos in a 1080p HD sequence (1920x1080) so that I have the option to move around the 4K footage if I need to. For example, 4K footage is twice the size of HD footage, so in a 1080p sequence, you can scale down your 4K footage to your preferred size and position.
Eventually, I will probably start editing everything in 4K but for now, HD videos work for us.
JUST A NOTE
If you purchase a variety of GoPro cameras from older versions to newer versions, keep in mind that there may be two different sizes in batteries. GoPro HERO8 and earlier versions use a smaller battery size. GoPro HERO9 and newer versions use larger batteries.

Gopro HERO8 Black and GoPro HERO9 Black comparison