
How to Use and Set up Ninja eSIM for Japan
/This post contains affiliate links, which means that at no additional cost to you if you click on one of the product links, we may earn a commission.
Oh, Japan! My home away from home (literally, my family lives there), and the land of amazing food, anime culture, and... tricky internet connections for travelers. For years, my routine for every trip involved renting Ninja's Pocket WiFi at the airport. It was reliable, yes, but after hearing about eSIMs over the past couple of years, I finally decided to dive in on my latest trip to Japan. And let me tell you, it's a game-changer.
Why Not My Carrier's International Plan?
You might be thinking, "Why not just use your regular phone carrier's international plan?" I tried it once, and let's just say it was less "high-speed connection" and more "snail-paced frustration." Checking emails was ok, but Google Maps occasionally lagged (umm, I’m in Tokyo and getting lost!), and trying to watch a quick social media video? Forget about it. It was clear after that single attempt that my carrier plan wasn't going to cut it for my Japan escapades. So, back to the trusty pocket WiFi it was.
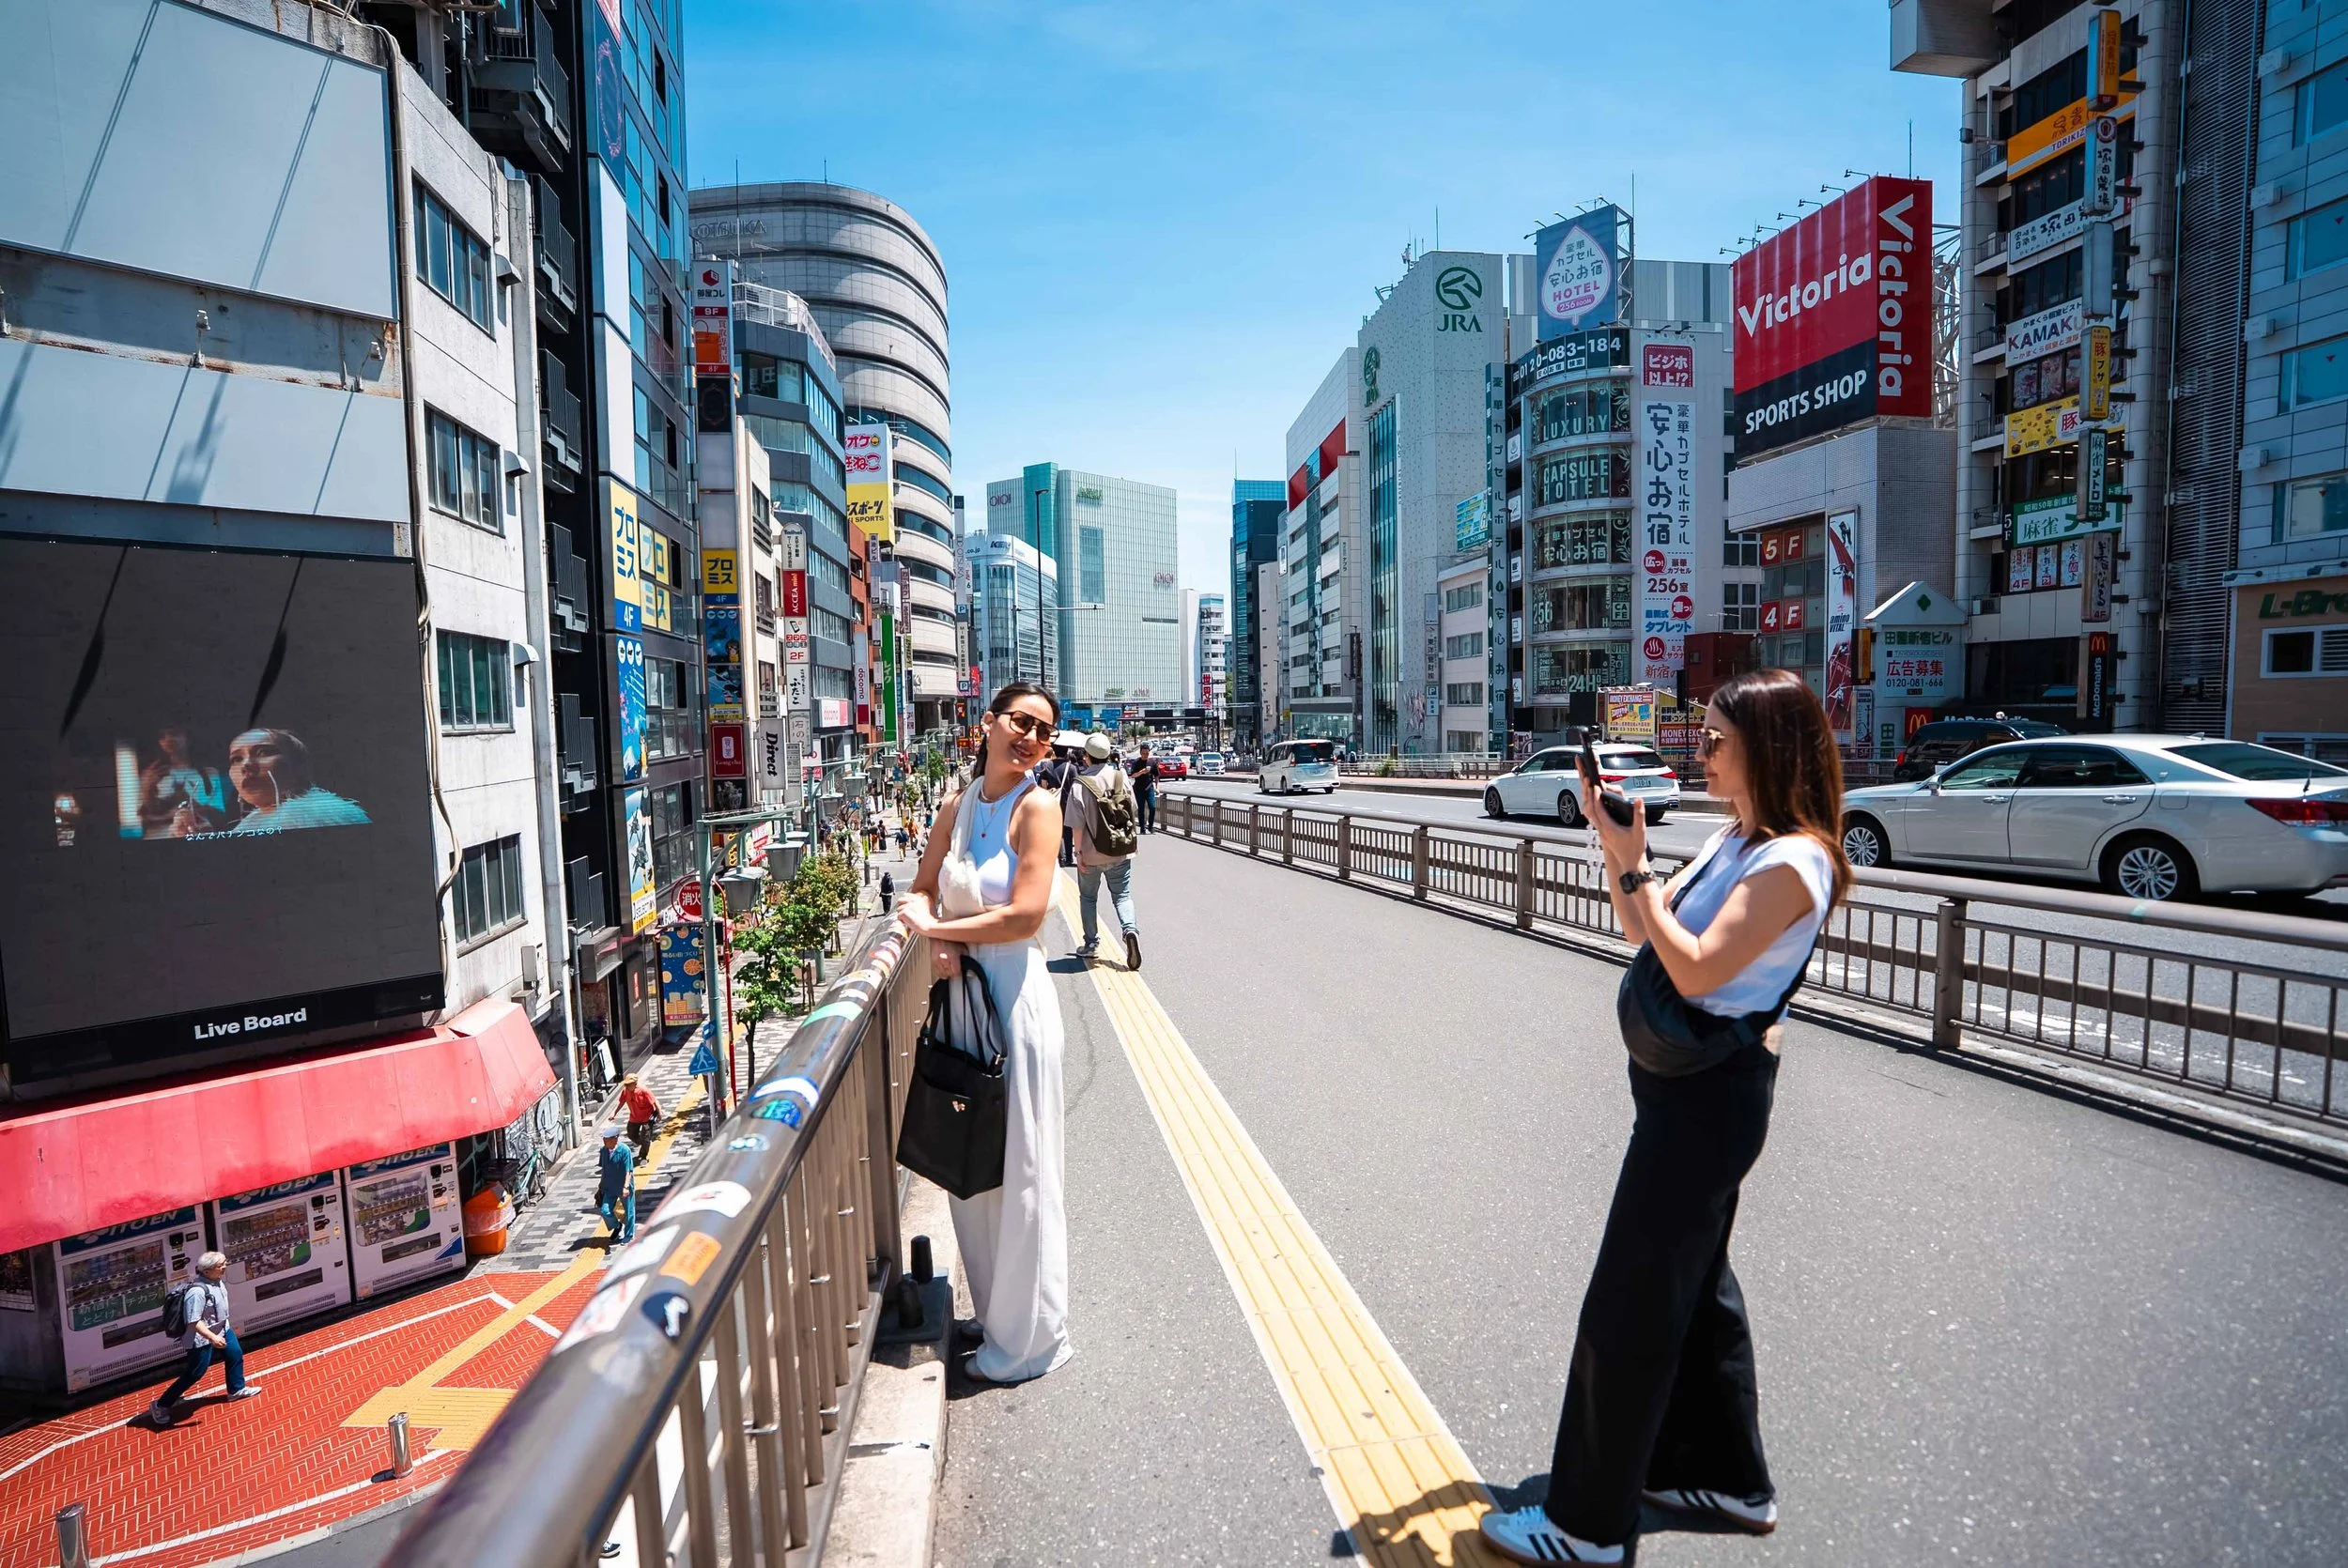
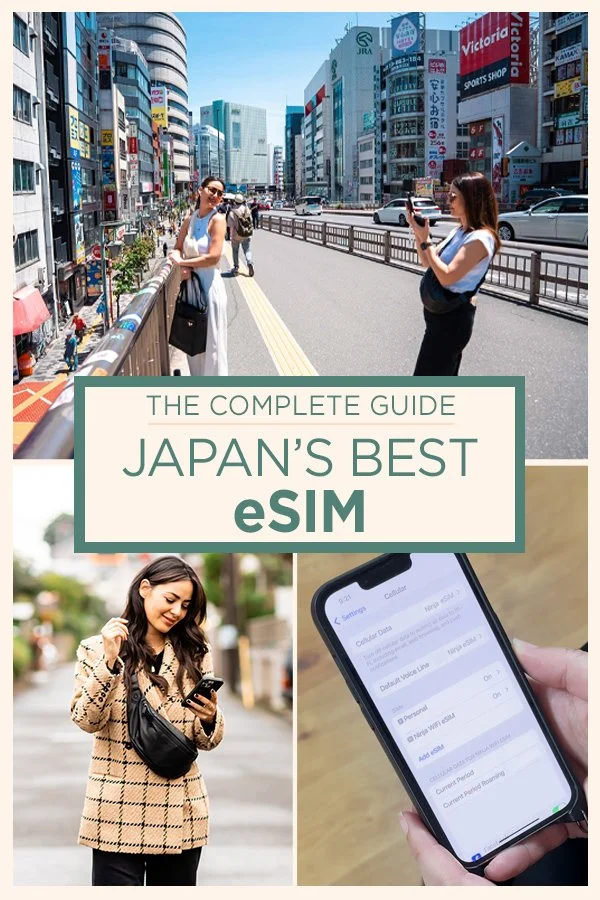
Shinjuku Japan
Why Is My Phone Locked?
Now, a quick detour for those of you with carrier-locked phones. If your phone is locked, it means your current cell provider has put a little digital fence around it, preventing you from using other service providers (like with an eSIM). To unlock it, you usually need to ask your carrier. Good news: if your phone is fully paid off, they're typically required to unlock it for free. There might be some minor catches, like waiting a few months if it's a brand new device, but a quick chat with your carrier will sort out the specifics.

JR Shinjuku Station
My own unlocking journey was... an adventure. Even though my phone had been paid off for over a year, my requests to unlock it were consistently ignored. After multiple attempts and a full year passing by, one day I checked my phone settings, and poof! It was finally unlocked. I'm still not entirely sure why it suddenly happened. Hopefully, your unlocking experience is much smoother than mine.
Why eSIMs Rule Over Pocket WiFi
So, if your phone is happily unlocked, here's why an eSIM is seriously superior to renting a pocket WiFi:
No More Airport Scramble: Remember the mad dash to pick up and drop off that pocket WiFi at the airport? With an eSIM, that's history.
One Less Gadget to Juggle: Say goodbye to carrying an extra device, fretting about charging it, and panicking when the battery dwindles. Your phone is all you need.
Connected 'Til the Last Minute: Once you drop off that pocket WiFi at the airport, your high-speed connection vanishes. The airport's free WiFi? Often barely usable for anything beyond the basics. With an eSIM, you stay connected for all your pre-flight social media scrolling and, “I’m boarding my flight now.” messages.
Ready to Go Digital? Setting Up Your eSIM is a Breeze.
While trying something new might seem a bit daunting, trust me, setting up an eSIM is surprisingly easy. Just one crucial tip: set up your eSIM BEFORE you land in Japan.

My Ninja eSIM activating
Your Easy-Peasy eSIM Setup Guide:
Check Your Smartphone's Compatibility: First things first, make sure your phone is eSIM compatible and SIM unlocked. A quick trick: dial *#06# on your phone, and you'll instantly get the answer.
Pick Your Perfect Plan: Once your phone gets the green light, it's time to choose a data plan. For my trips, 1 GB per day was plenty for Google Maps, emails, and all my social media scrolling. If you're planning on heavy video streaming or uploading, you might want to consider bumping it up to 2 GB per day.
Get Your Activation QR Code: After you've picked and purchased your plan, you'll get an email with super simple instructions and a link to your QR code.
Effortless Setup: Scan that QR code, and your phone will guide you step-by-step through the activation process. The activation part might take a few minutes (mine took about 15), but no worries – you can keep using your phone while the eSIM works its magic in the background.
Land and Connect: That's it! Once you touch down in Japan, just head to your cellular settings, and you'll see your new eSIM. I went a step further and renamed my eSIMs to keep track of which line was which.

Two SIM lines in the Cellular Settings
Want to keep tabs on your data usage? You can easily check it in your phone's cellular settings or through the URL provided during the eSIM setup.
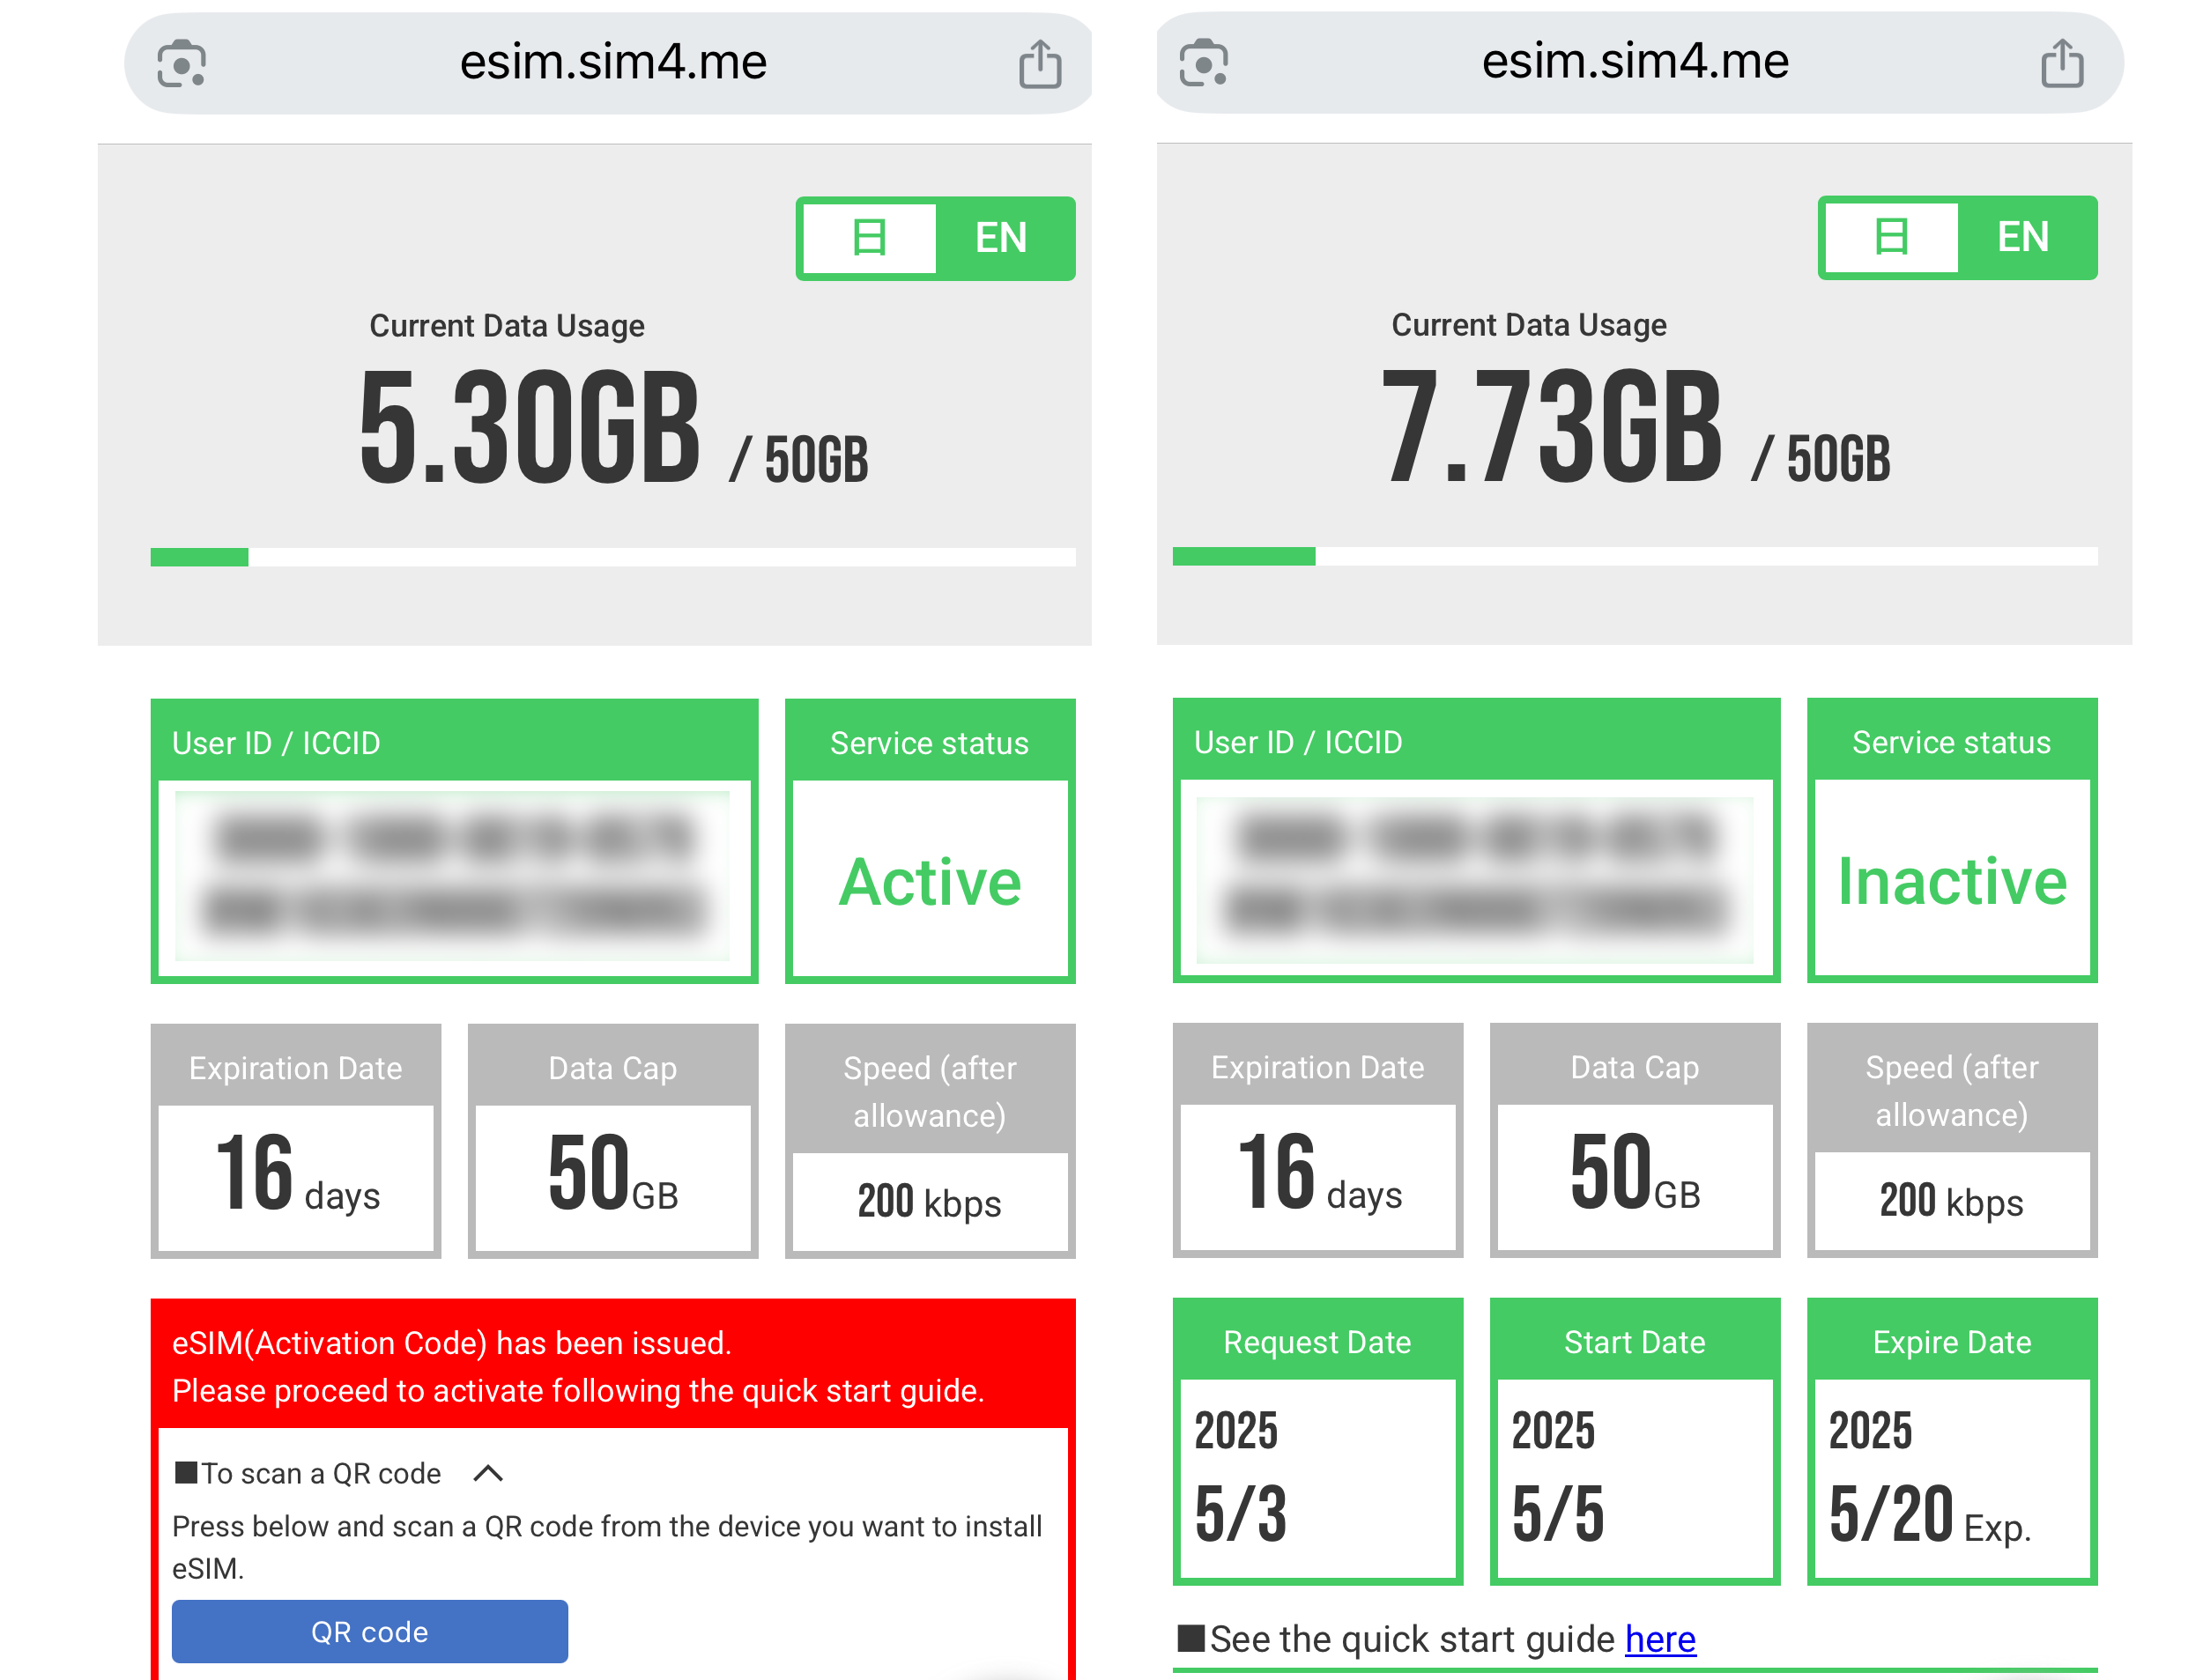
Ninja eSIM active and inactive status
Honestly, I was shocked at how incredibly simple it was to set up Ninja's eSIM. I actually thought I must be missing a step because it felt too easy. The setup literally walked me through everything with just a few simple clicks.
Have you tried an eSIM for your travels in Japan, or are you still a pocket WiFi fan? Let me know your thoughts in the comments.
Special Offer: Get 20% off your order with our affiliate link: https://ninjawifi.com/en/esimapplication/order?pr_vmaf=T496xixaxc