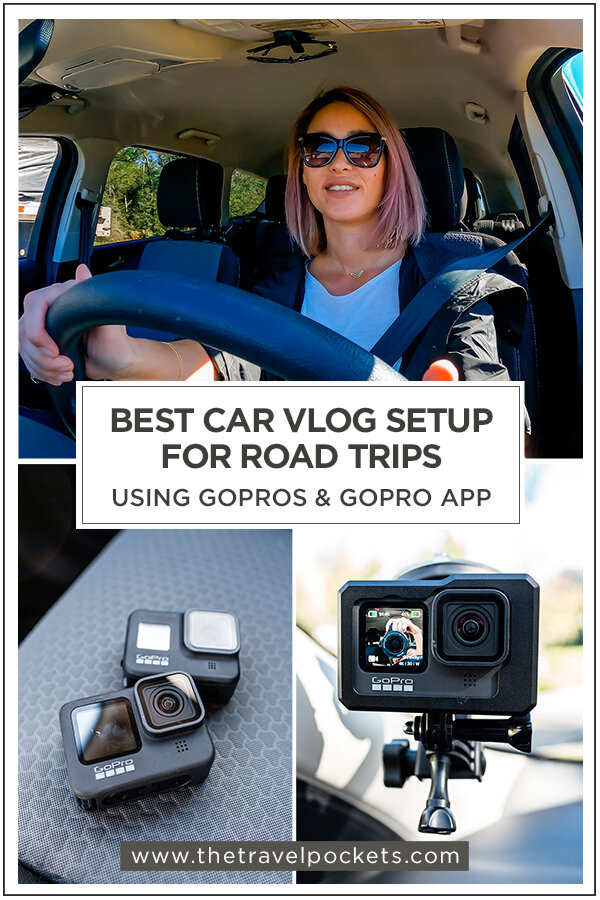

How To Have the Best Car Vlog Setup on Road Trips Using GoPros
/This post contains affiliate links, which means that at no additional cost to you, if you click on one of the product links, we may earn a commission. As Amazon Associates, we earn from qualifying purchases.
Since we have been going on a lot of road trips this year, I have been documenting them while I’m driving in the car. I’ve been asked by some readers and friends how I set up my cameras, so I thought I’d share exactly how I set up everything in the car on my road trips.
VIDEO CAMERAS
It’s best to have two cameras set up in the car: one facing yourself and the other facing the road. If you have a fur companion in the back as I do, you can set up a third camera in the back.
I use GoPros for all of my cameras in the car and they can be any version of the GoPro, but the more recent version you have, the better quality you’ll get. I have three different GoPros and use all of them on my road trips now.
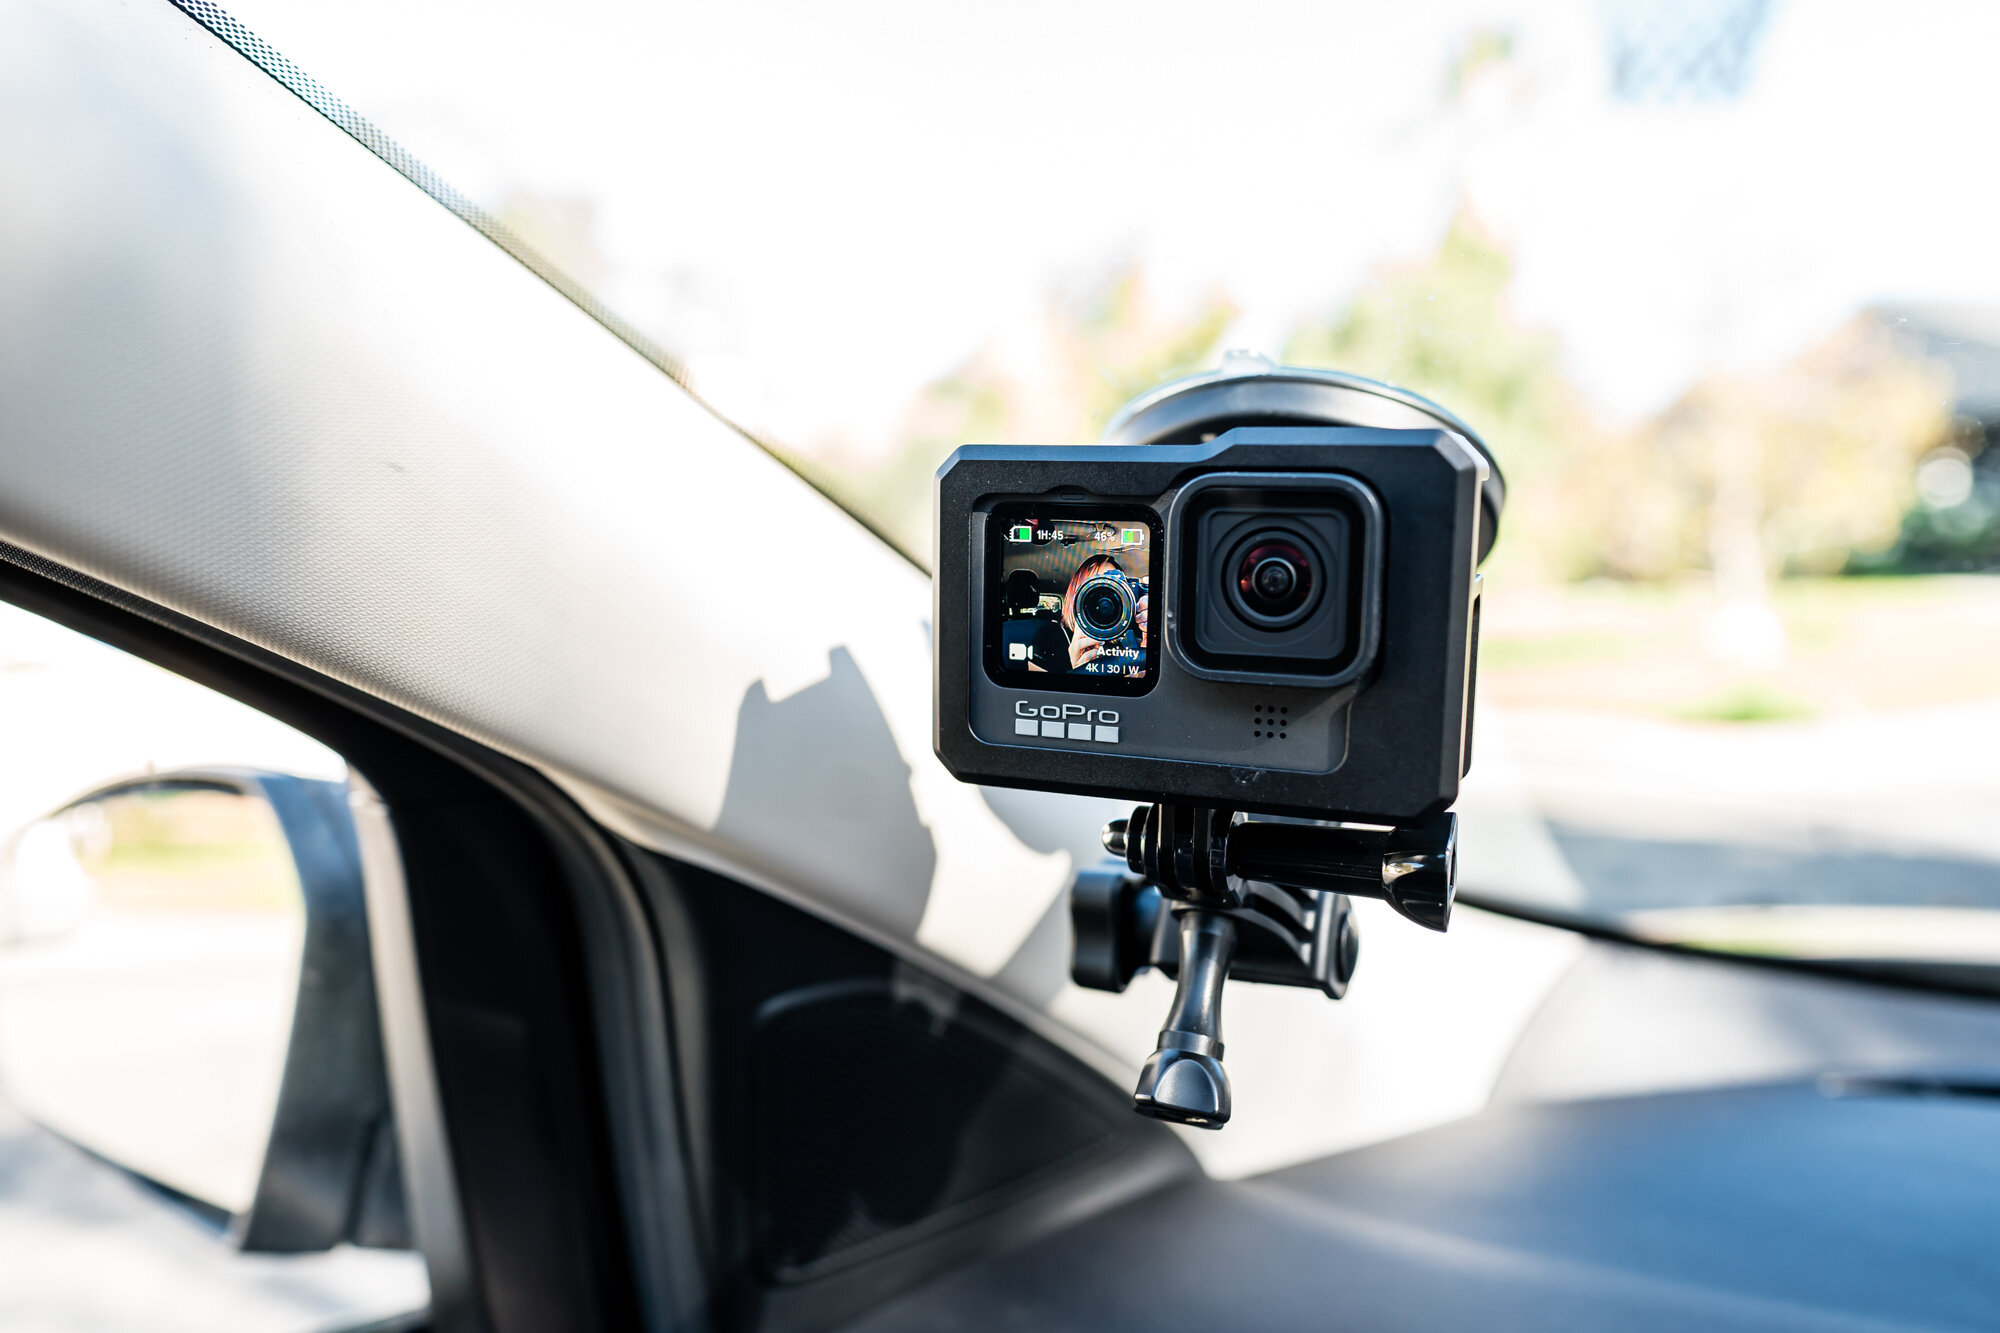
CAMERA 1 - GoPro HERO9 Black - Facing Yourself
I recently purchased the GoPro HERO9 Black and I’ve been very happy with it. This version now has a front display, so you can frame yourself within the screen without having to look at the back of the camera. It’s perfect for vloggers that record themselves often.
GoPro HERO 9 on suction cup mount with housing frame case
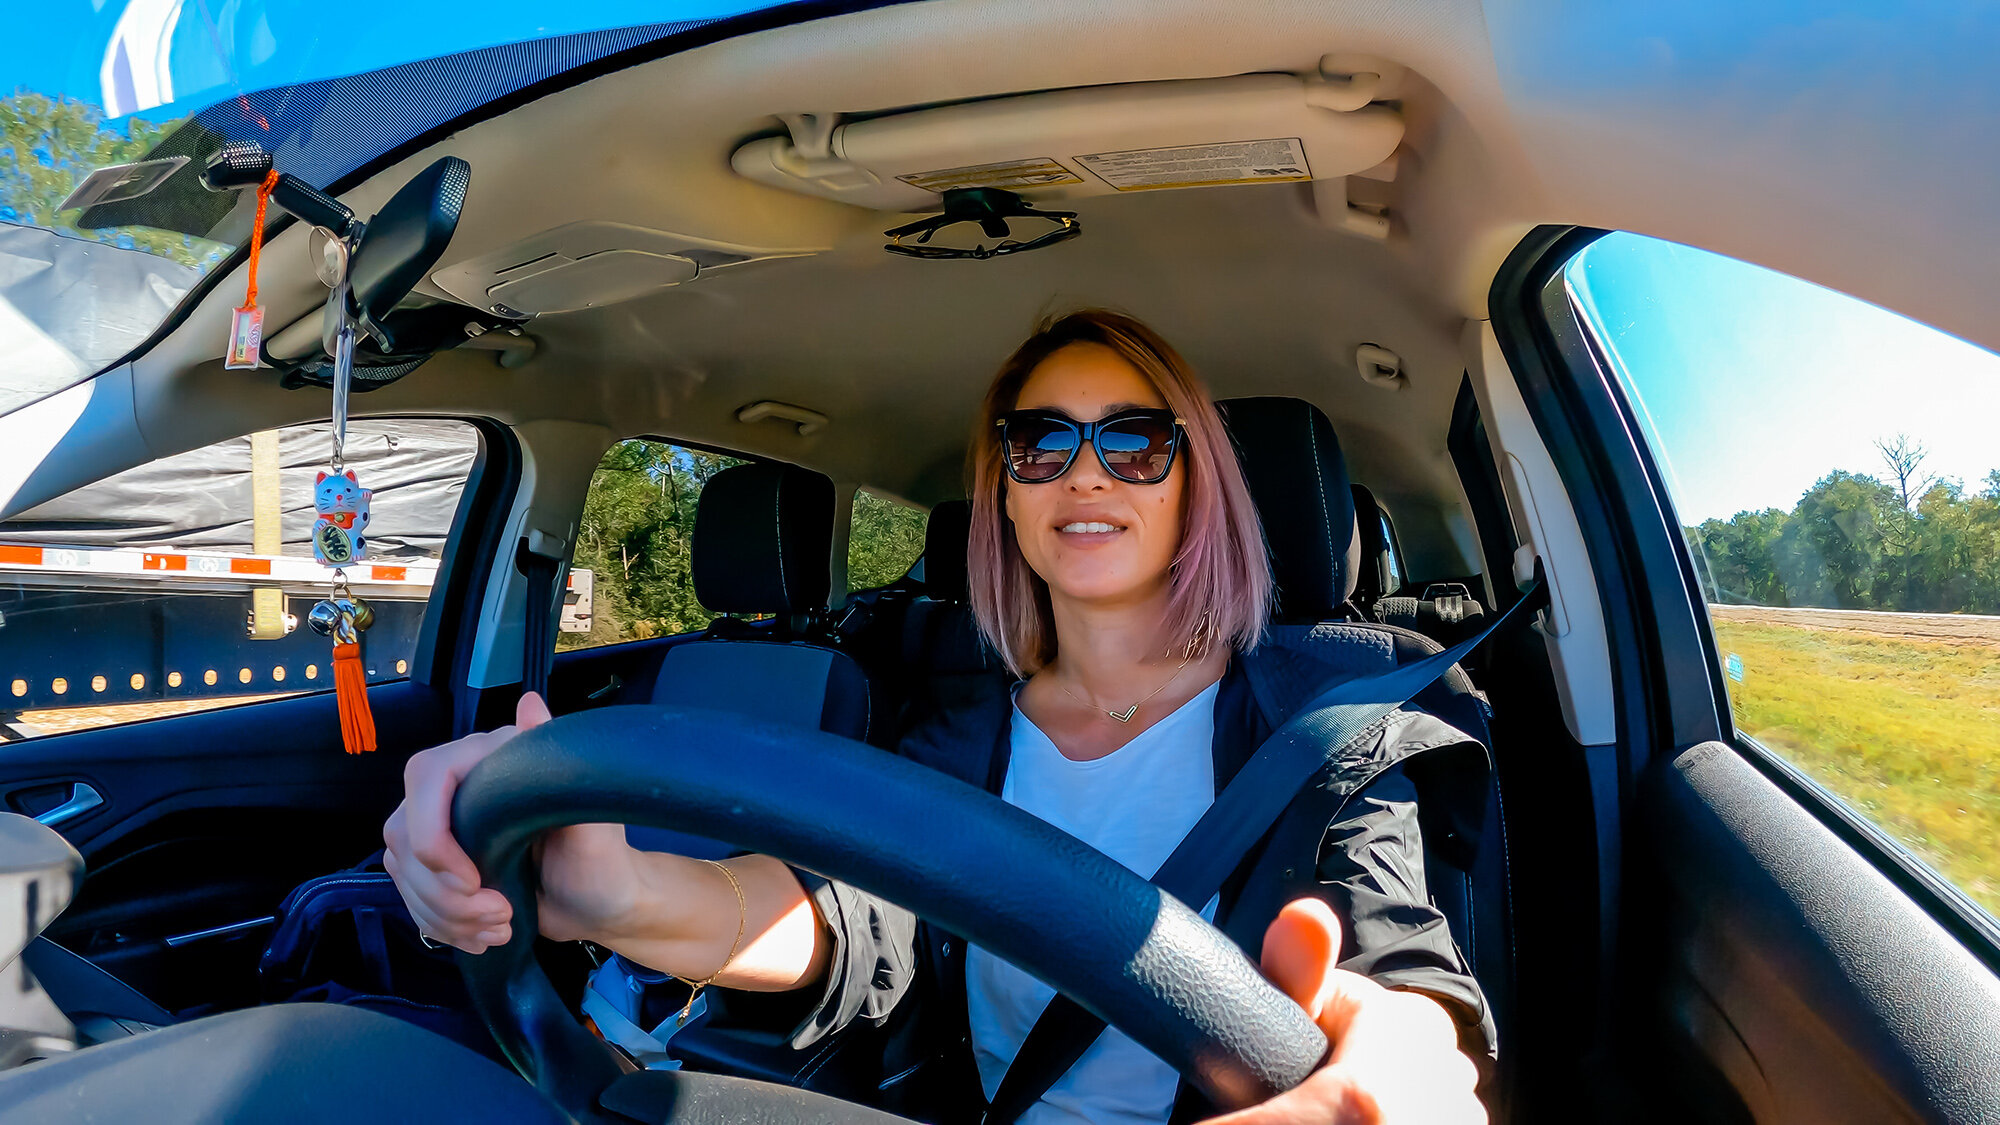
I use this camera to record myself while I’m driving and usually shoot in 2.7K, 60fps. I’d prefer to shoot in 30fps since I don’t need the extra frames recording myself, but for some reason, GoPro HERO9 does not give this option.
You can also shoot in 4K, but I tend not to shoot in 4K because it takes up way more hard drive space. 2.7K works just fine for me when I edit in a 1080HD timeline.
Every once in awhile, I will record myself at 5K to get some high resolution screen captures of myself. I often use these for Youtube thumbnails or pictures for blog posts.
5K still capture from GoPro HERO 9
I mount the GoPro HERO 9 onto the windshield with GoPro’s suction cup mount and it works great. Once you lock it in, it does not move and stays put until you take it off.
I also purchased a housing frame case so that I can easily take out the GoPro and change out batteries when I need to. I particularly like this aluminum alloy case because it’s heavy-duty and it has a convenient magnetic closure.
CAMERA 2 - GoPro HERO8 Black - Facing the Road
The second camera I use to record the road is my GoPro HERO8 Black. I use the GoPro Adhesive Mount and also purchased a housing case for this camera as well so that I could switch out the batteries swiftly.
GoPro HERO 8 with housing case
I typically have the GoPro HERO8 recording a 4K Time Warp and it shoots excellent footage. I was pleasantly surprised at how smooth the time-lapse looked with HyperSmooth applied to it.
Sometimes I will shoot 2.7K or 4K video at 30fps as well. I never go above 30fps because I don’t need slow-motion for roadway shots.
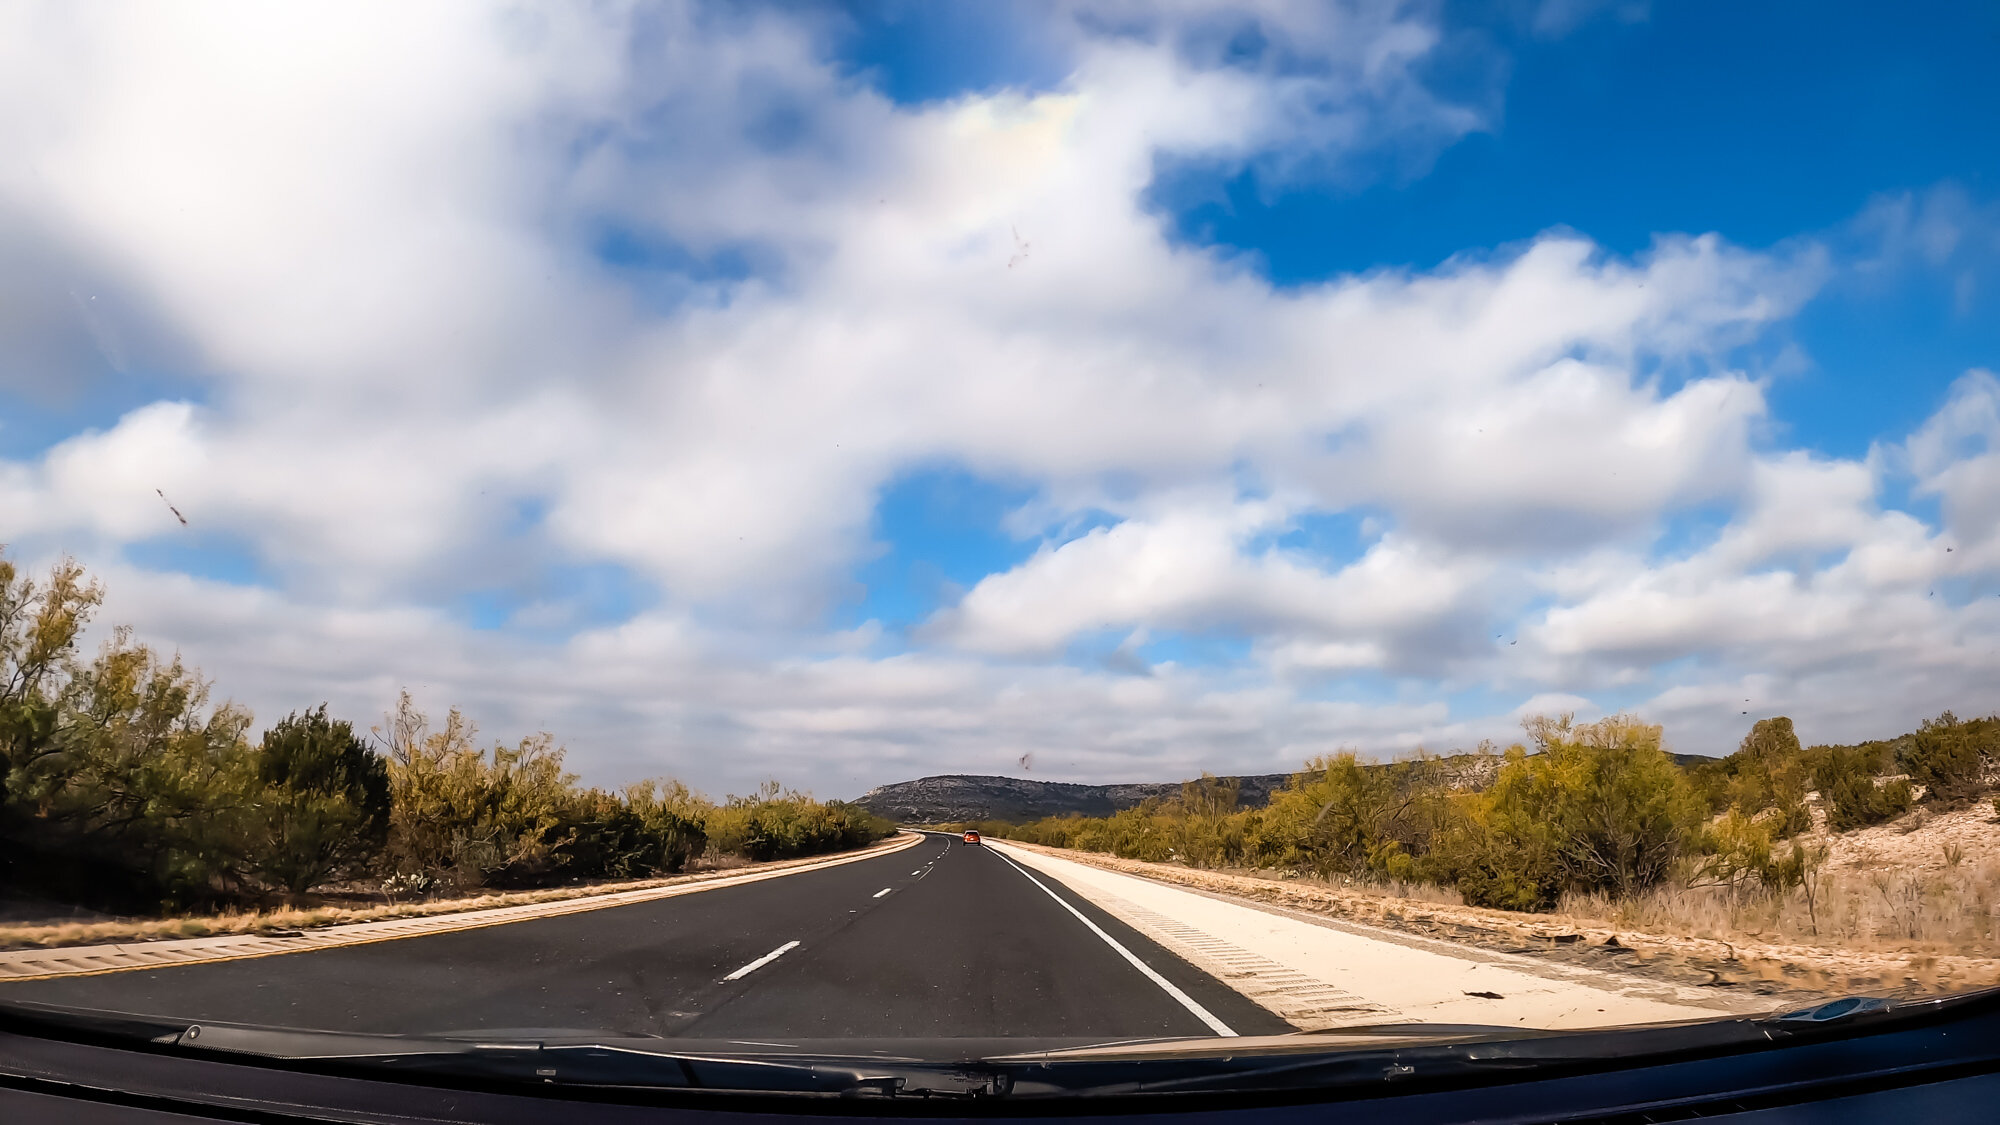
GoPro HERO 8 Timewarp
CAMERA 3 (optional) - GoPro HERO 6 - Facing the Back Seat
Kuma always goes on road trips with me, so I also have a GoPro set up for the back seat so that I can record her as well. I usually shoot 4K Time Lapse because she’s mostly sleeping.
Plus, it doesn’t use up as much battery or space when you record a time lapse.

GoPro Hero 6 on the Magnetic Swivel Clip
You can place the GoPro on one of the windows using a suction cup mount, which I did for my first road trip, but that didn’t really work out for me because I couldn’t maneuver the camera while driving if I needed to.
The best solution I found was the GoPro Magnetic Swivel Clip. I clip this on the back of my seat or the passenger seat and it captures the perfect angle of the back seat. Plus, I’m able to maneuver the camera if I need to.

Kuma in the back seat shot on the GoPro Hero 6 at 4K
AUDIO RECORDING DEVICE
Audio is always the trickiest part when it comes to recording in the car while you’re driving. Since you’ll be driving on the highways going at least 65mph, you’ll have a lot of wind noise.
The best solution I found was to use a separate digital recording device like the Zoom H1n Recorder and then sync the audio manually in post. It’s not as complicated as it sounds; it’s actually pretty easy and doesn’t take much practice to get the hang of it.
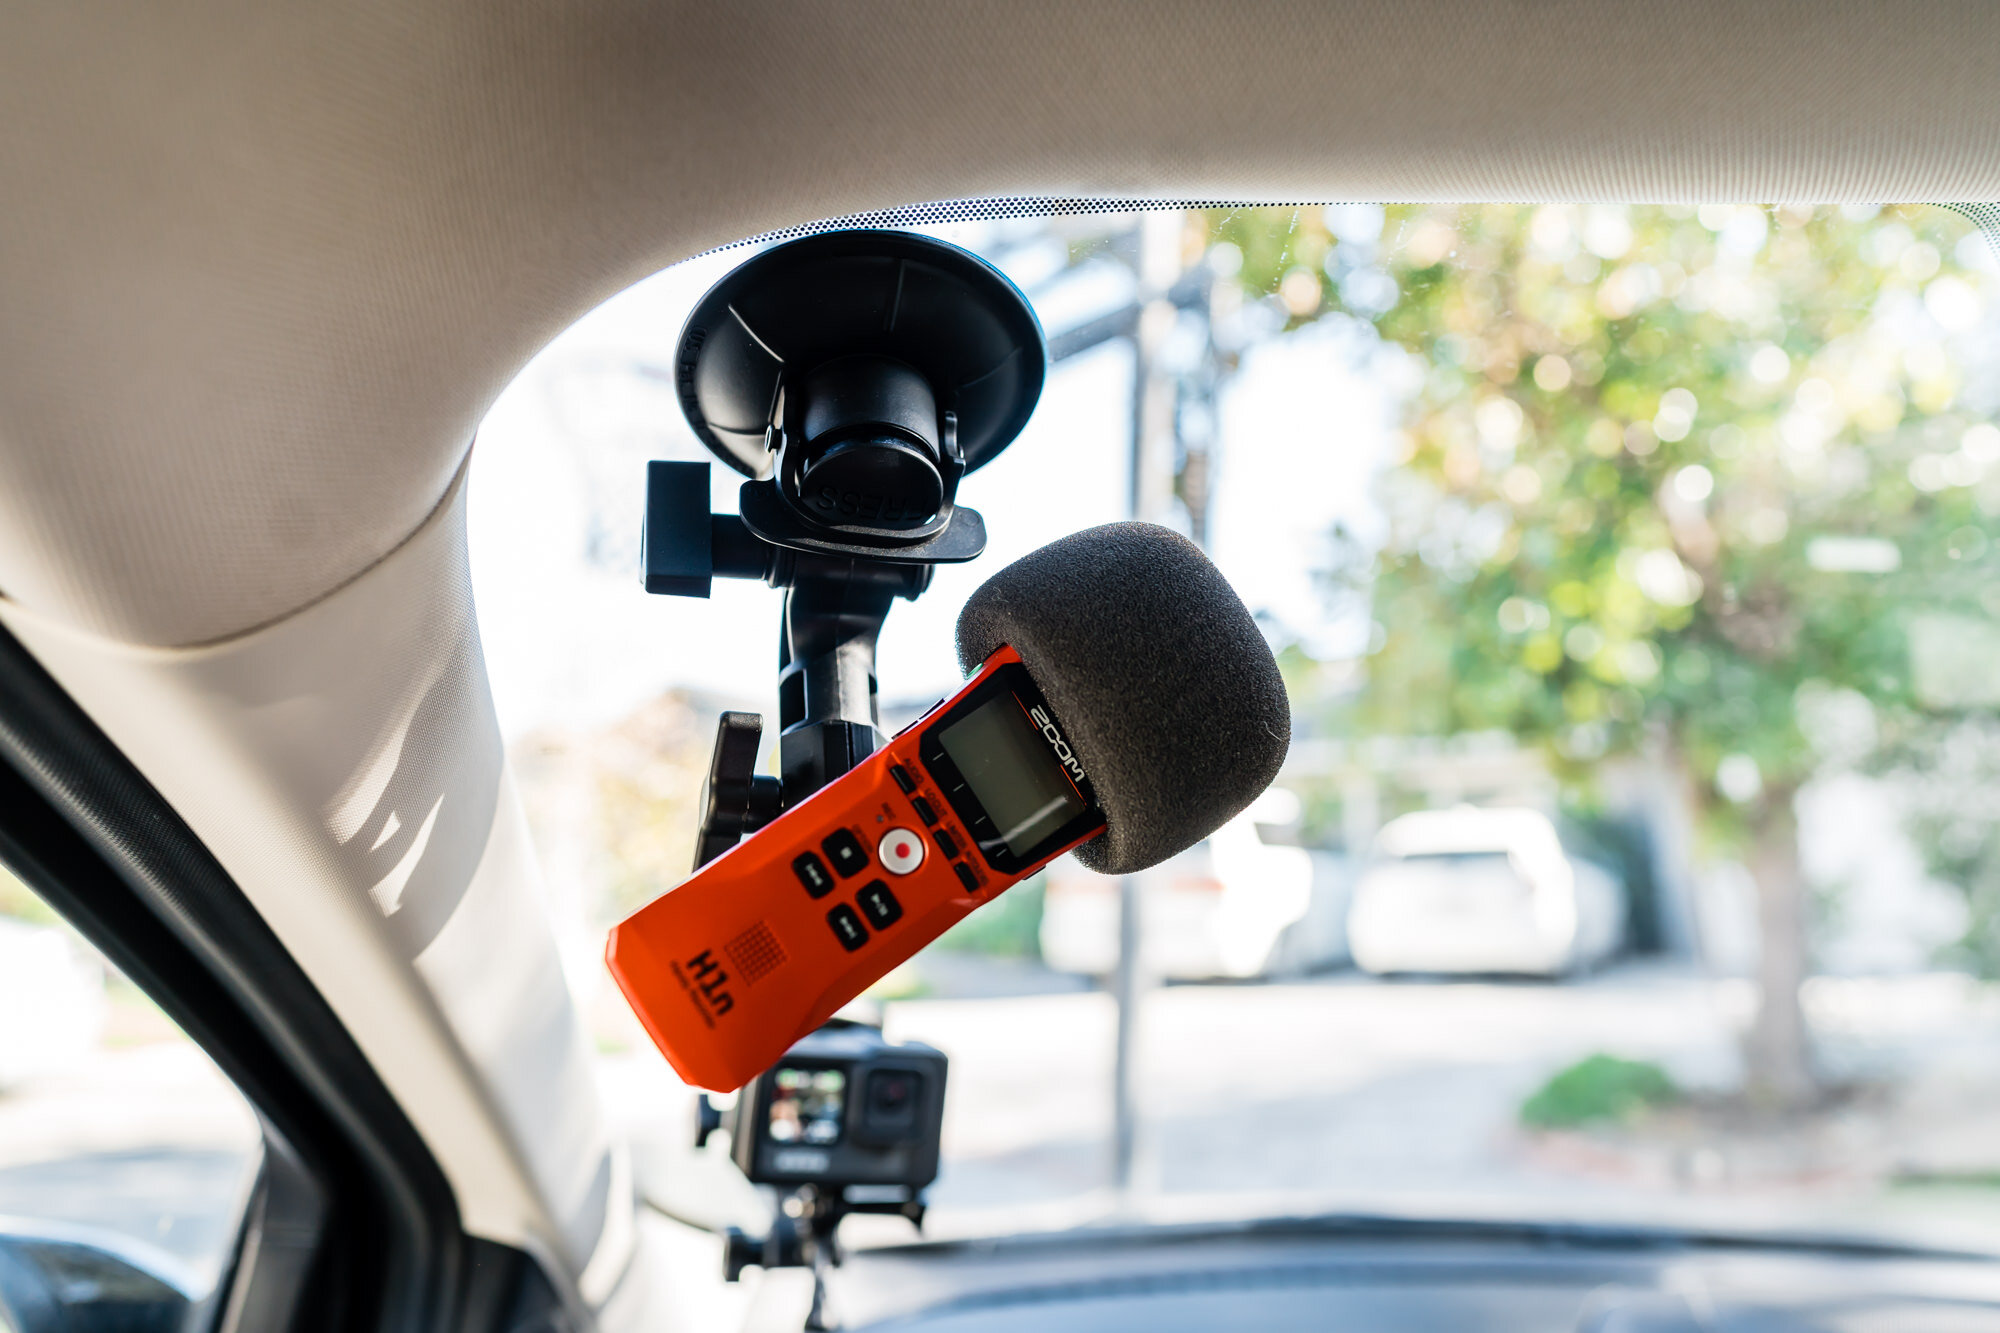
Zoom H1N Digital Recorder on suction cup mount
If there are two people in the car, I’ll place the digital recorder in the center console where the armrest is between the driver and passenger and have some sort of cushioning around it so that it stays put.
If I am driving solo, I place the the digital recorder on the top left corner of the windshield with a suction cup mount.
When there are two people in the car, I place the mic in the middle console
Of course, there are many other ways to record audio in the car like using lavalier mics or attaching GoPro Media Mods, but this method works out the best for me.
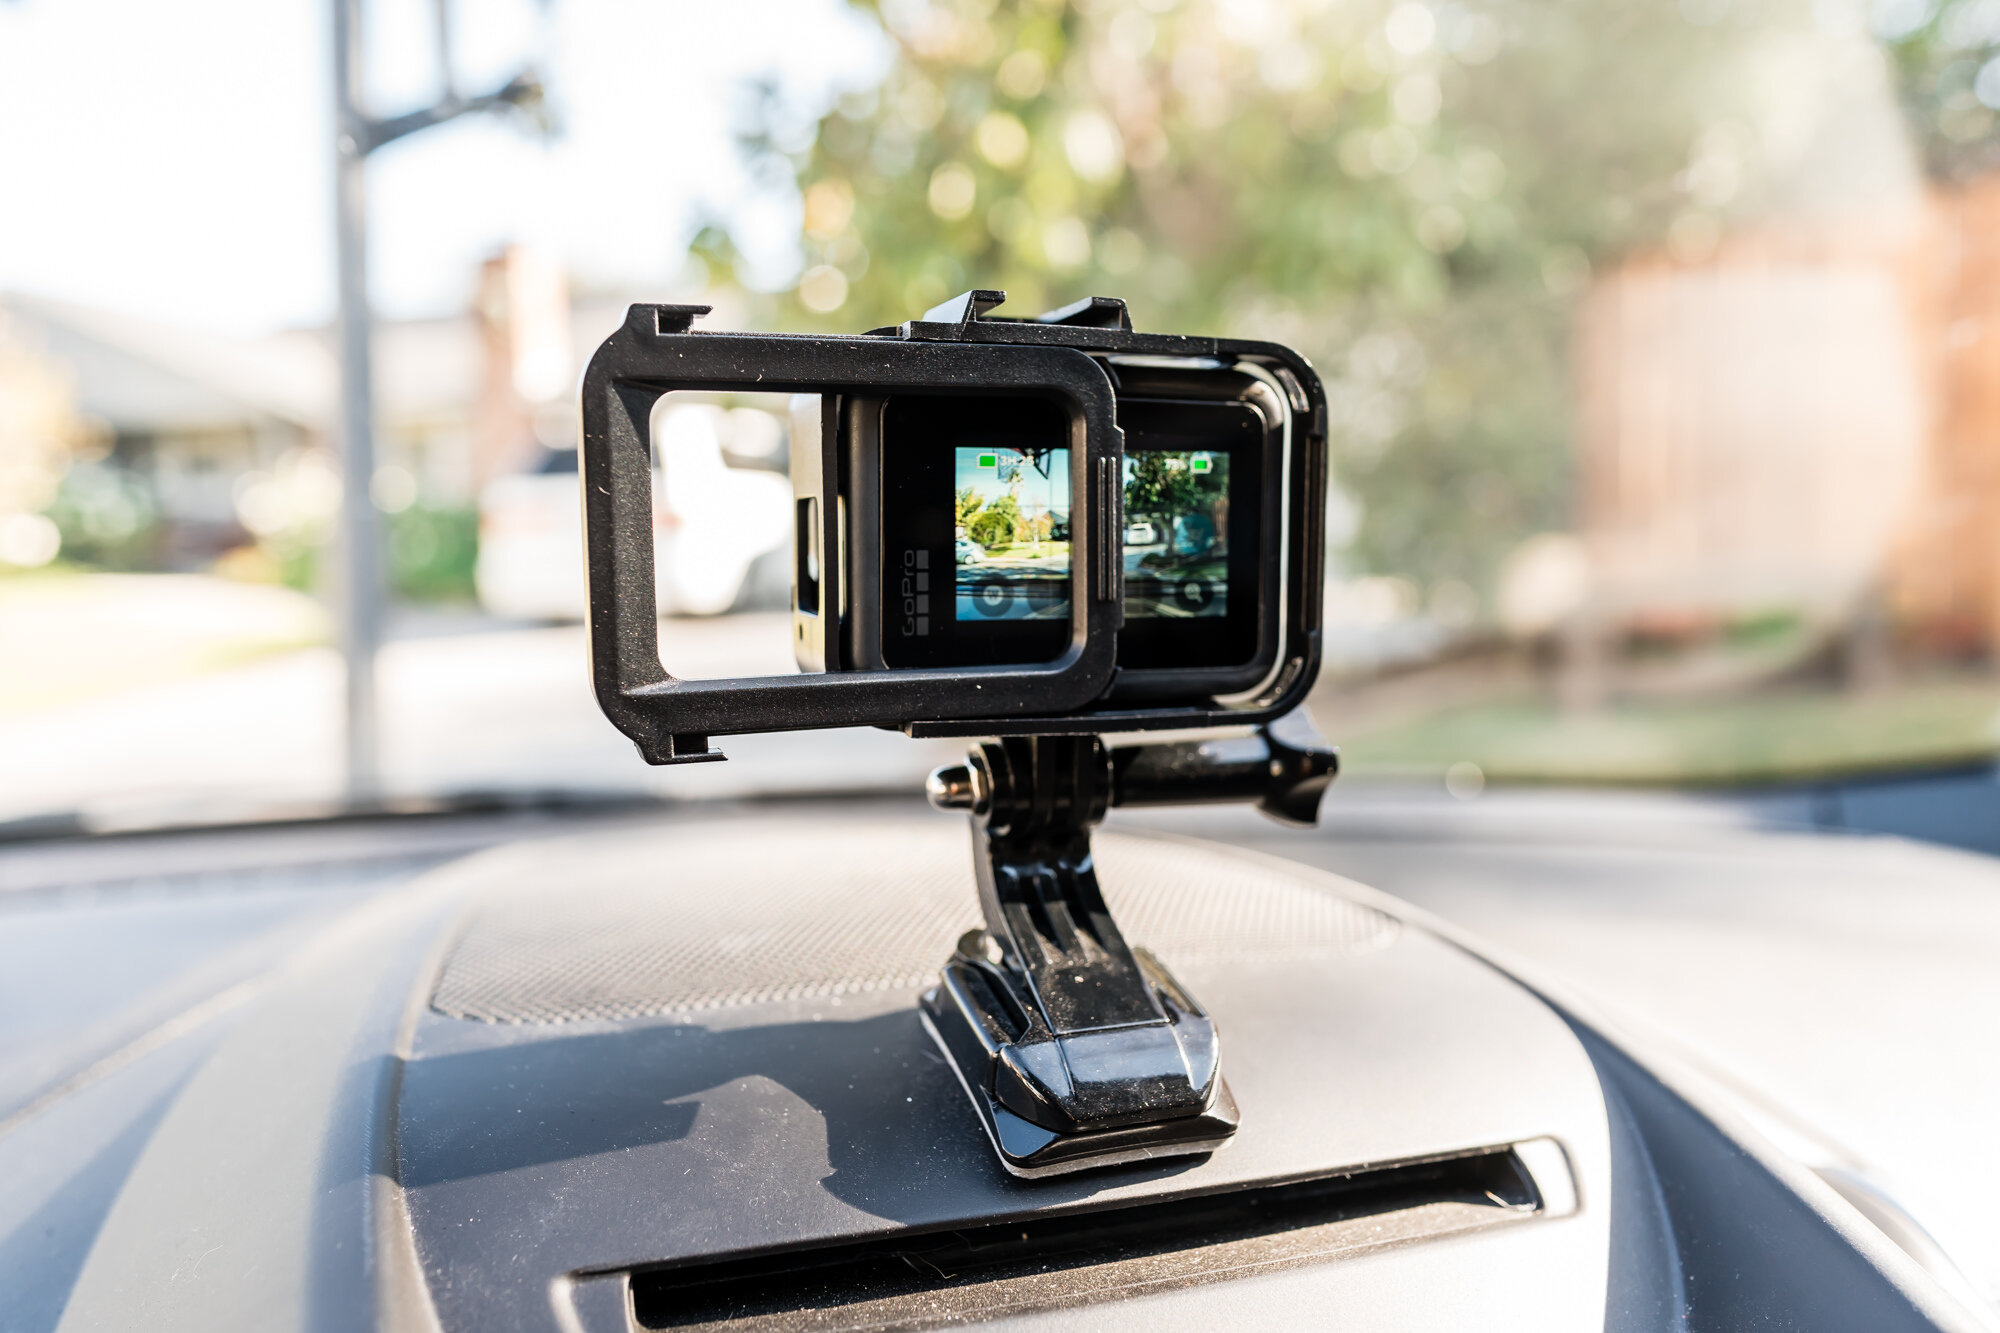
THE GOPRO APP
One of the reasons why I love using GoPros so much on road trips is because they have an excellent app that can control all your GoPros while you are driving.
Of course, you’ll still need to drive with caution, but using the app is safer than trying to reach over to one of your GoPros to adjust the settings.
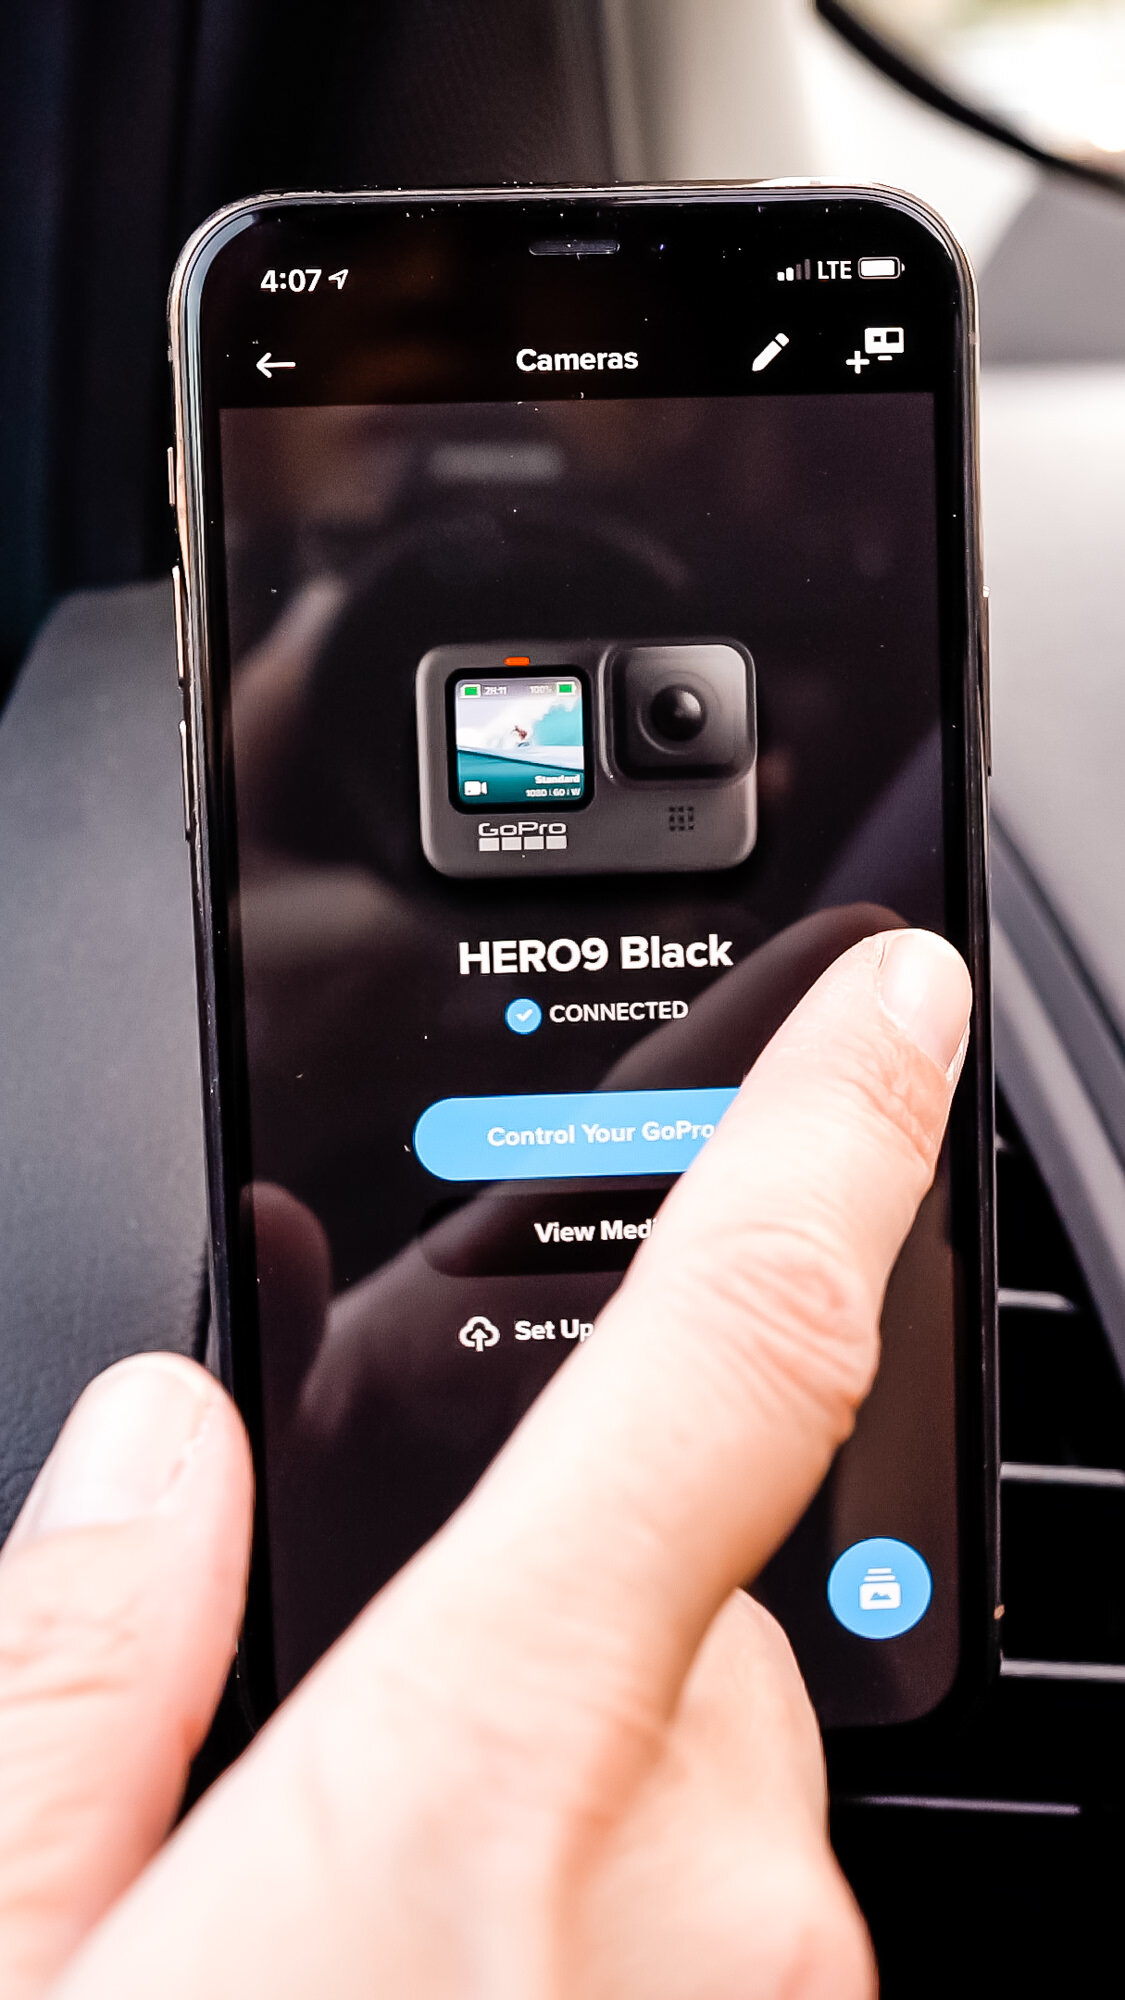
Switching between GoPros on the app
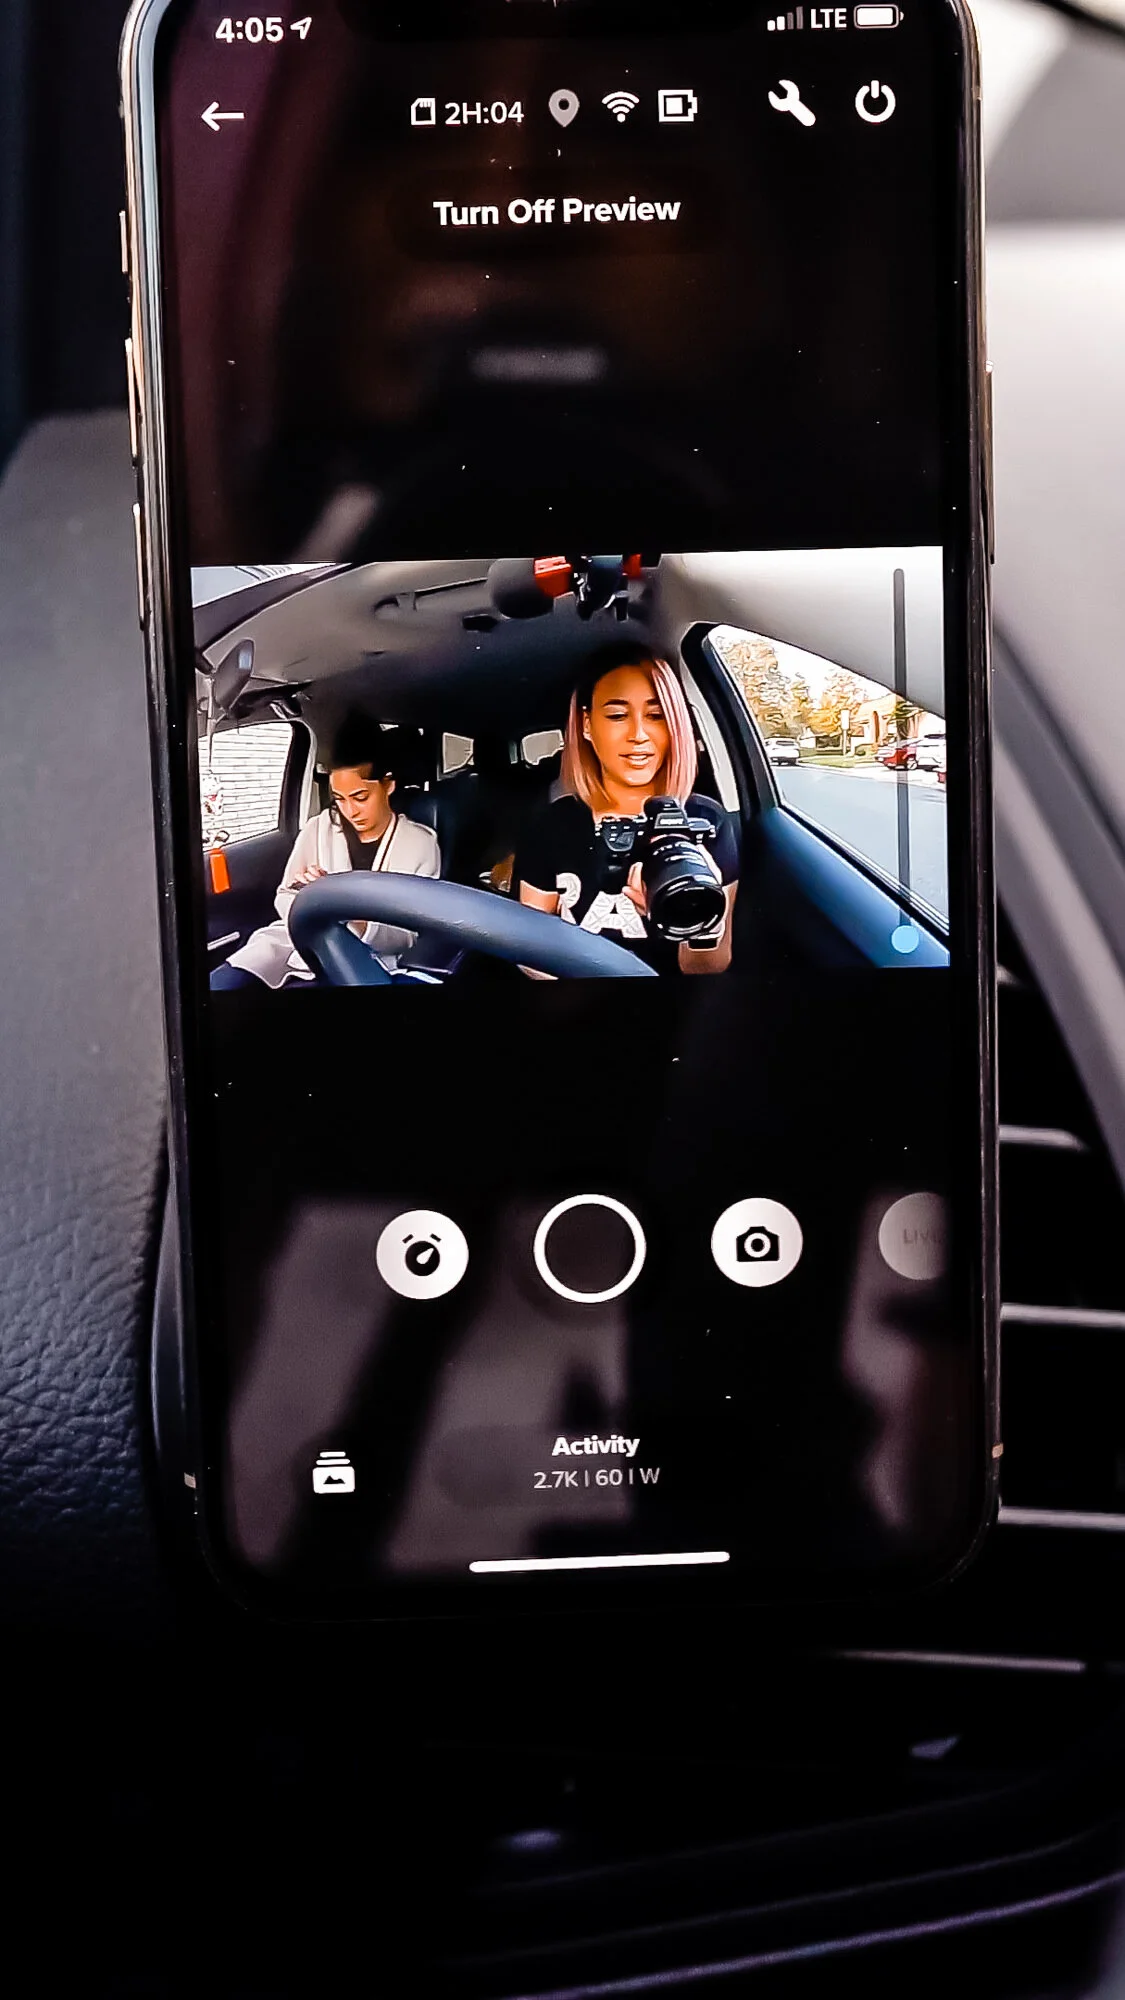
Get a preview of what you’re shooting

Change settings in the app
In the app, I can get a preview of what the frame looks like, change the resolution and/or frame rate, change the shooting mode, start recording, stop recording, turn the camera off, and more. I can easily switch between all three cameras as well just by swiping left or right.
It’s a great app and I use it often to make sure everything is within the frame and also to check up on my fur baby in the back seat (sort of like a baby cam).
JUST A NOTE
If you purchase the GoPro HERO9 Black and also decide to keep your older GoPro, keep in mind that they are two different sizes with two different batteries.
I didn’t realize this until I purchased the GoPro HERO9, so I had to buy new batteries, a new battery charger, and a new housing case.

Gopro HERO8 Black and GoPro HERO9 Black comparison
TIP
If you want to charge your GoPro batteries while you’re driving, I recommend getting a box charger that charges all your batteries at once. It also doubles as a storage device and you can even store your mini SD cards in the box too.
I use a box charger for my older GoPros and it has come in handy on numerous occasions.